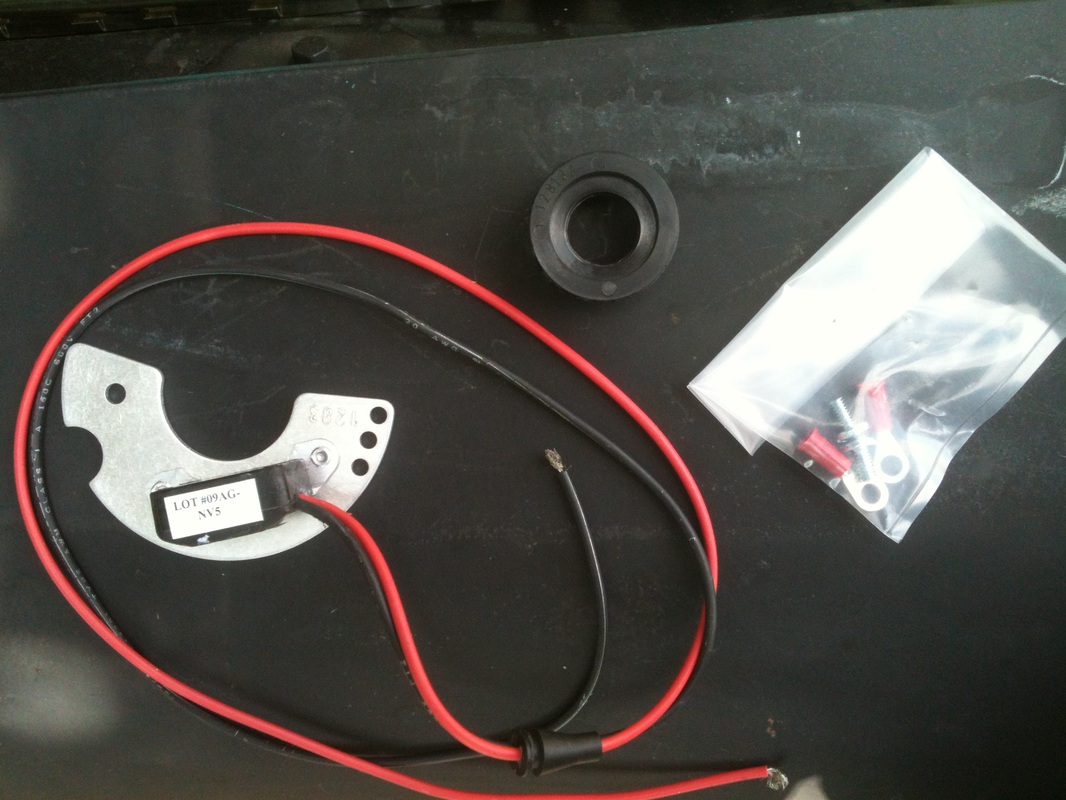
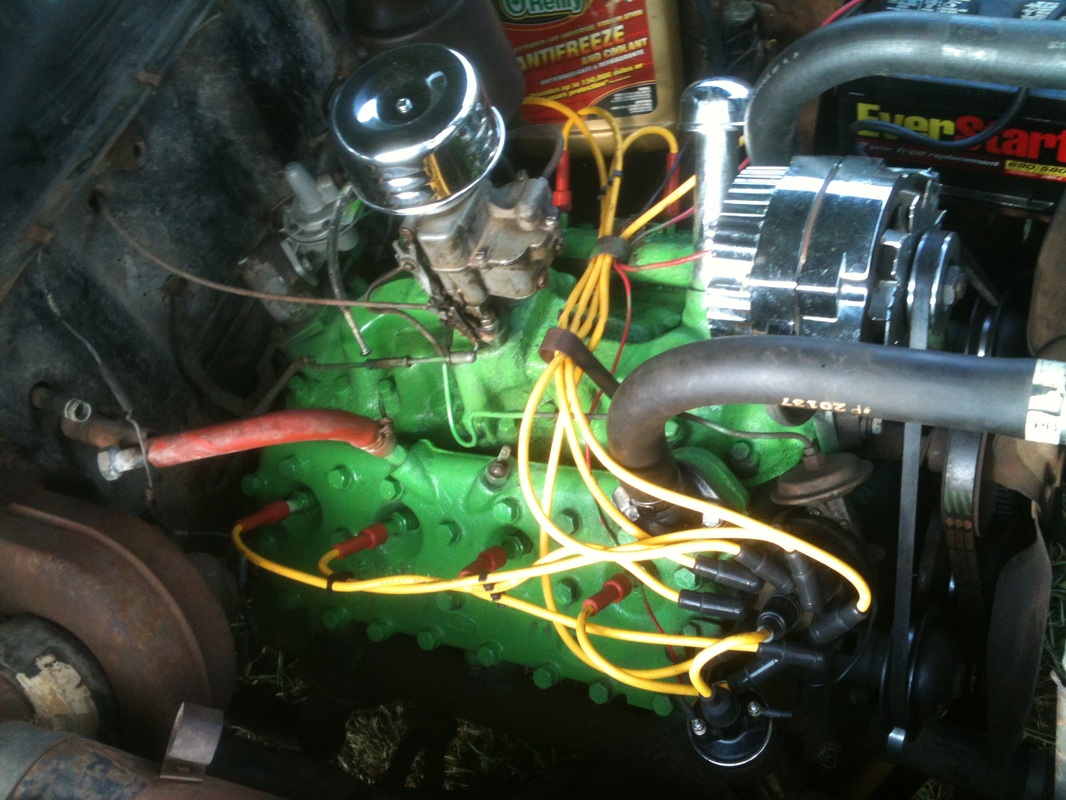
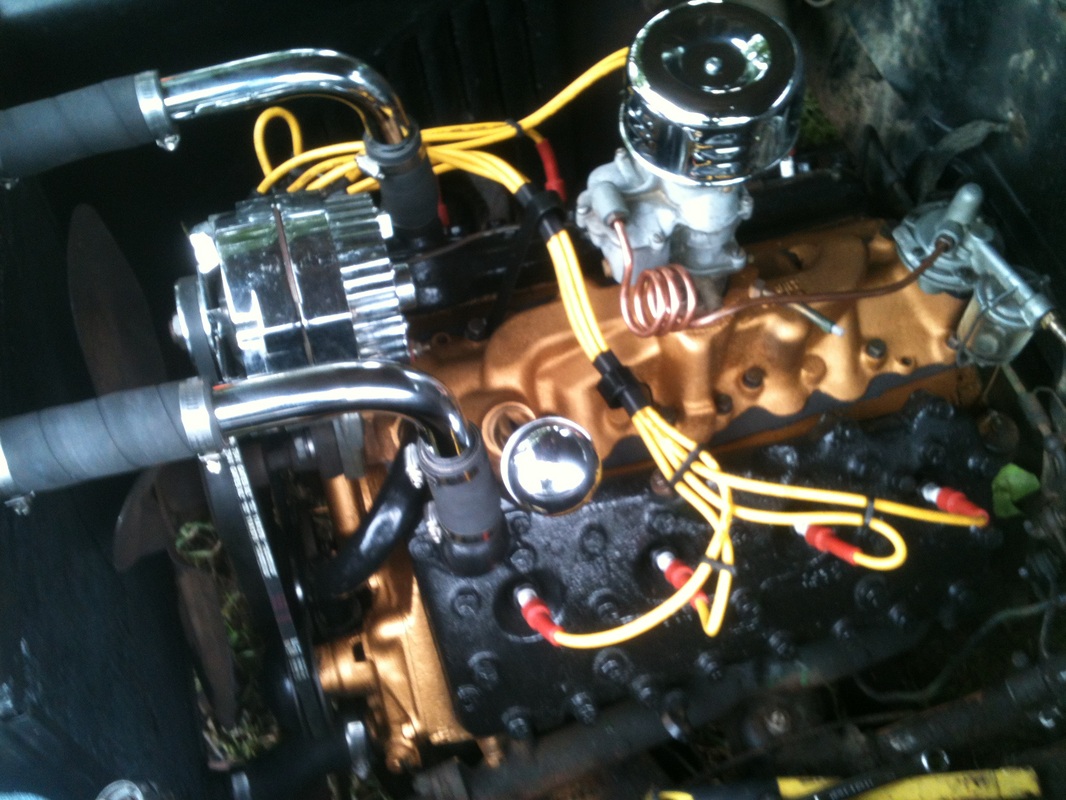
 I wanted to write an entry dedicated entirely on the installation of my new PerTronix Ignitor electronic ignition conversion. After receiving it though I realized that there wasn't much to write on the topic. I ordered this product based on the reviews describing it's simplicity and reliability. The reviews didn't lie. Pictured at left is what came in the box. The ring on top is the "magnet sleeve" that fits over your rotor shaft. Bottom left is the receiver and ignition plate and on the right is the little baggy of hardware. What you see here is what you get save a sheet of instructions. The instructions are brief but thorough. They tell you in detail what you need to run their set up. 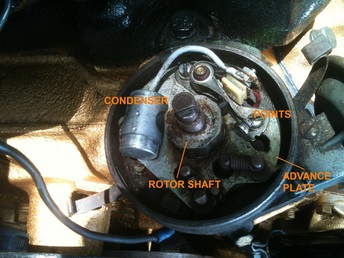 By that I mean all the technical stuff about what primary resistance your coil ought to be if you're running a 6 or 8 cylinder, wiring diagram, etc. Also if your coil happens to be 1.5 ohms of primary resistance you can eliminate your condesner. The coil I chose has 1.4, I'm hoping it's close enough but if not it's no trick to wire in the condenser. PerTronix offers it's own line of performance coils with all the right numbers for an idiot proof install. At right is the distributor with the cap and rotor removed. You can see the breaker points, condenser, rotor shaft, and vacuum advance plate. Most of this is removed and replaced with the new system. 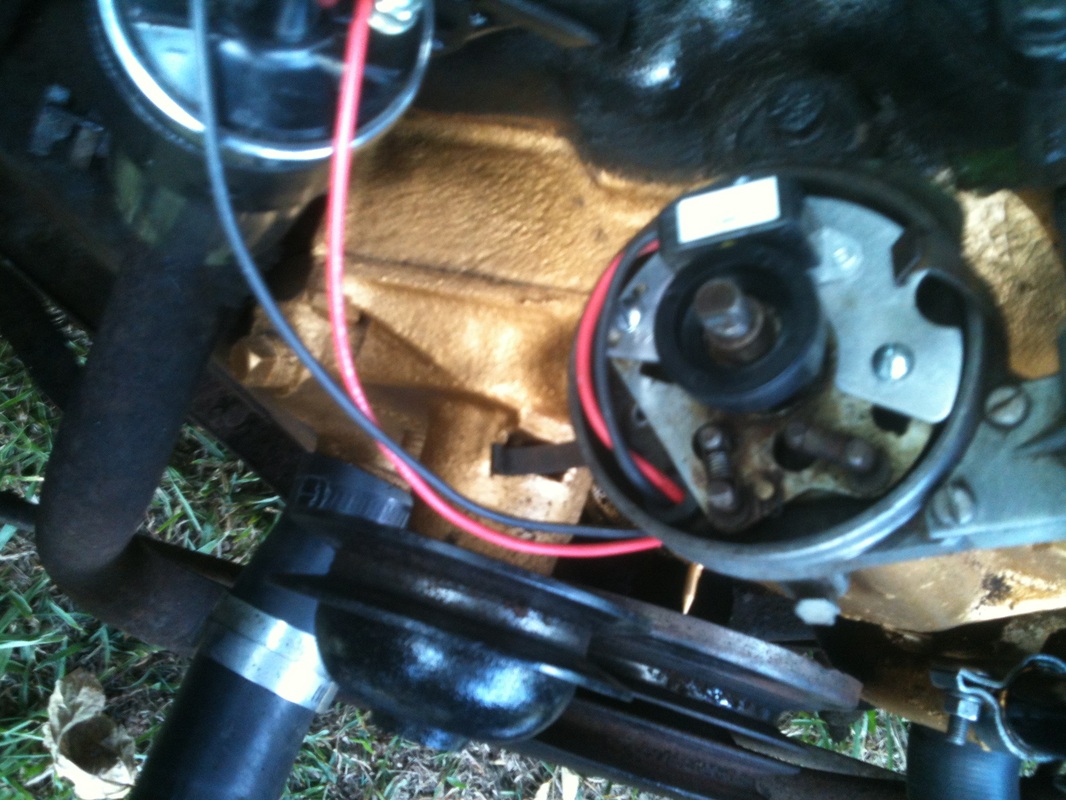 At left is the PerTronix system installed. It's clean, tidy and eliminates all those moving parts and in doing so eliminates potential problems. The kit replaces the points by screwing down the ignitor plate to the old breaker plate. this allows your advance mechanism to still do it's job. In my application this reduced clutter under the distributor cap by making a lot of the wires an junk related to the points useless. I removed all the old and put in the new in less than an hour. To finish up the installation I twisted the red and black wires coming from the distributor and sleeved them in heat shrink to protect them and give them a clean appearance. Then I cut the wires to length and crimped on the terminals, heat shrinked those, and wired up the coil. That's it. Easy peasy, and hopefully it will lend a bit of reliability to this old heap! One less thing to go wrong, right? Stay tuned to see if it actually works once I get her all wired up and try to start her up.  Dig the chrome radiator hoses Dig the chrome radiator hoses As the title of this entry promises there will be some engine tidy up. I sorted out or installed everything everything but the new oil system and my fuel line. But that can wait for another entry. I painted the base of my fuel pump gloss black, along with the wire brackets and the case breather tube. I ordered a brand spanking new flex fan but could not install it because the center hole was too small. I think I'll have to run a spacer but it will have to be a pretty custom little job as the fan is already nearly an inch from the radiator. So I'm thinking about ordering one and cutting it down to about 1/4" so it clears the radiator and the pulley assembly. I'll sandblast and paint the fan mount at that time.  I thought I'd try to do a little neater job of routing the plug wires than I did the first time I installed them, so I did my best to keep them all going in on general direction relative to which side of the engine they went to. I also put some heat shrink around the wires going to the opposite side of the block where then went through the wire brackets. This keeps them nice and tidy and should prevent them from galling on the brackets. I organized the wires with the clips provided with the wires although I did have to modify one. This looks pretty good, but there are other options that look really great and protect the wires a good deal. With all this sorted I can move on to wiring up the car and getting to drive agai Onward and upward to the next challenge!
Which would you rather see under your hood?
2 Comments
LARRY SCHMIDT
7/16/2012 02:39:54 am
I have a 1950 ford car 12 v v8. I put in the pertronix and it worked find for 3 months, then it burned out. I put in a new set and a new pertronix coil and that lasted about 6 months. this time the top popped off of the coil and the pertronix burned up. I am now running points. Any suddestions? Larry
Aaron Stanres
6/8/2013 08:53:37 am
Many times if you leave the key in the "on" position without the car running it will cook the coil, boiling the oil inside causing a pressure build up that will bust the top off your coil. It's best to leave the key off when the engine is not running. Leave a Reply. |
Categories
All
Archives
September 2019
GREen Bible Aerostar Coils FloorPans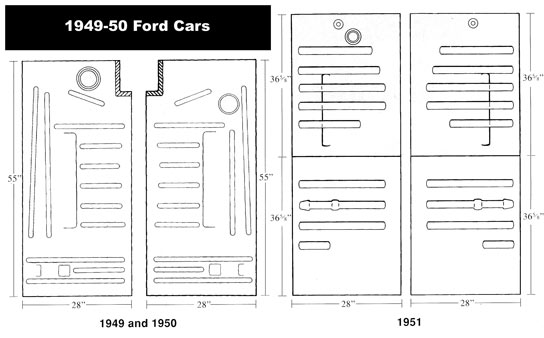
© 2018 Aaron Starnes.
All Rights Reserved. |
 RSS Feed
