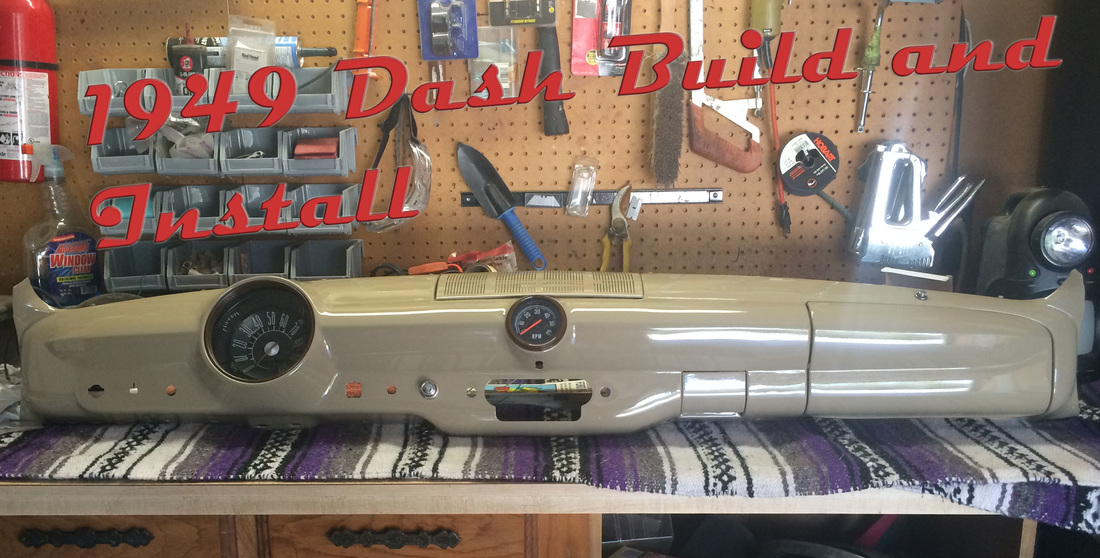
 Before I could move forward with the windshield installation on my car I had to get the dash back in. Along with my dash, I painted all my interior trim and got it ready to go back into the car. In this article I'll show you how I built my dash and installed it. In my previous articles "Some good lookin Trim" part one and part two, I cleaned up and repainted my dash. Once the paint had dried on my dash I set about wiring it up. The first thing I installed was the gauge cluster. I rebuilt it awhile ago, but while I had it out to work on the dash I reworked the wiring to make it easier to take in and out. I did this by adding a Molex connector plug. Molex plugs are easy to install and really tidy things up. This allows me to remove the gauges as a unit by undoing the speedo cable and just one plug. Read about how I put new gauges in my original housing here.  While I had the dash on the bench I installed all the accessory stuff I could. Including the glove box door, cigarette lighter, speaker grill, ashtray, and gauge cluster.
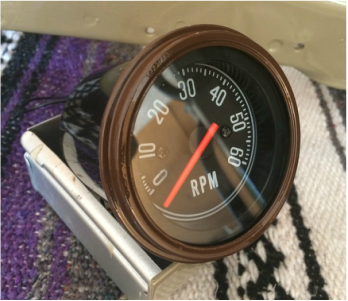
I was cruising the facebook forum and saw a guy (contact me if you know his name) using a little tach that fit the clock hole perfectly. He said it was a CJ7 Jeep tach. I did a little research and found that it was an Omix Ada 17215.02. So, I decided to lose the old 6 volt clock and replace it with something useful, like a 12 volt tachometer I ordered one and it fit great! These things are cheaply made but they don't cost too much. Hopefully it works fine and lasts awhile. My speedo bezel and steering column are painted brown so I went ahead and scuffed the chrome bezel on the gauge ans shot it with the same brown color.
 Once installed it all looked pretty sharp. I wired up some additional LED lights under the dash and then it was time to bolt it in and hook it up. I had a short in my headlight circuit. Turns out the switch was grounding on my floor pan. I tried to fix the problem by bending the terminal but that just broke the switch. I had to drill tiny screw holes and screw it all back together. Then I soldered on a new terminal on at a right angle to the switch body so it wouldn't hit the floor. After reinstalling it, the headlights no longer blow fuses. 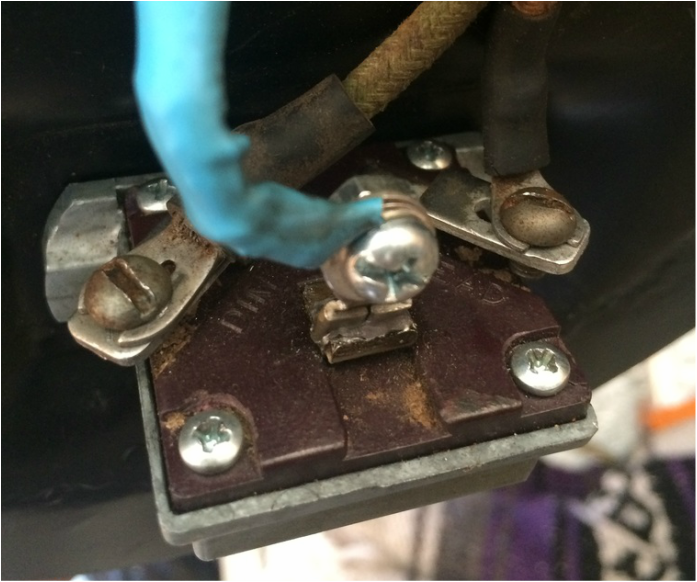 The dash install process is pretty straight forward. A couple bolts on either end and some screws along the top. The hardest part was getting it in without scratching it. Here's the dash all painted up, installed and ready to rock.  I installed some LEDs and a mini switch in one of the many holes under the dash provided by a previous owner. 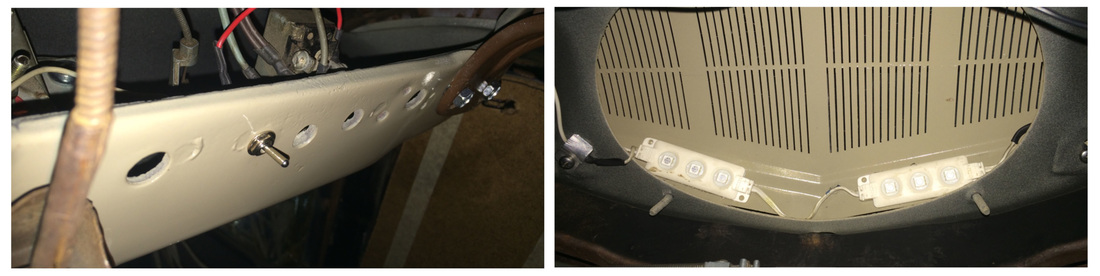 And here it is with the red LEDs turned on. Click it forward and the under dash lights come on. Click it back turns on the pillar lights.  Mood lighting egaged! I had to get all this done in order to install my windshield which you can read about here. Stay tuned for the next article on sand blasting and shaving my deck lid. As always thanks for reading!
5 Comments
6/7/2016 10:16:38 pm
Frank ploger
7/31/2018 06:59:21 pm
How did you order the tach?
Aaron
8/1/2018 09:27:25 am
You can find it on amazon. If you use this link, it will fund the blog a little. https://amzn.to/2v6Ul1D 3/30/2022 03:34:48 am
The windshield is the primary glass and it faces any kind of accident. You should never take damage to this glass lightly. Replacement can make a hole in this pocket, but a reputed technician won't charge you without reason.
Linda Loranger
5/29/2022 02:12:23 am
How do you remove the speaker cover in the center of the dash of a '49 couple Leave a Reply. |
Categories
All
Archives
September 2019
GREen Bible Aerostar Coils FloorPans
© 2018 Aaron Starnes.
All Rights Reserved. |


 RSS Feed
