 Part 1 of Good in the Hood covered most of the metal repair I did to my old Ford's old hood. It was a rusty mess that needed some cleaning up. After I got it all welded up and tended to some of the rougher spots in the body work it was time to blast it again. After everything was back to beautiful bare steel it was time to prime
2 Comments
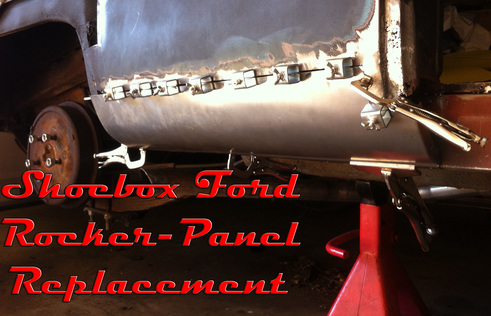
The rockers on my old Ford were rotten and disgusting. People couldn't exit the car without gnarly rust taking a bite out of their calf. So, for the sake of my friend's legs, I cut out the rust and welded in fresh cold steel. Here's how I did it.
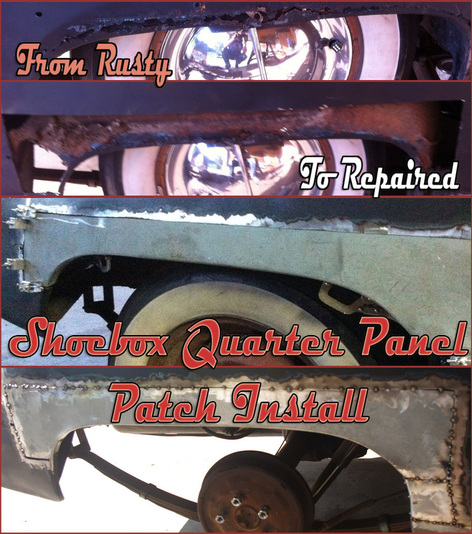
When I bought my Ford it came with a lot of rust. Thankfully it came with a few patch panels too. This entry shows how I put these panels to good use combating the rust on my '49 Ford.
 The rocker panels on both sides of my old Ford were rotted waaay beyond repair. They looked more like Swiss cheese than American steel. So what did I do? I Cut 'em off!
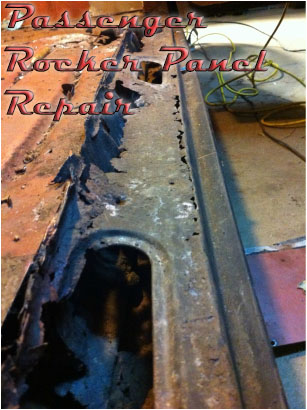
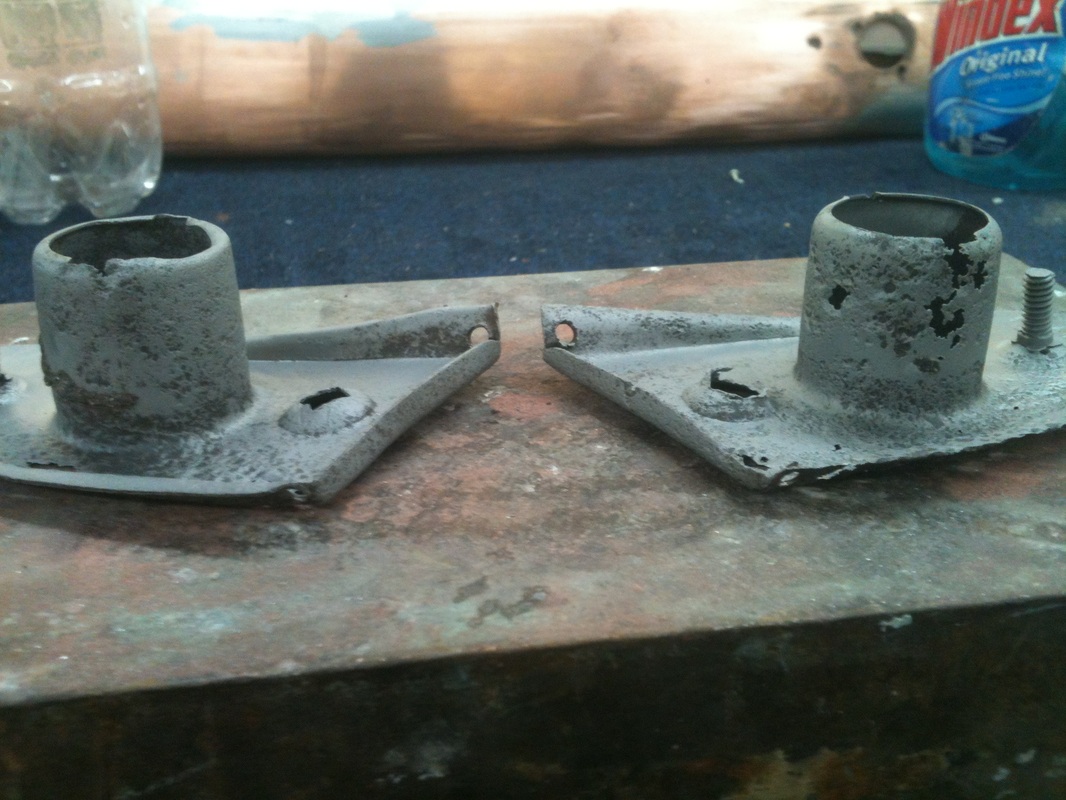
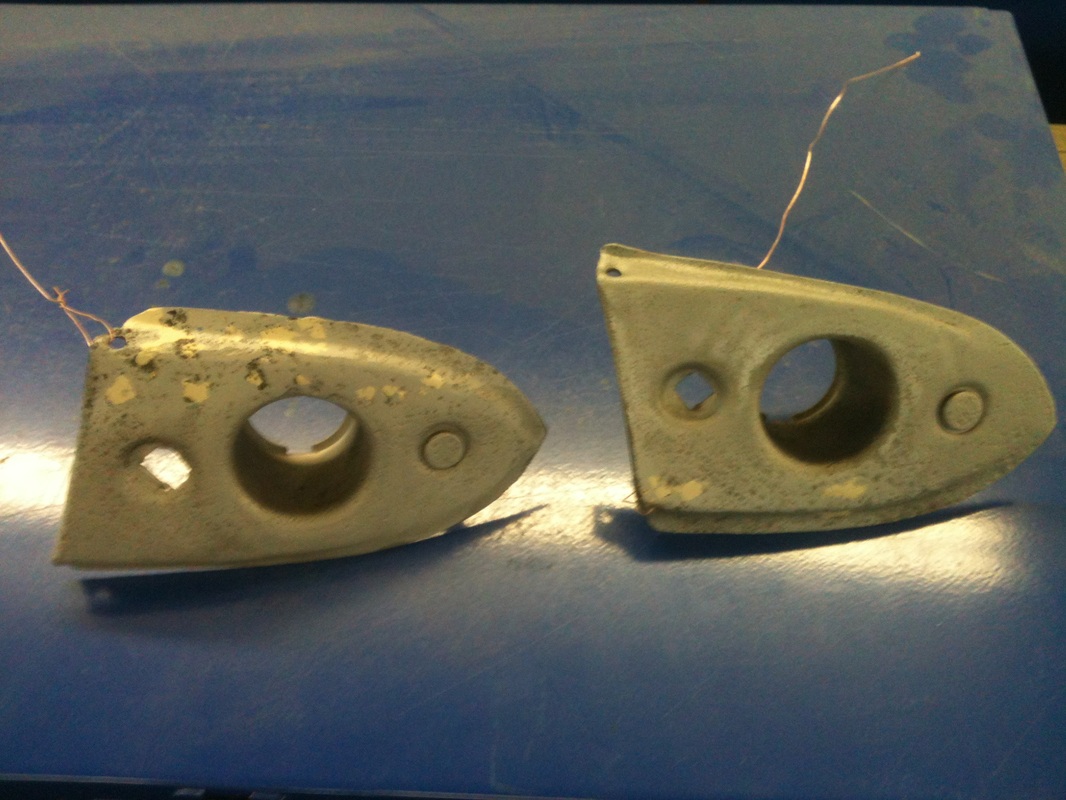
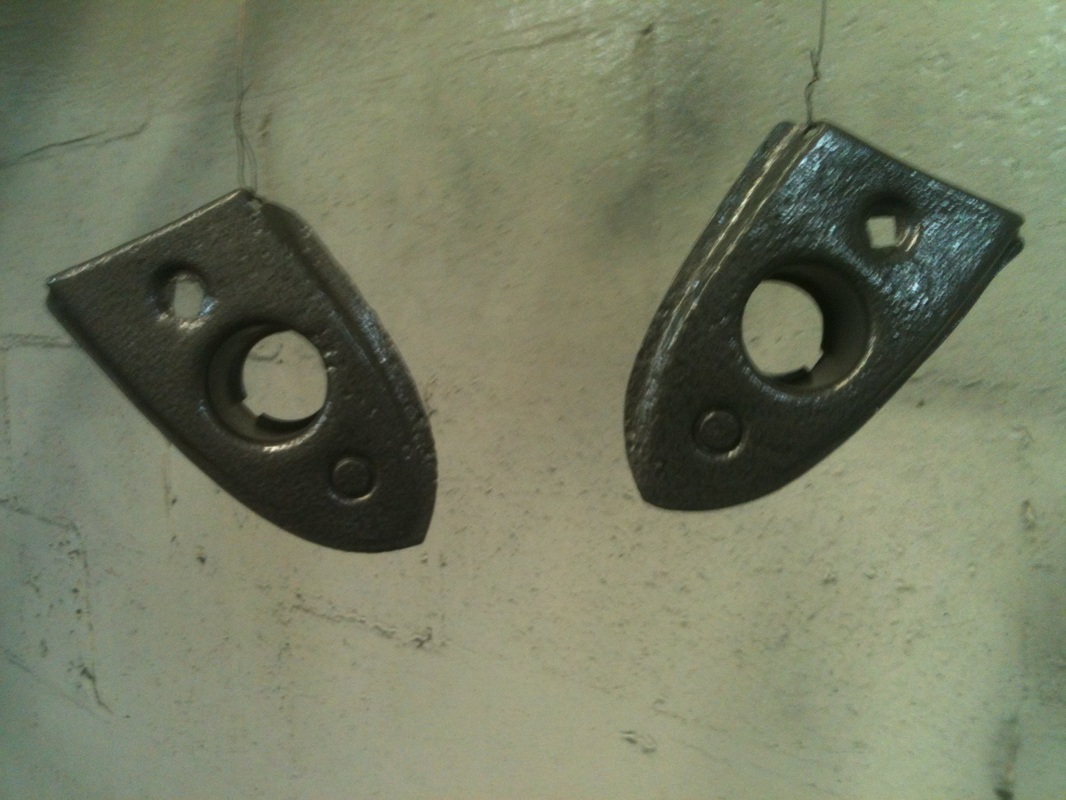
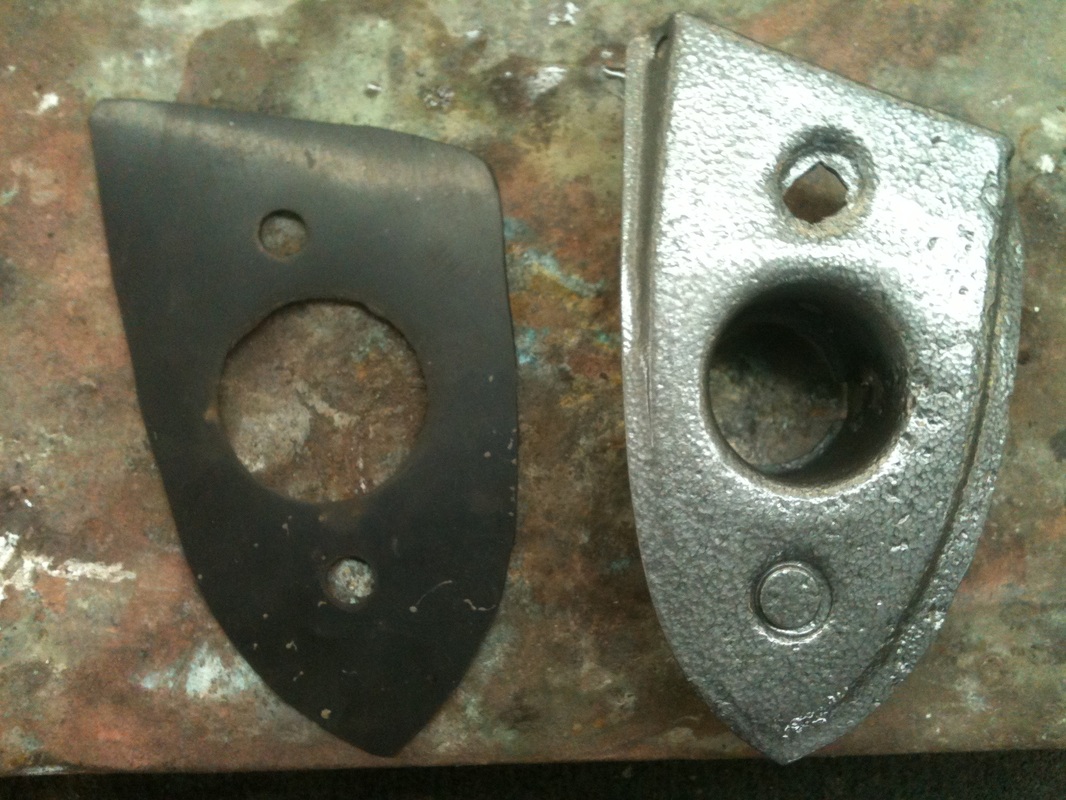
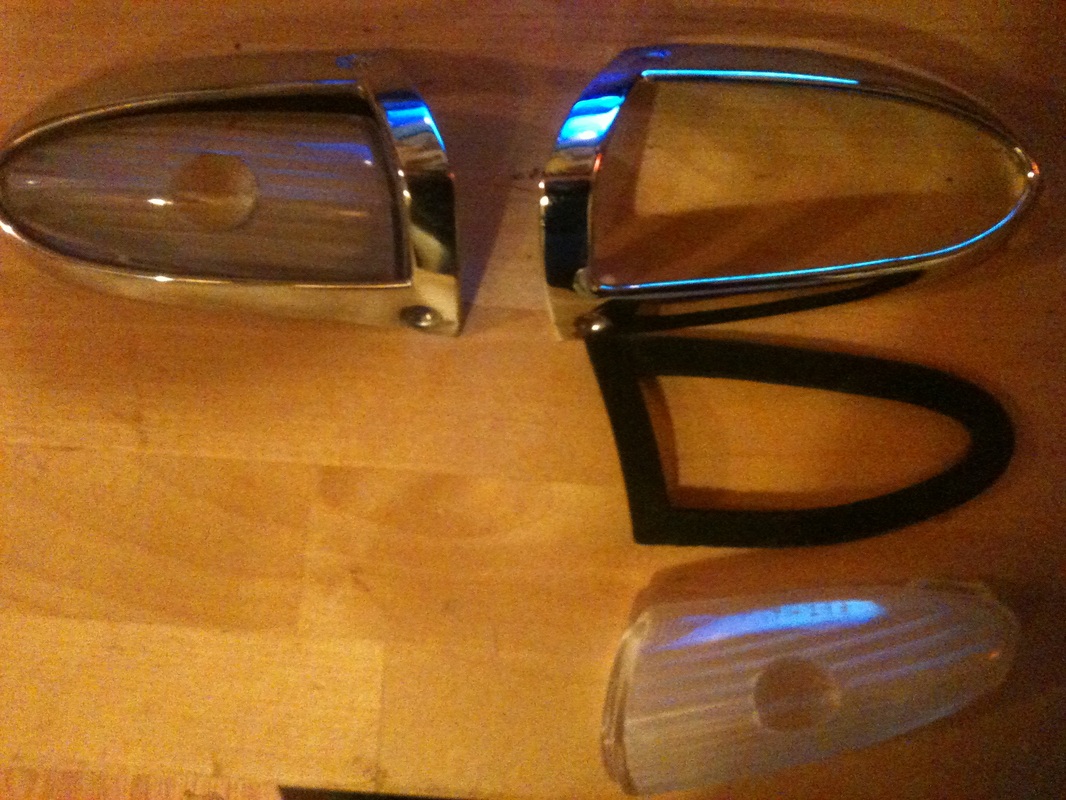
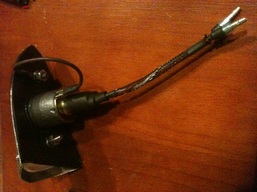
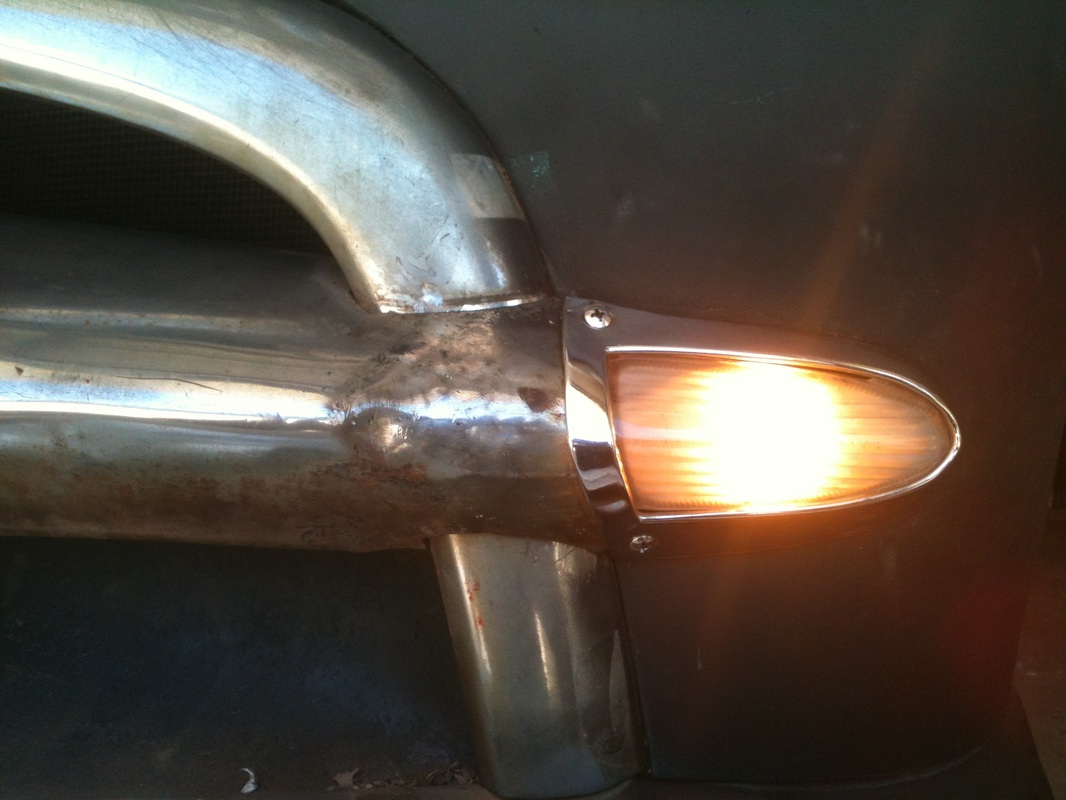
I recently pulled out my parking lamps to see if I could get them to work. The wires were old and crusty. They were also the single filament type but my wiring harness required the dual filament type to run both the parking lights and the blinkers. The removal seemed straight forward but like many things on these old cars nothing is as easy as it should be. The nuts that held the housing to the body were rusted and rounded off which led to me having to pull one of them through its hole. Not good. But finally I had them off and the body hammered back into shape. Afterwhich I was able to start work on the light housings themselves.
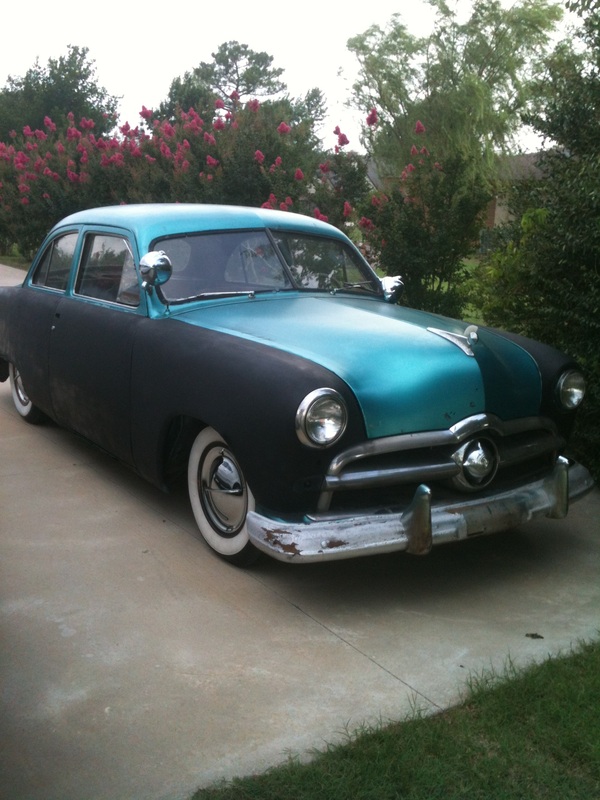 A couple weeks ago I picked up this 1949 Ford deluxe 2 door. I chose it for a number of reasons. Not the least of which was the fact that I could drive it home. The ride home was actually not that dramatic, it would go and stop, albiet the stop was better than the go. I figured that if I bought one out of town I'd either have to tow it or rent a trialer. A couple hundred bucks to just get the thing into my driveway didn't sound too good. Also I picked this one because it had a fresh back window. That's about 325 without the rubber trim. along with the back window there were a number of replacement patch panels for all the rust holes, of which there are plenty. It has the original flathead V8 under the hood. When I got it it was painted, poorly, lime green. I have since taken steps to switch up the paint scheme. Some black and gold should do the trick. The first thing I thought I'd do is fix up the wiring as it was starting a little hard and the wires looked ROUGH. I ran down to the parts store after taking a look at what I had to work with. 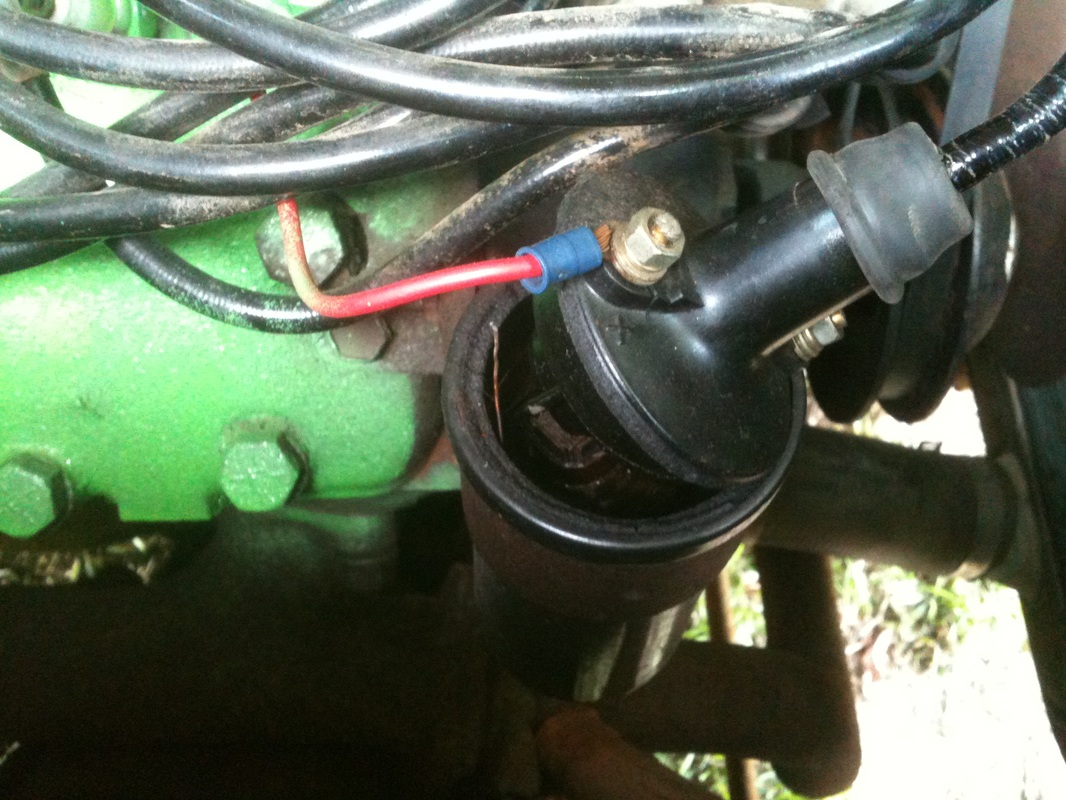 It's safe to say I needed a new coil. Notice the cracked up old coil wire! So after I did a little research I settled on some Accel 7mm wires and a 42,000 volt Super stock coil. I knew I wanted to eventually upgrade to the electronic ignition conversion that PerTronix makes so I made sure that the coil I chose wouldn't cause any problems. The PerTronix Ignitor system is a bolt on kit that take the place of your points under the distributor cap and can be had for around 75 dollars and if it saves me from having to maintain a points setup it is well worth it. Not to mention more accurate timing, longer spark plug life, more horse power, greater efficiency, ect. I'll make a post about the install process when I get it in.  Dig the kooky 70's style lettering. The accel coil is nice and tidy and an easy install. If I had to do it again though I'd save 3 bucks and get the Yellow option as the chrome on this one is cheap and thin. 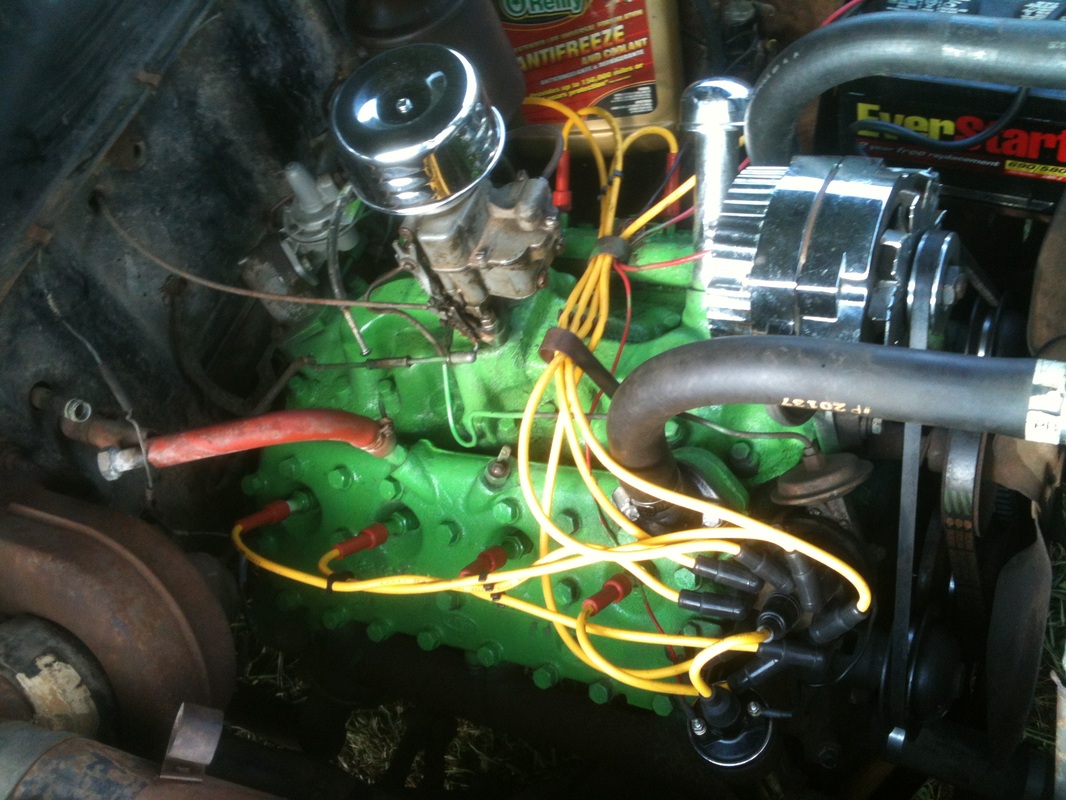 This is the result after I cut down the new wires to fit and installed them. She starts up now instantly and seems to have more power. There's a pretty nasty tick coming from beneath the intake manifold that I'm going to to invsestigate soon. I have big plans for the car including a new wiring harness, remote battery, new fuel tank, a flex fan, and just general upgrades where I can fit them in. |
Categories
All
Archives
September 2019
GREen Bible Aerostar Coils FloorPans
© 2018 Aaron Starnes.
All Rights Reserved. |
 RSS Feed
