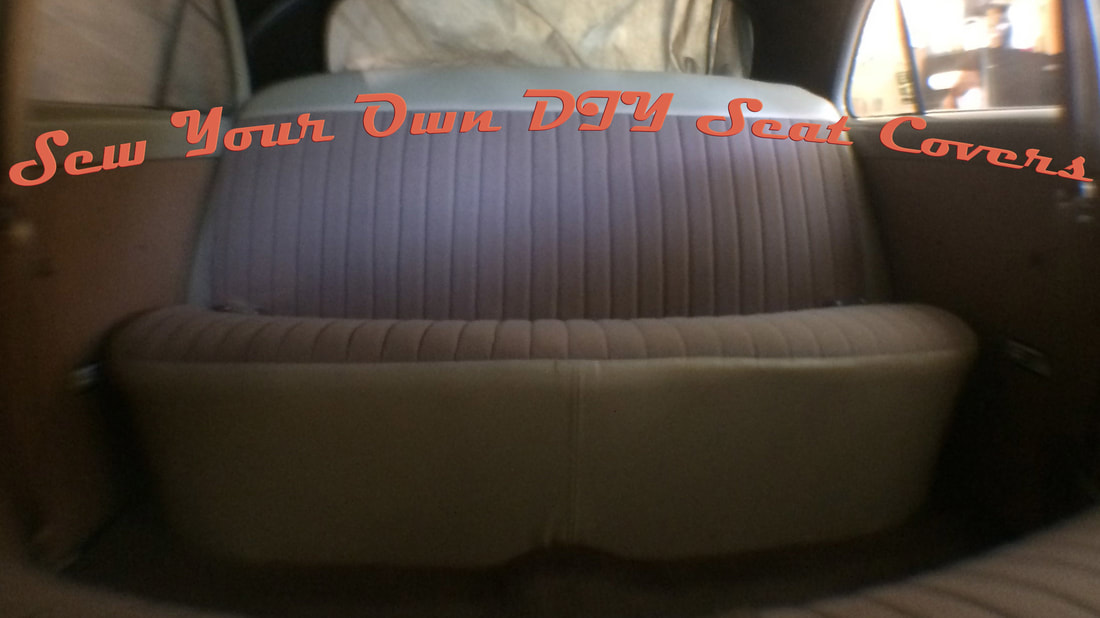
 My experience in upholstery is limited to covering a go-kart seat when I was a kid and a short stint in an upholstery shop where they let me touch the sewing machine exactly one time. I did however learn by watching and asking questions. I also scored some upholstery materials. This is how I put together a little bit of knowledge, some patience, and some time, to create some pretty passable seat covers for my old Ford.
2 Comments
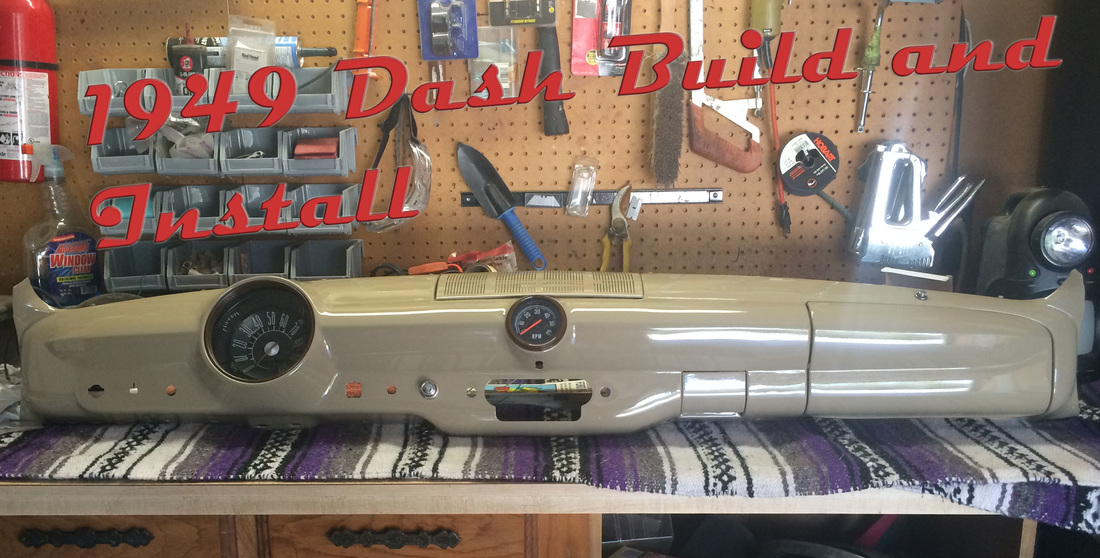 Before I could move forward with the windshield installation on my car I had to get the dash back in. Along with my dash, I painted all my interior trim and got it ready to go back into the car. In this article I'll show you how I built my dash and installed it.
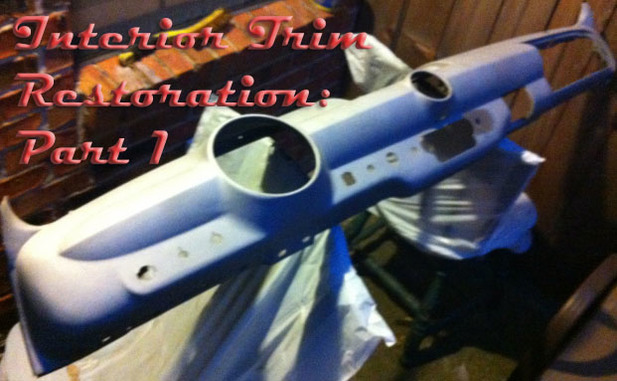 The window garnish and dash in my old Ford looked pretty ratty. When I got the car none of it was attached. It was all just sliding around inside the scraping against things and adding to the general clattery, clangy din of racket that lost its appeal pretty soon after the first-drive-excitement wore off.
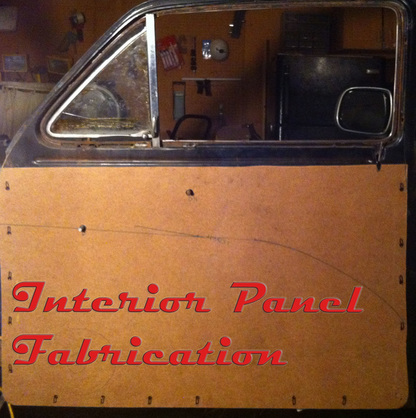 When I bought my old Ford it had no interior panels in it whatsoever. They had all rotted away long ago. Being ambitious and curious "I figured how hard could it be to make some?" and dove right in.

People choose to replace the door lock plunger knobs, or "Lock Knobs" in their vehicles for a number of reasons. Whether the originals are broken or unsightly, or they just want to stand out in a crowd. Replacing your door lock knobs can be a very rewarding process, but if one isn't careful it could be wrought with peril and danger.
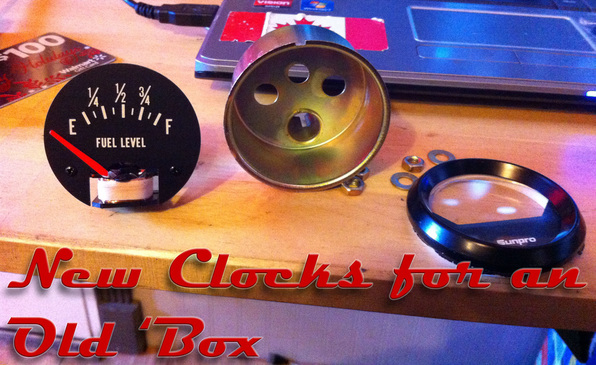 The gauges in my 49 Ford could hardly be seen at night. Not to mention only half of the original 6 volt ones worked.I know that the common solution is to pull one of the little violet domes off of the lights, but I could not see changing away from that sweet phosphorescent UV display the car came from the factory with. I mean how cool is it to have a funky blacklight glow display? I also didn't want the cobbled look of some cheap aftermarket clocks hangin' off the bottom of my pretty dash.
I sort of left the wiring job hanging as far as the blog is concerned. I wrapped up the gauges and tail lights, as well as the stop switch which to my surprise and enjoyment was still operational after 63 years of service. 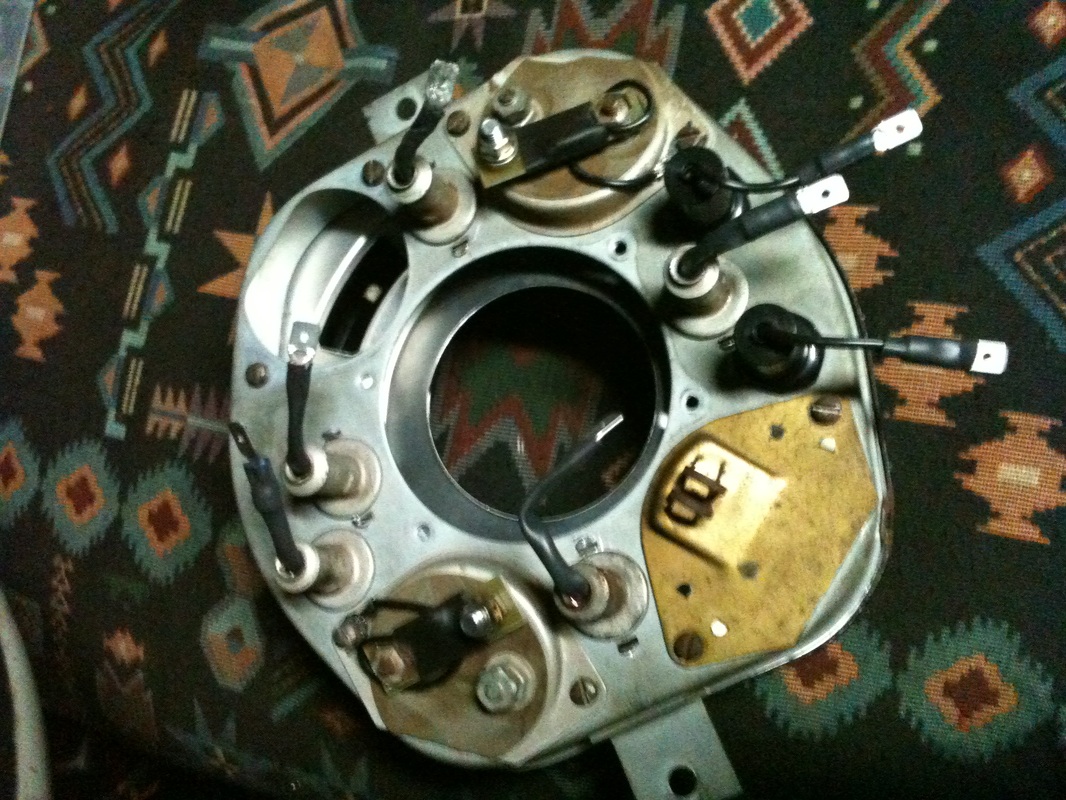 Here is the back of my gauge cluster. You can see the freshly rewired instrument lights as well as the 12v to 6v reducers. The empty hole un the upper left portion is for my fuel gauge I'm not runing it for the moment because it is ruined. I plan pn updateing the gauges with some Sunpro units that all but intall themselves, but for now the oldies will have to do. 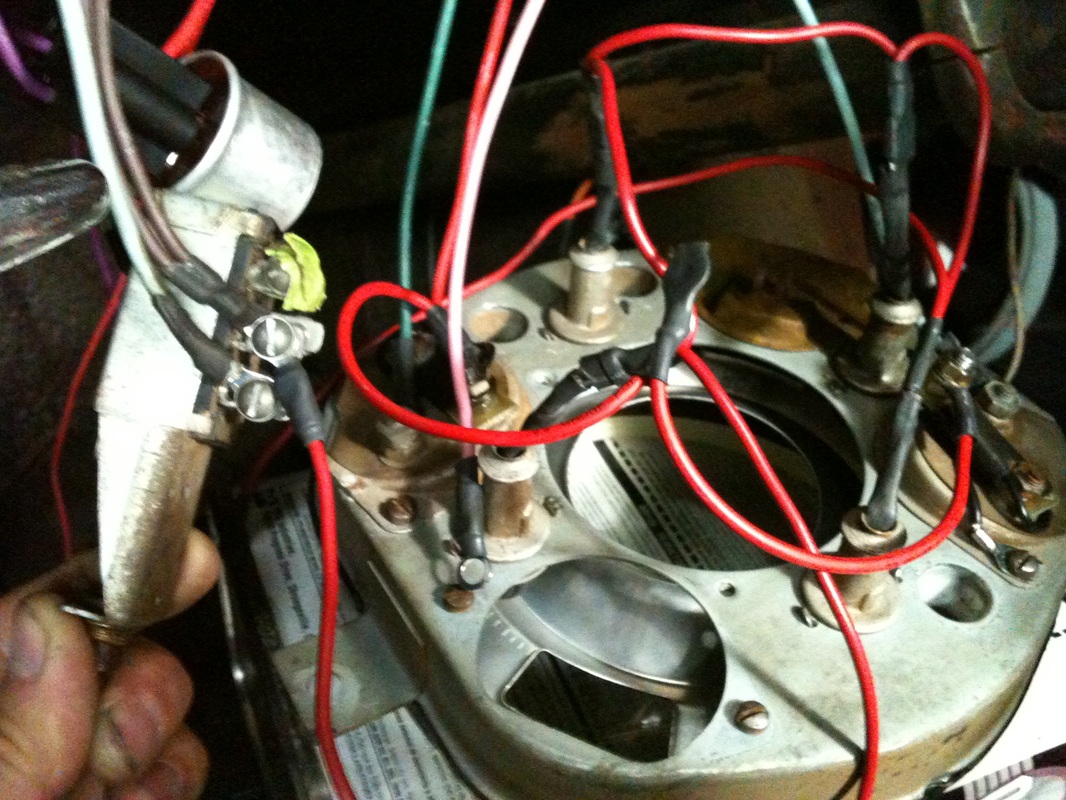 This is the gauge cluster all wired up and ready to go in. Notice the switch I'm holding on the left. That is where I wired the gauge lights into the head/tail lights. That way everything comes on with the headlights. All new wires oh yea! 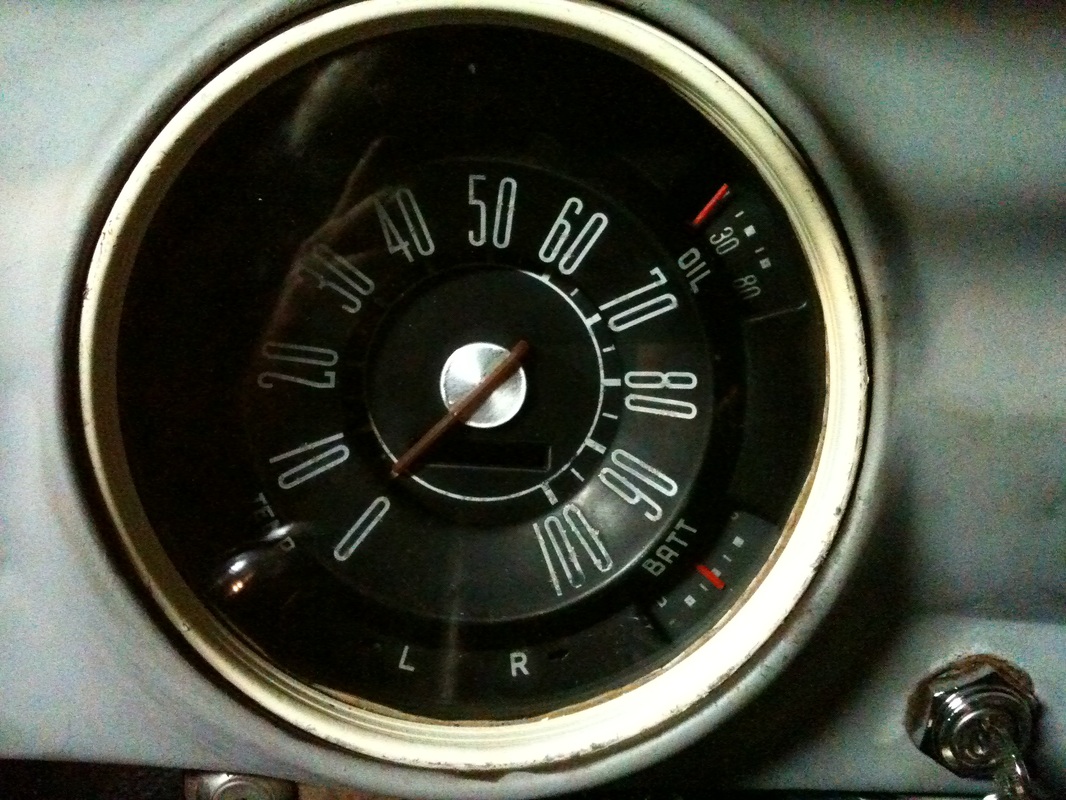 Here we're looking at the completed and reinstalled gauges. The chrome on the trim ring was in rough shape so stripped it and shot it with some almaond colored spray paint until I can figure out a more permanent option. I cleaned up the gauge faces and repainted the indicator needles before reassembly. I also superglued the needle of the speedometer back together. 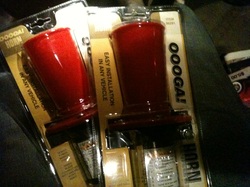 My original 6v horns were cooked so I got apair of aftermarket OOogas. I figured if one was awesome 2 would be even more awesomer, and I had already wired the car for two horns. But red wouldn't do. So.... 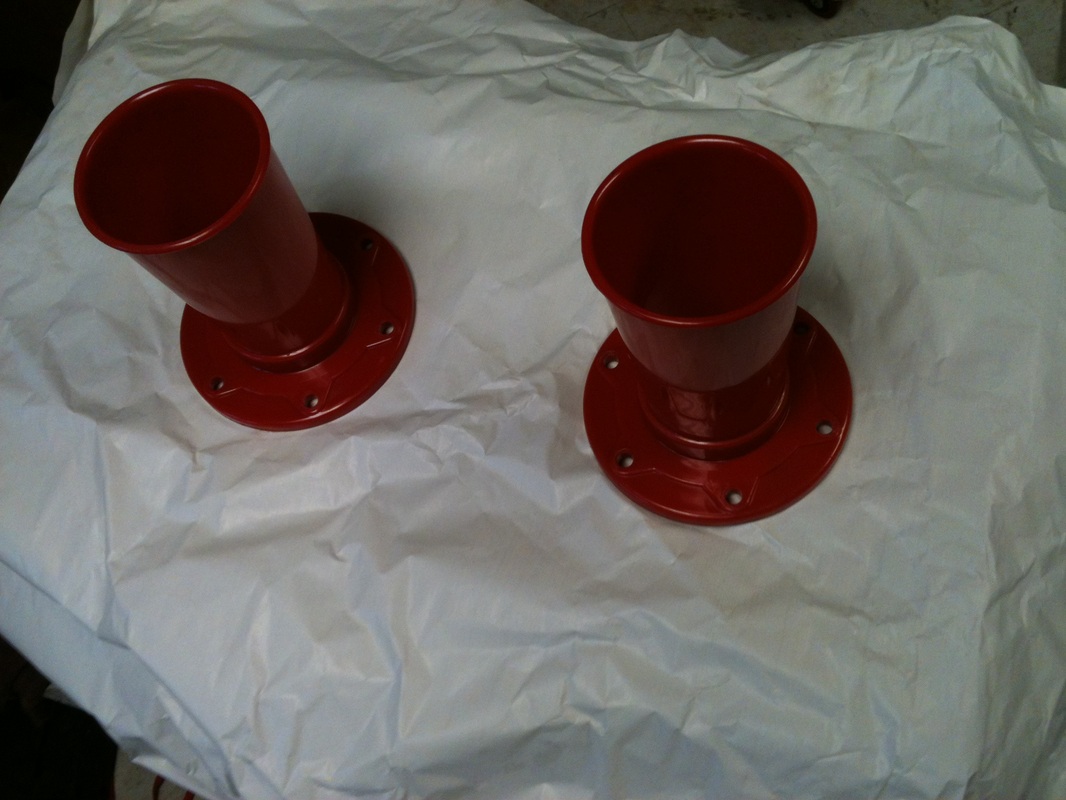 After disassenbly and a little adhesion promoter. 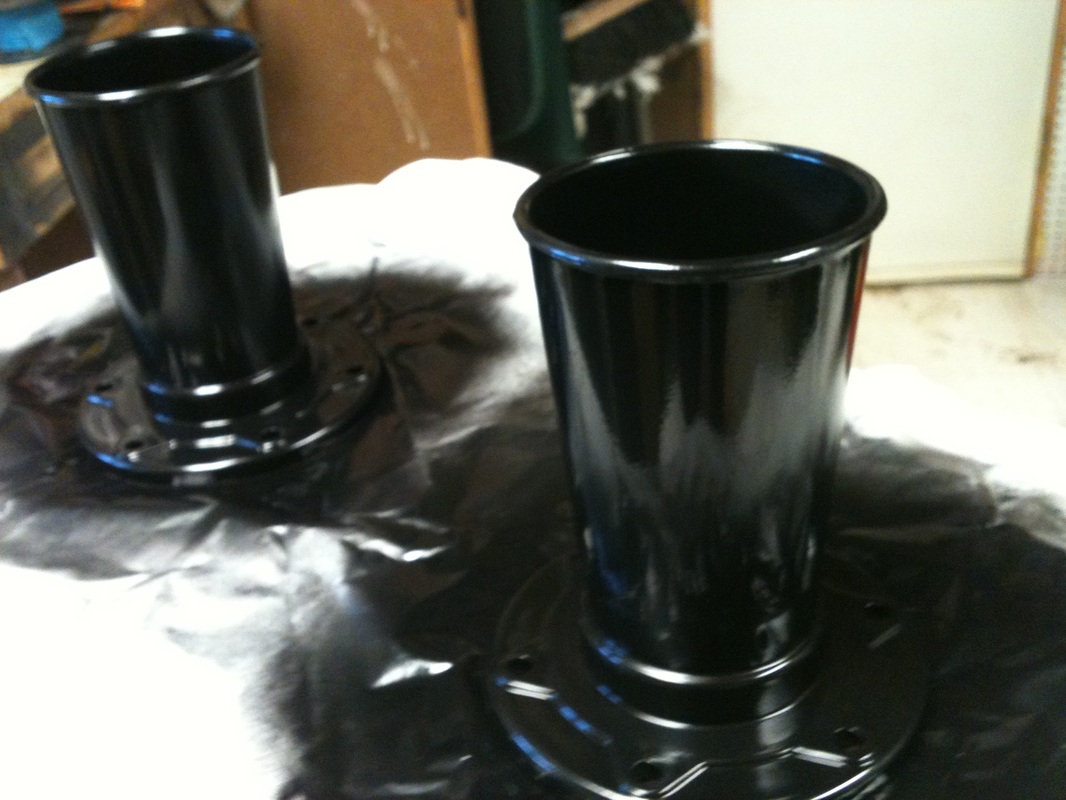 They were painted black. 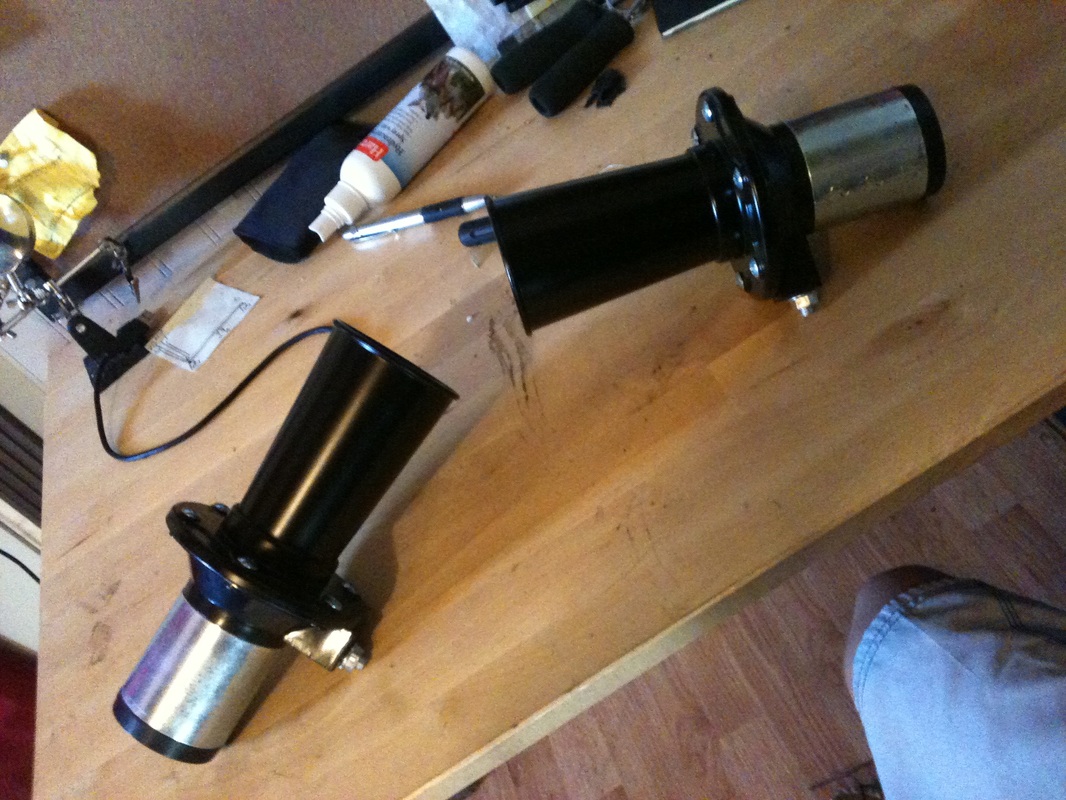 Here they are just before installation black and beautiful, ready to startle unsuspecting pedestrians.
|
Categories
All
Archives
September 2019
GREen Bible Aerostar Coils FloorPans
© 2018 Aaron Starnes.
All Rights Reserved. |
 RSS Feed
