|
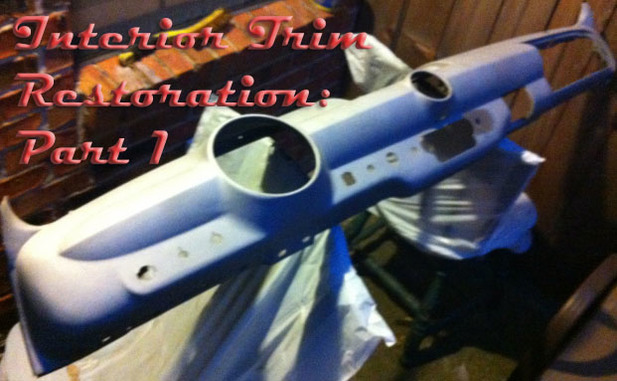
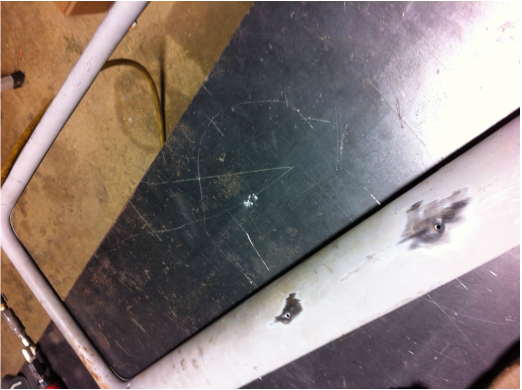
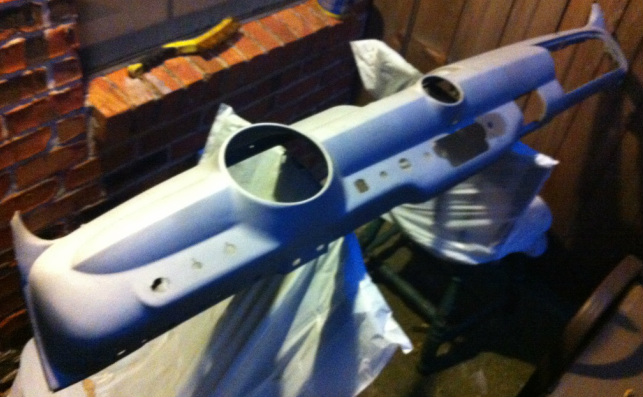
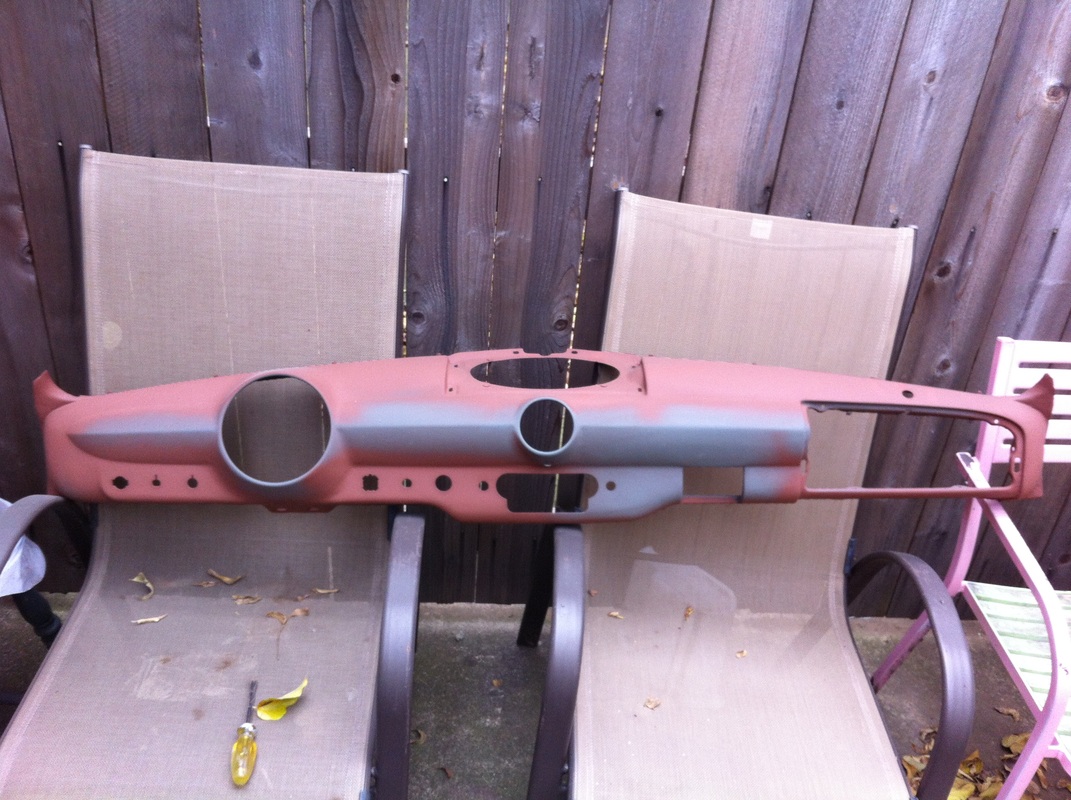
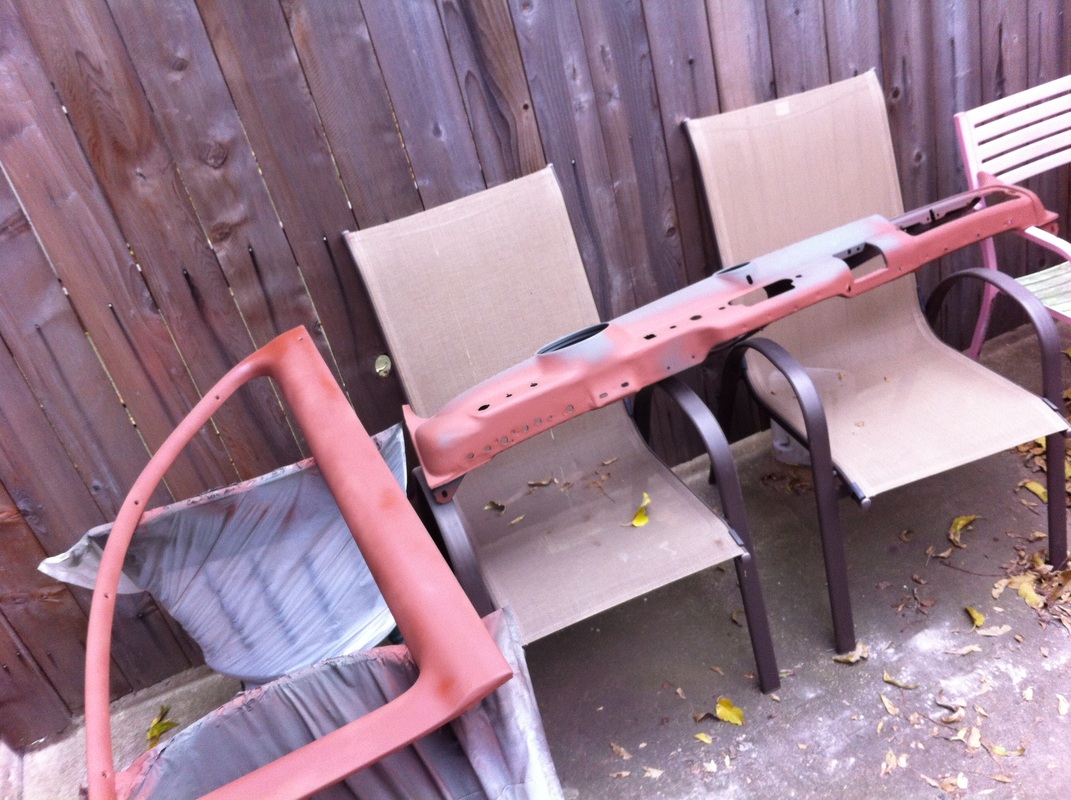
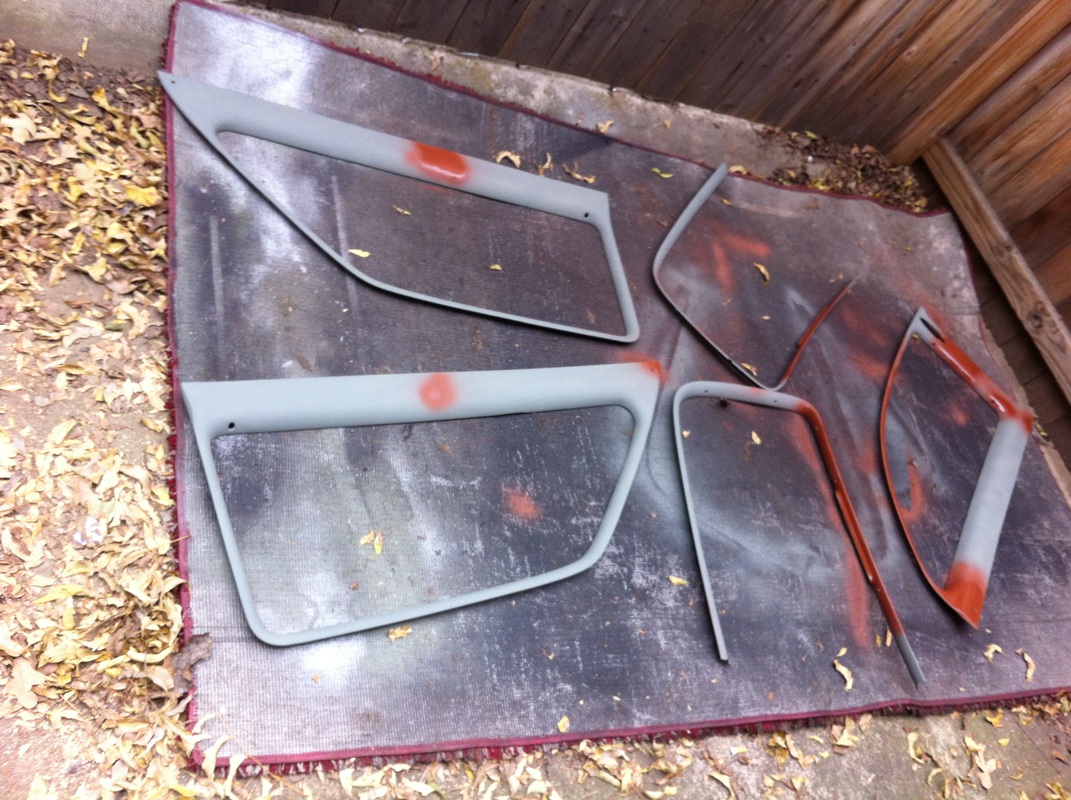
The window garnish and dash in my old Ford looked pretty ratty. When I got the car none of it was attached. It was all just sliding around inside the scraping against things and adding to the general clattery, clangy din of racket that lost its appeal pretty soon after the first-drive-excitement wore off. Much of the window garnish has rust pitting and is some areas it has rusted totally through. One piece was so bad that it had to be replaced. I called up Shoebox Central out of Oklahoma City, OK and Chris sent me one tout de suite, and on the cheap too. The door garnish pieces came from the factory with some funny looking badges. I didn't like them so I welded up the mounting holes. Once I had all the pieces together I set about sand blasting it all to remove the old paint and any rust. I was able to score an opportunity to use a method of sandblasting I had never used before called "Dustless" blasting. This process is pretty dang cool once you get used to it. Typical blasting uses compressed air to fire media (sand or soda or anything really) over a part. Essentially eroding it in a controlled way. It's great for knocking off paint and rust. But the exposed steel should be primed right away as flash rusting occurs. In the Dustless set up you have air, media and water. That's right water. This seems counter intuitive at first. Usually once something has been blasted you do everything in your power not to get it wet or even damp. But with this process you're actually firing a mixture of water and the media at the part and everything ends up soaking wet. However, the water has an additive mixed with it to prevent the blasted parts from rusting for a couple days. Mixing water with the sand serves two purposes. The first is to keep the dust down, thus making the process "Dustless" (see what they did there?). The second purpose is to provide a cooling effect. Often times when a metal part is sand blasted the friction of the media striking the surface at speed will create enough heat to distort the part's shape. It also makes for easier clean up. After I had everything blasted I noticed that my dash and some garnish pieces were heavily pitted where water had sat after coming through the leaking windshield. I also saw that there was a split in the steel right next to the radio knob. The TIG welder made quick work of the crack. I shot primer over the whole thing. Then shot filler primer over the pitted areas. I shot some black paint over the back surface of the dash to seal over the primer. The window garnishes were primed and I filled the rust holes with a fiberglass-impregnated plastic filler. This stuff is pretty amazing for filling small holes in metal made too thin to weld by rust. Treat your rust, blast or POR15, then spread it on and sand it back. It mixes and spreads a bit like body filler and after it hardens is easy enough to sand. After it's shaped you can prime it and paint it and the repair is invisible. For the little pitting normal body filler and filler primer was enough to do the trick. 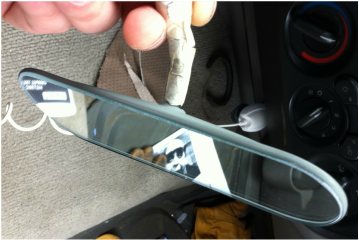 I blasted a couple other odds and ends that I wanted color matched to my interior. Including my MagicAir heater core box, my center windshield trim, my rearview mirror, which I broke and had to have new mirrored glass cut for, and the trim strip that runs between the two piece windshield. Here you can see my freshly mounted mirror glass in my old mirror frame. With everything nearly ready for paint I've still got my work cut out for me. I need to finish the body work on the garnish moldings, find some cheap paint I don't hate and spray everything down. Hopefully I can make some headway and get this thing back on the road by the end of this spring. I'm ready to drive again! Keep your eyes peeled for pt. two painting!
Back to Blog
0 Comments
Leave a Reply. |
Categories
All
Archives
September 2019
GREen BibleAerostar CoilsFloorPans© 2018 Aaron Starnes.
All Rights Reserved. |




 RSS Feed
