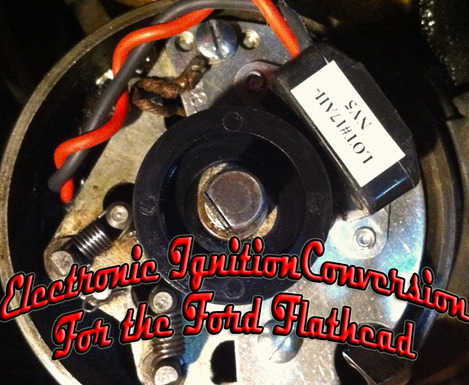
This entry is dedicated the installation of the PerTronix Ignitor electronic ignition conversion for a Ford flathead. I ordered this product based on the reviews describing it's simplicity and reliability. The reviews didn't lie.
7 Comments
 Tag fasteners with built in LED lights. Tag fasteners with built in LED lights. The other evening I spent a couple hours in the garage wrapping up the wiring job on the ford. I'd been putting it off for some time but driving after dark was a little stressful with no tag light. So wiring up some license plate lights was in order. I had some hardware from a previous project to mount the plate with. They were little chrome bolts with built in LED lights. I wired them to come on with my parking lights. I'm happy with them they throw plenty of light to see the plate and they're kind of cool as they serve two roles. There are some tight spots on the inside of the trunk so it helps to have a girlfriend with tiny fingers to help you out. 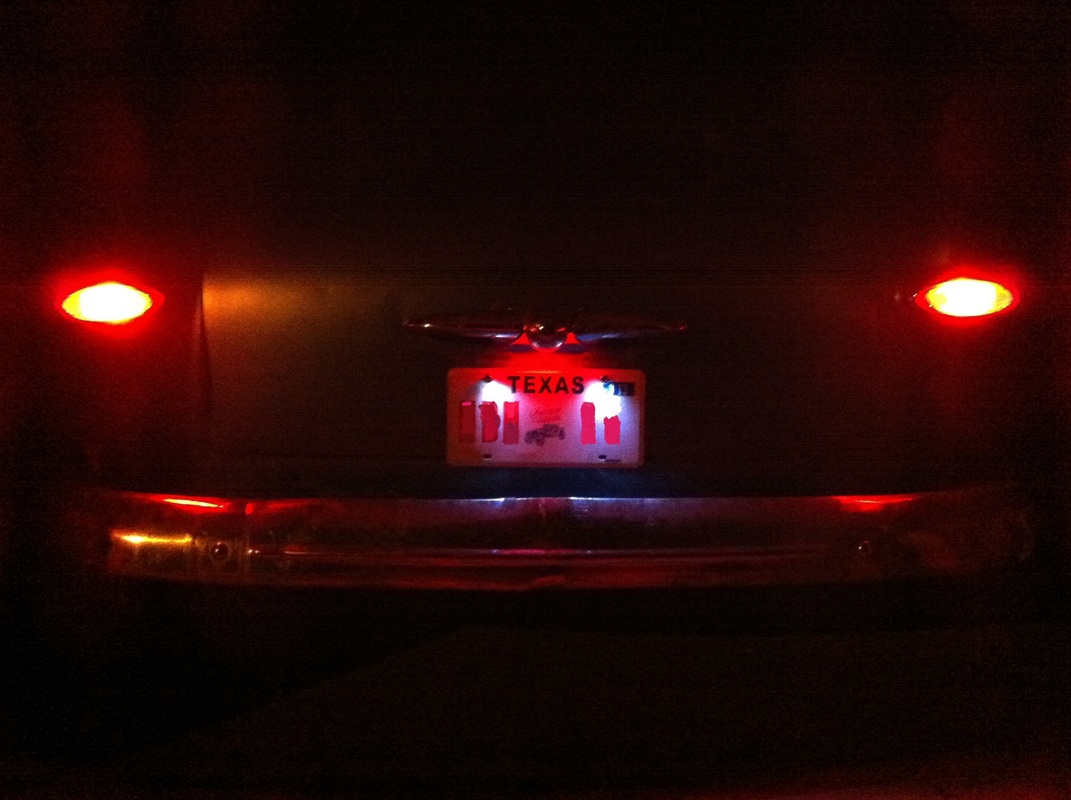 Third brake light above tag. Third brake light above tag. While I was at it I went ahead and wired up a third brake light and hid it up under where the original license plate light mounted. Hopefully this will draw even more attention to the ford as I slow my roll and maybe prevent an accident.
Overall it was pretty easy and without too much drama just a little time consuming, but that's wiring in general. But really I had just procrastinated because I thought it was going to be a bigger pain than it was, now that it's done I wonder why I waited so long. 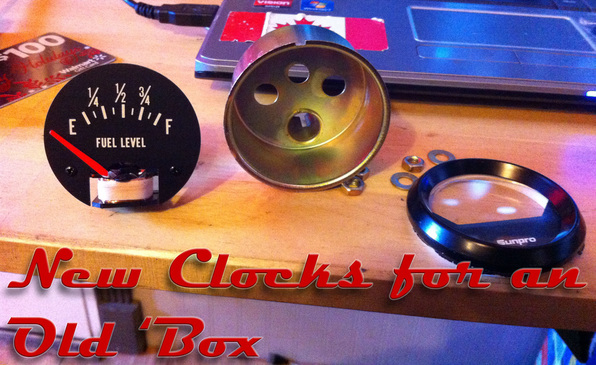 The gauges in my 49 Ford could hardly be seen at night. Not to mention only half of the original 6 volt ones worked.I know that the common solution is to pull one of the little violet domes off of the lights, but I could not see changing away from that sweet phosphorescent UV display the car came from the factory with. I mean how cool is it to have a funky blacklight glow display? I also didn't want the cobbled look of some cheap aftermarket clocks hangin' off the bottom of my pretty dash.
I sort of left the wiring job hanging as far as the blog is concerned. I wrapped up the gauges and tail lights, as well as the stop switch which to my surprise and enjoyment was still operational after 63 years of service. 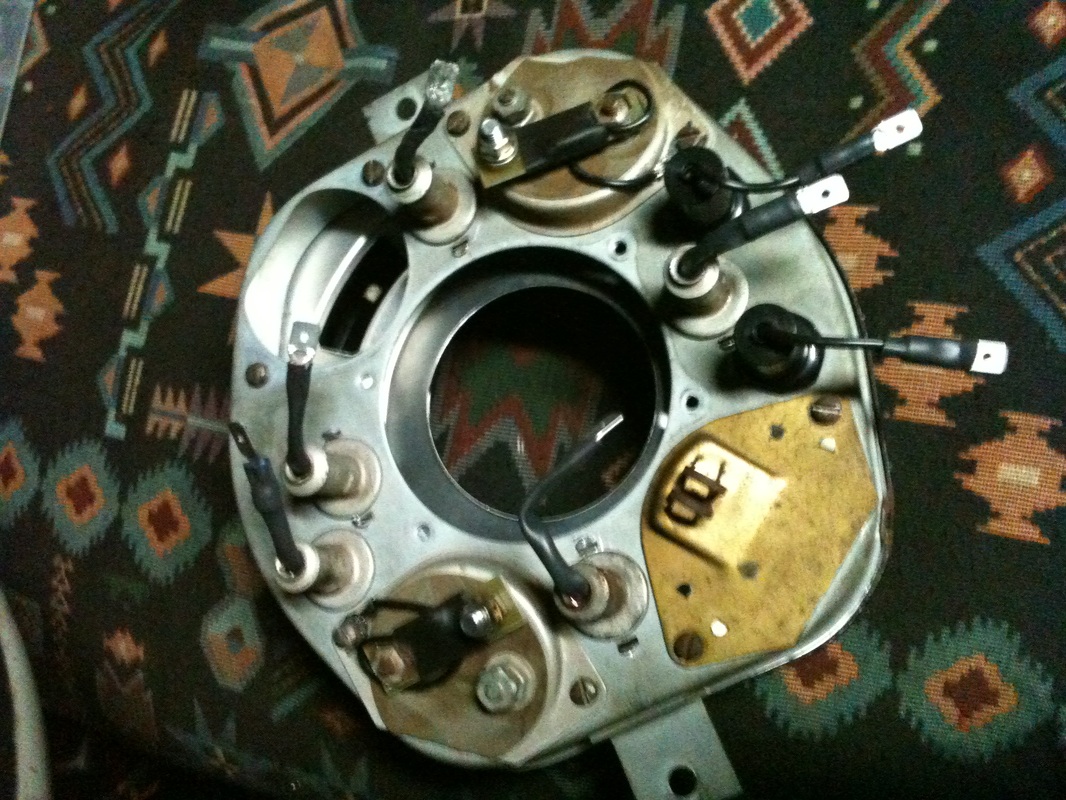 Here is the back of my gauge cluster. You can see the freshly rewired instrument lights as well as the 12v to 6v reducers. The empty hole un the upper left portion is for my fuel gauge I'm not runing it for the moment because it is ruined. I plan pn updateing the gauges with some Sunpro units that all but intall themselves, but for now the oldies will have to do. 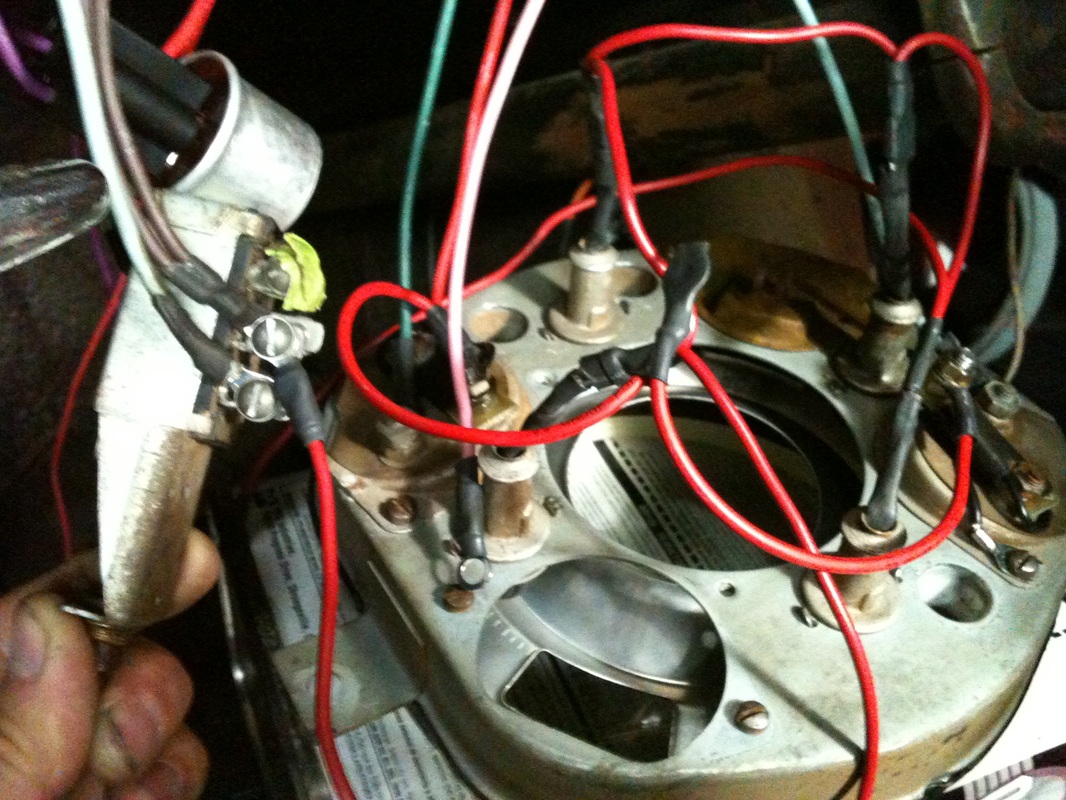 This is the gauge cluster all wired up and ready to go in. Notice the switch I'm holding on the left. That is where I wired the gauge lights into the head/tail lights. That way everything comes on with the headlights. All new wires oh yea! 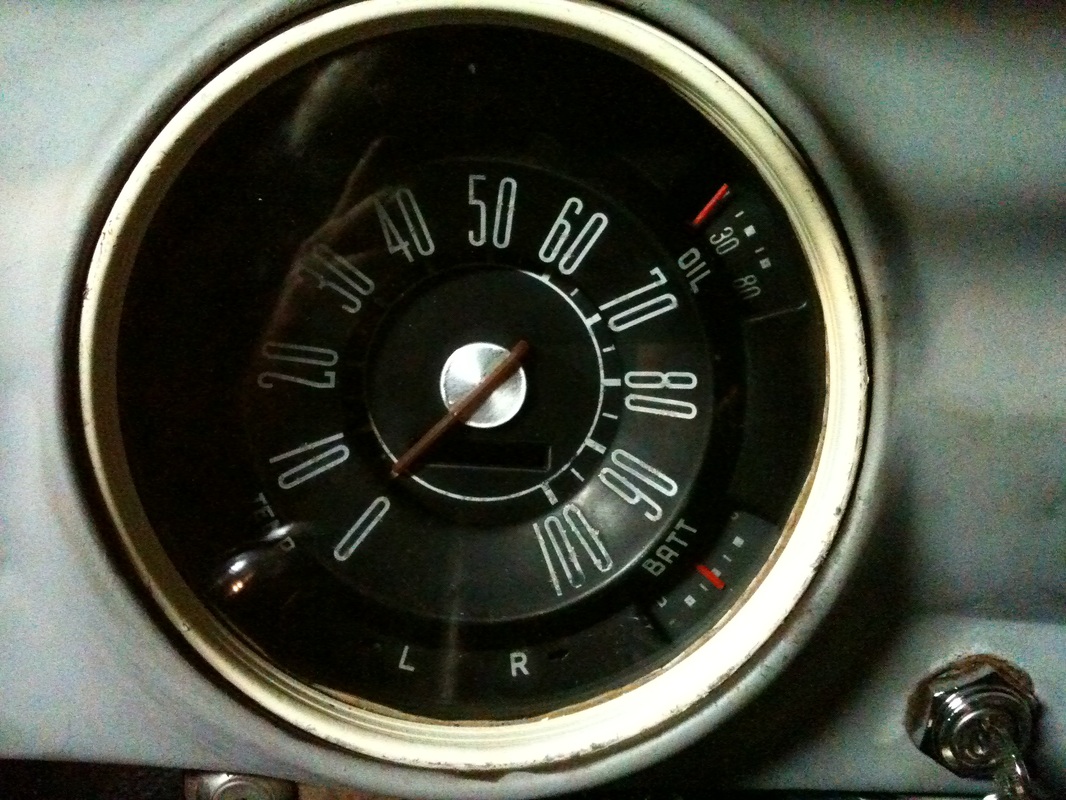 Here we're looking at the completed and reinstalled gauges. The chrome on the trim ring was in rough shape so stripped it and shot it with some almaond colored spray paint until I can figure out a more permanent option. I cleaned up the gauge faces and repainted the indicator needles before reassembly. I also superglued the needle of the speedometer back together. 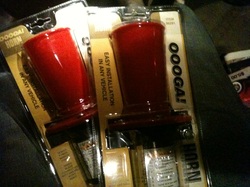 My original 6v horns were cooked so I got apair of aftermarket OOogas. I figured if one was awesome 2 would be even more awesomer, and I had already wired the car for two horns. But red wouldn't do. So.... 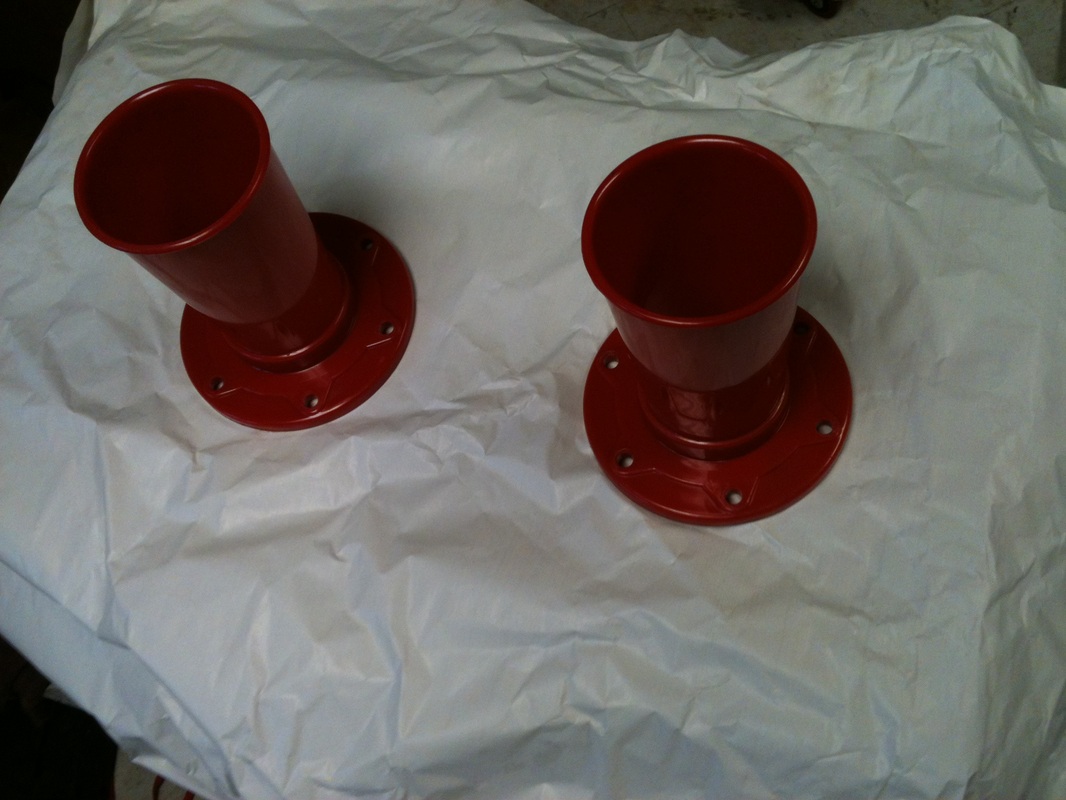 After disassenbly and a little adhesion promoter. 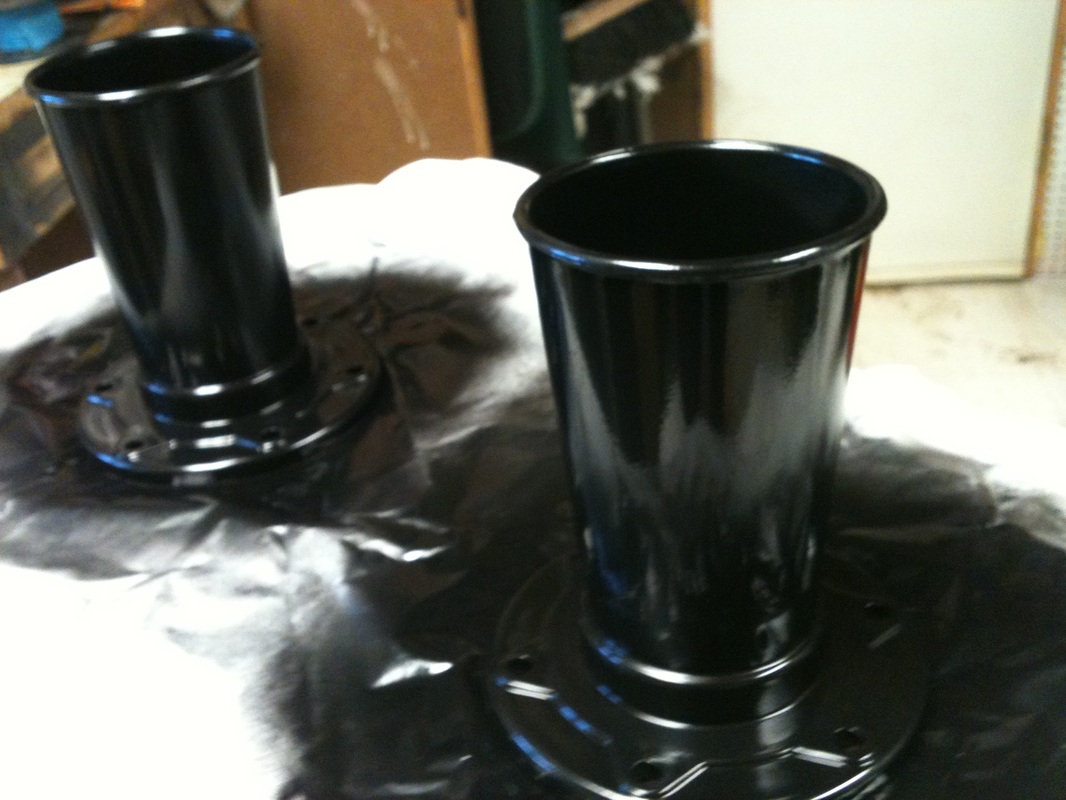 They were painted black. 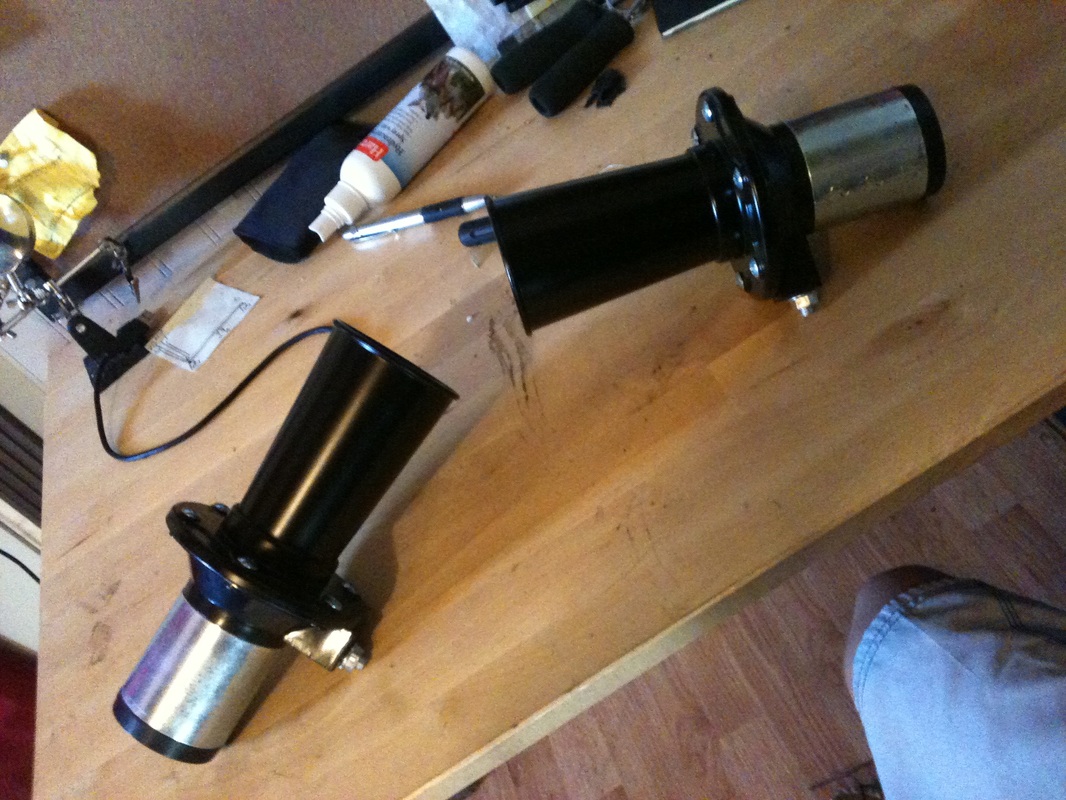 Here they are just before installation black and beautiful, ready to startle unsuspecting pedestrians.
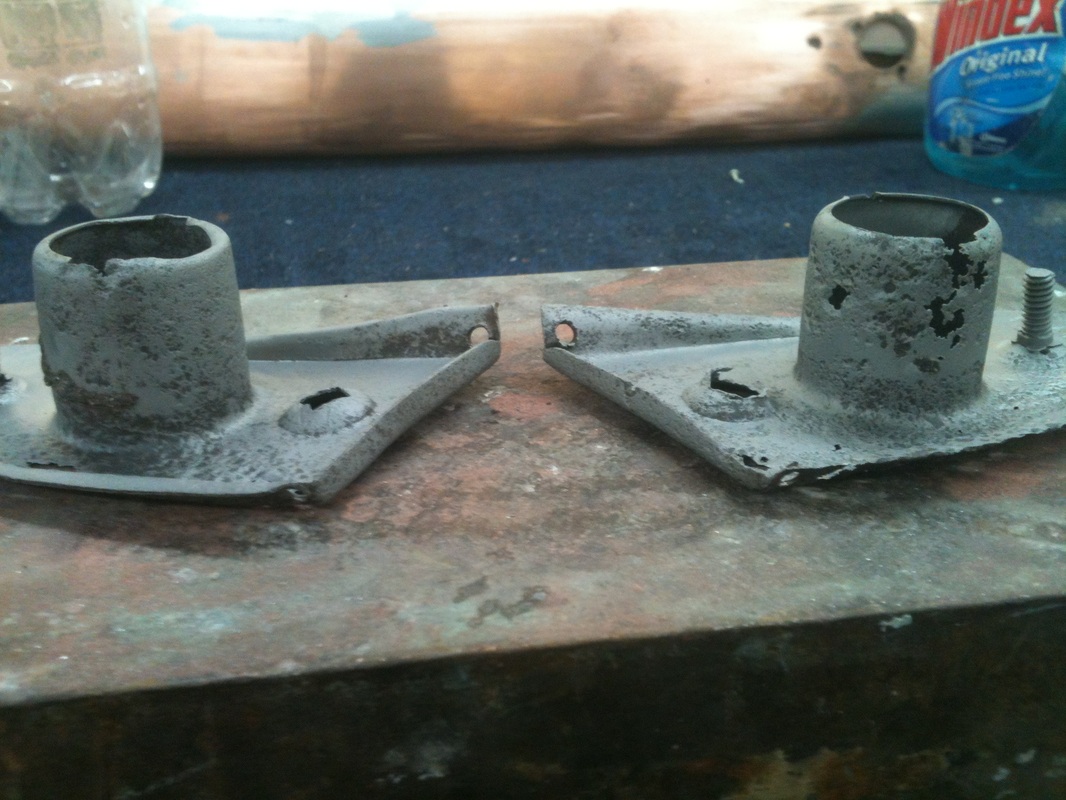
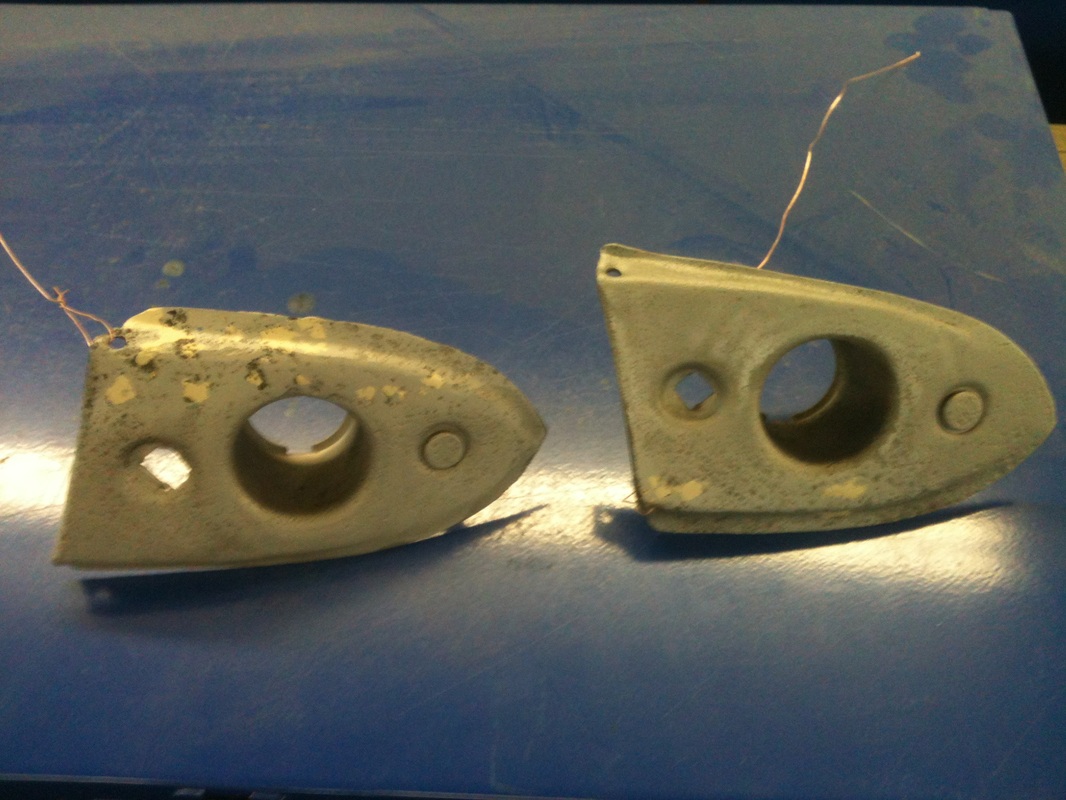
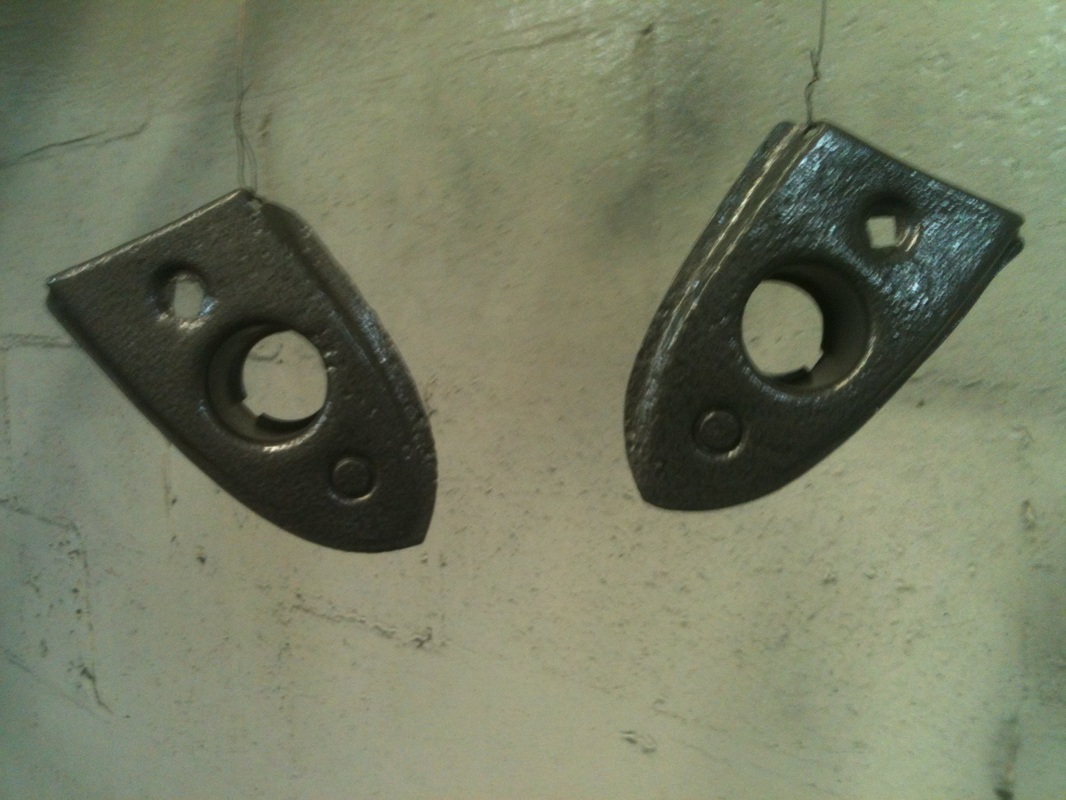
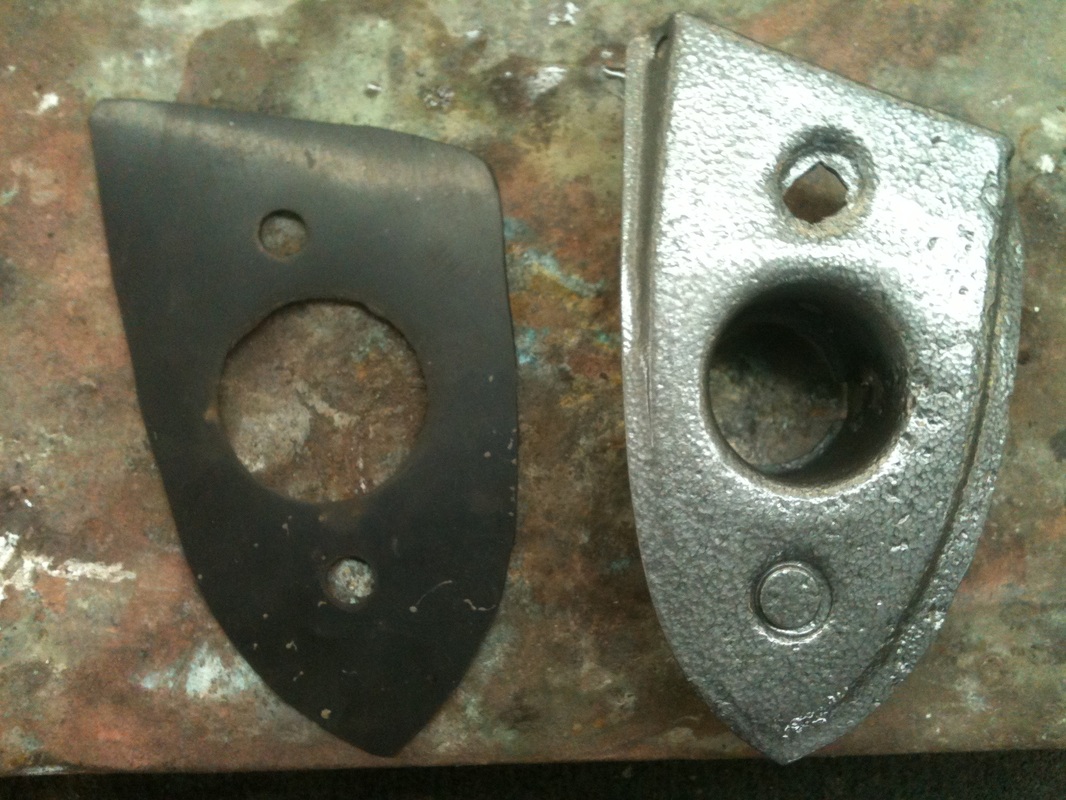
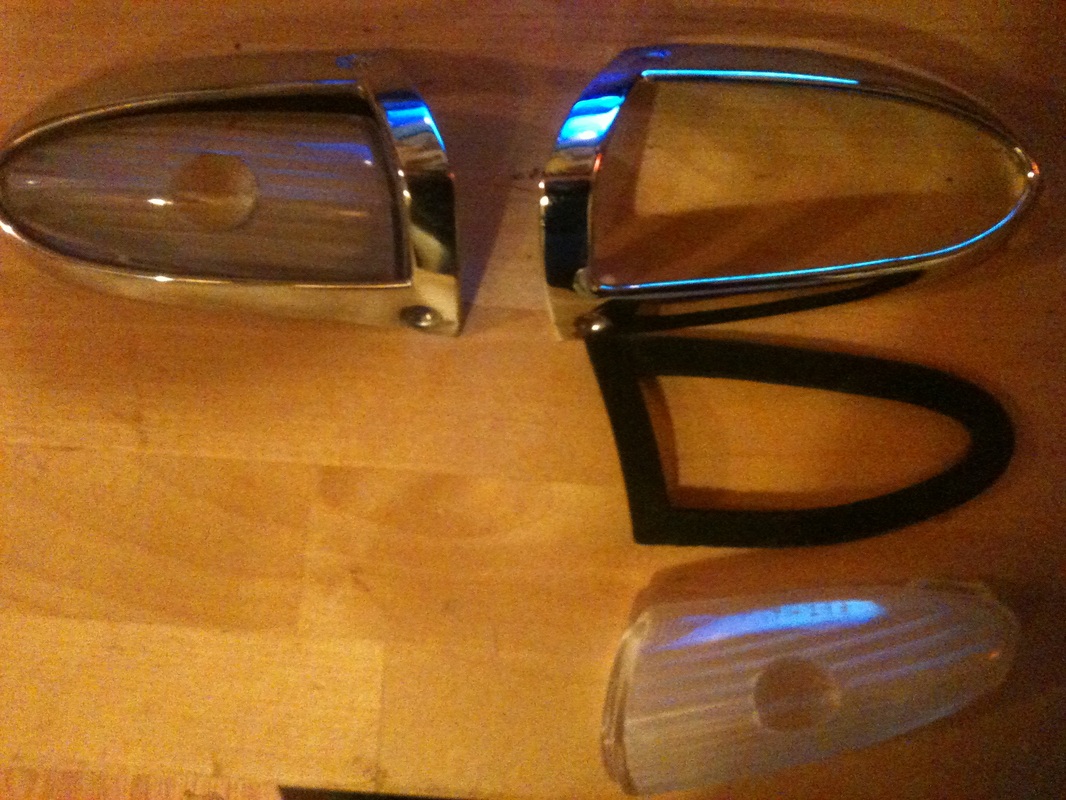
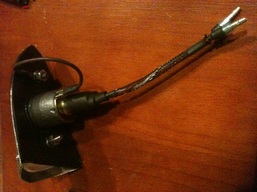
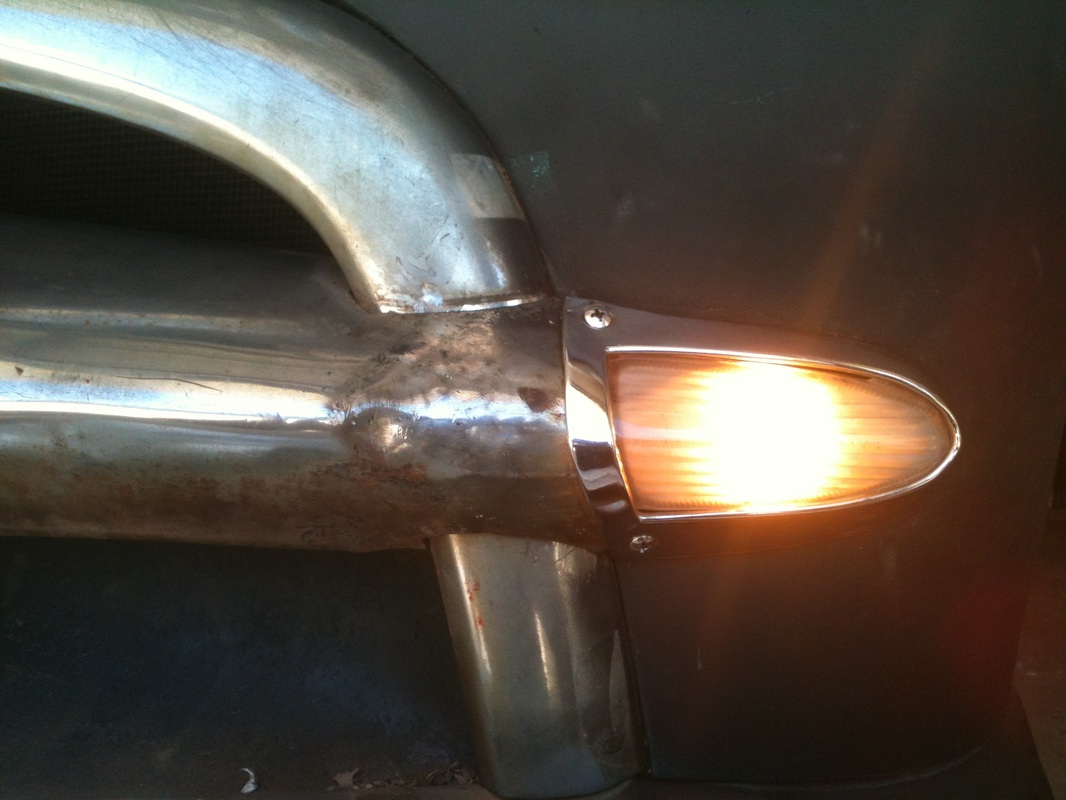
I recently pulled out my parking lamps to see if I could get them to work. The wires were old and crusty. They were also the single filament type but my wiring harness required the dual filament type to run both the parking lights and the blinkers. The removal seemed straight forward but like many things on these old cars nothing is as easy as it should be. The nuts that held the housing to the body were rusted and rounded off which led to me having to pull one of them through its hole. Not good. But finally I had them off and the body hammered back into shape. Afterwhich I was able to start work on the light housings themselves.
I figured it was about time to catch the blog up. A lot of work has taken place since my last entry. Mostly wiring and small projects related to the electrical sysyem on the car.  The best place to start would be to describe my plan or attack. First off the original wires were totally roached as you can see. Some how these wires were carrying current or at least some of them. While pulling out the old harness I found that the fuses in the fuse block were replaced by one length of copper tube and an old fuse wrapped in foil. Wow. Fire hazard anyone?
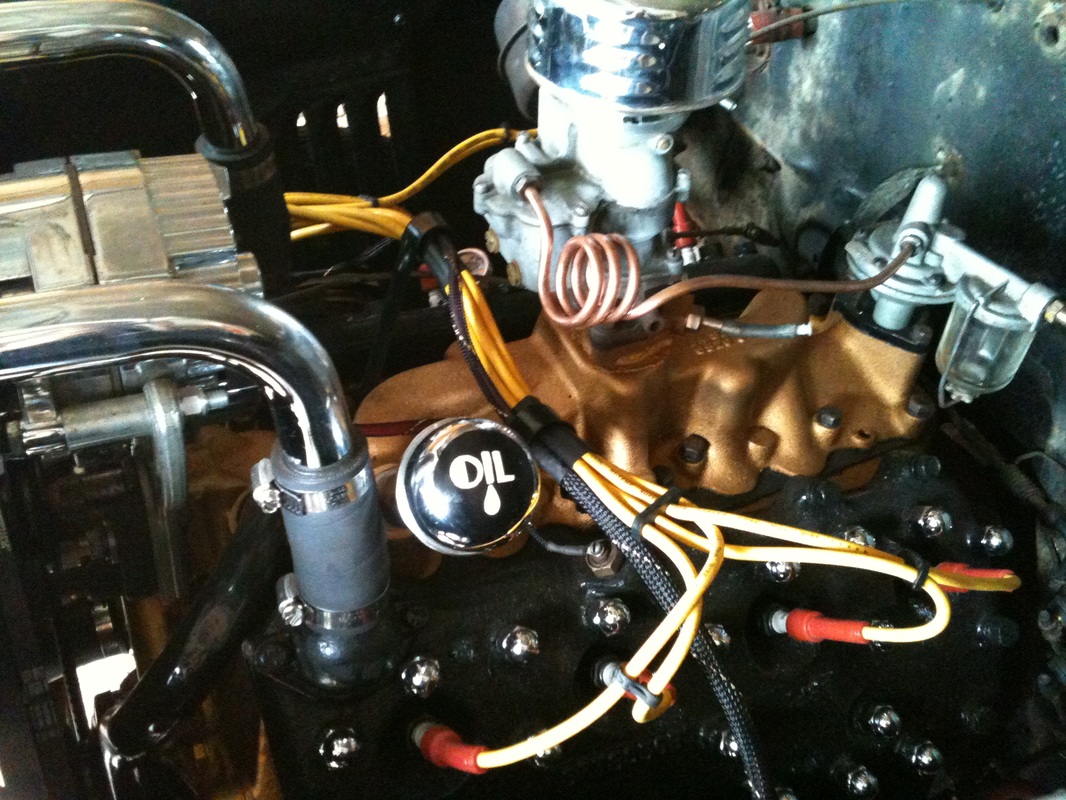 Here is the engine compartment with the wiring completed. Thanks to Nick D. for the sweet oil cap. To recap, wiring is a long, tedious process, but when done right it can be highly rewarding. Short of cranking up an engine for the first time there are few feelings more satisfying than pulling out the headlight switch and watching those sweet halogen beams sweep out from the garage. 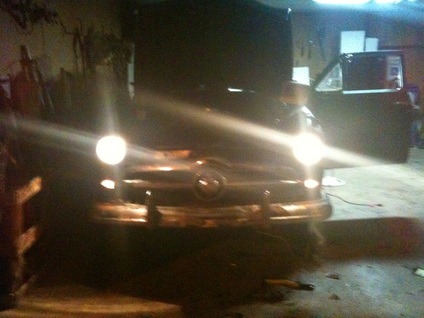 Ta Da! 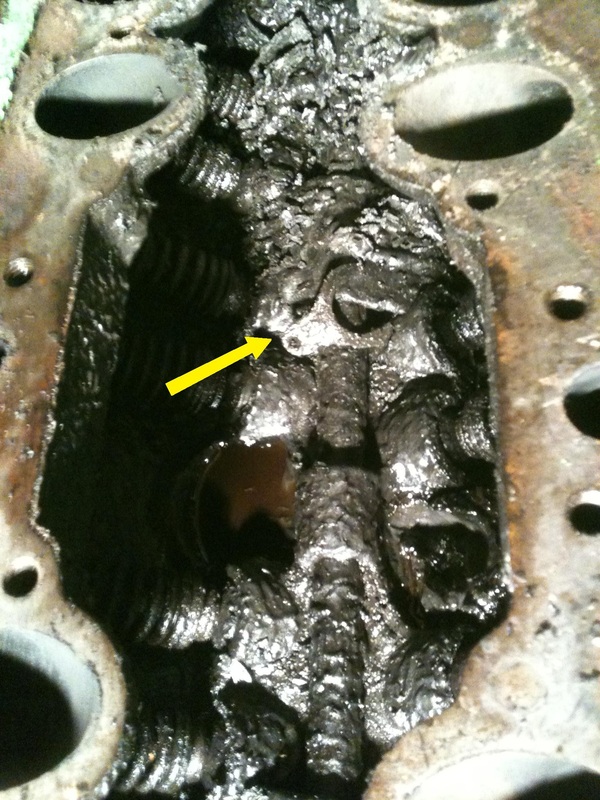 I thought I'd get the blog up to speed with my progress so far. The nasty tapping noise coming from the engine turned out to be one of my valves. I figured it would be something simple, or was hoping it would be. Turns out a valve spring retainer, pictured on the left, had jumped off allowing the cam to slap the valve and make a nasty racket. Not to mention the valve never closing all the way causing that cylinder to not work properly and the motor to run all wonky. I had heard that the filtration on these old flatheads was less than adequate and I was expecting a pretty nasty mess inside but I was unprepared for what awaited me under the intake manifold. It looked like a tar pit I expected to find a mammoth skeleton in there. The Sea Foam treatment that I had tried to free the valve with, I thought it was just stuck, was sitting in little pools in the sludge. It was thick, it was messy and it was disgusting. My mind reels at the thought of what the inside of the oil pan is like. But With some elbow grease, and the help of a good buddy it was all cleaned up. 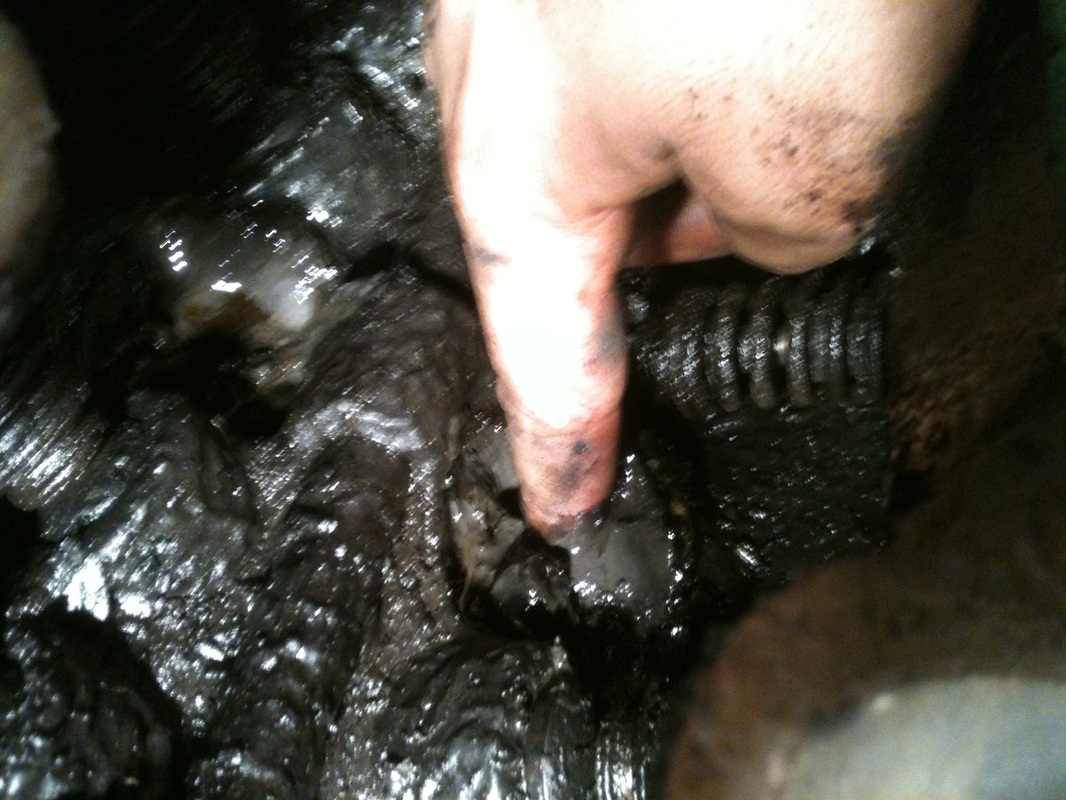 This is my index finger buried to the first knuckle in motor gunk. GROSS! I researched more advanced oiling systems for this motor, and there are a number of options. From a very simple upgrade to a more efficient old style filter all the way up to a complete overhaul that involves routing an oil line through the oil pan and replacing the pump with a higher volume one. This would entail a rebuild also and at looser tolerances, plus the kit was 400 bucks. That option was out. It seemed the best way to go was the 95% system which involves drilling new oil passages and plugging up existing ones to reroute the current system into something that resembles a more modern one. In other words something that sucks a lot less. This seems like the best option, but there's a catch it does involve drilling into the block, and unless you plan on a thorough cleaning and rebuild this isn't something you really want to go and do. So my thoughts are to go with a hybrid of system made up of a remote mounted modern filter and most of the original system. Will it work? Who knows, but it will get the HIDEOUS and ridiculous filter mounted to the head out of the way and hopefully keep the oil from going Le Brea Tar Pit on me again. I knew I was in trouble when I pulled the fuel pump off to find the push rod in this condition. 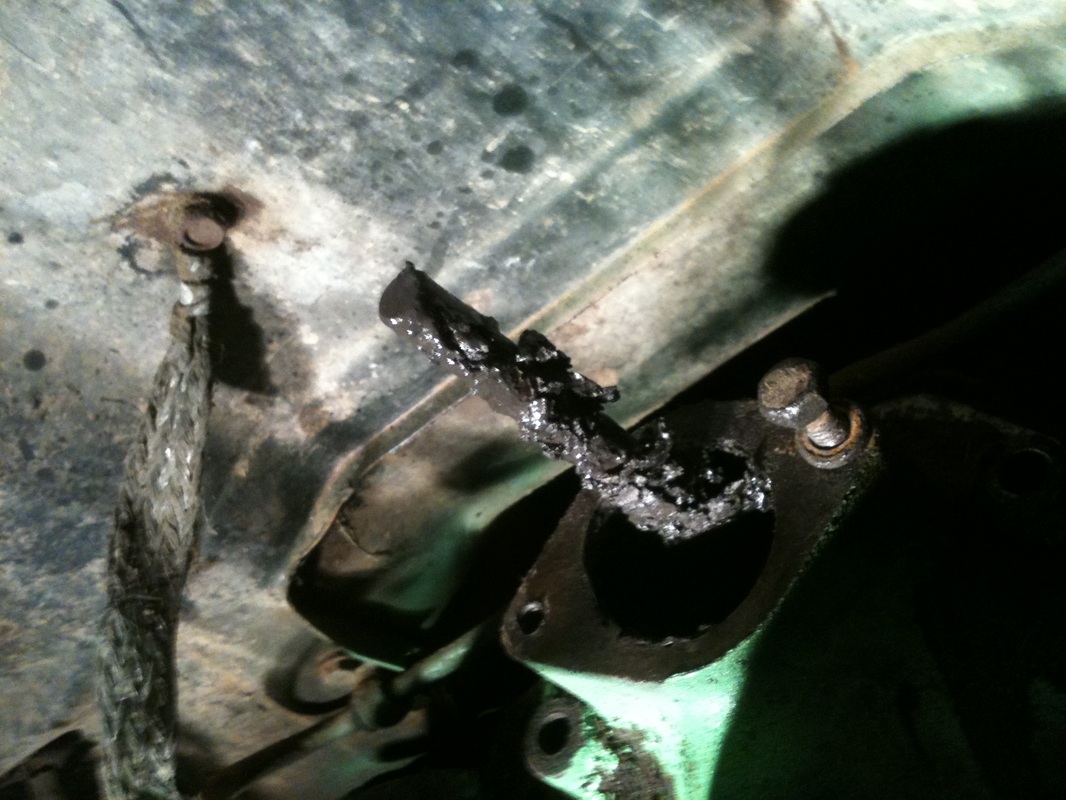 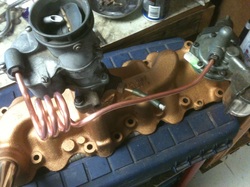 So I knew the lime green engine paint had to go. I read somewhere that at the end of '49 they painted some of the blocks bronze. This sounded good enough to me, so I thought I'd go for a bronze and black paint scheme. After paint stripping and sandblasting the intake manifold I gave it a nice coat of high temp engine paint. I thought some copper fuel line would look pretty cool and I figured why not put a pig tail in there for kicks. I began putting the loops in with a hand held tubing bender. It was apparent that this wouldn't work from the get go, too awkward and the tube kept threatening to kink on me. I began looking for other options and found the perfect solution, a bottle of Italian dressing did the trick. The neck of the bottle was the ideal diameter for the fuel line. 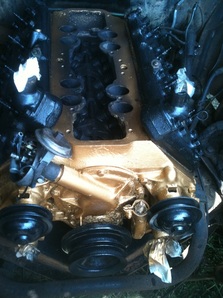 With the intake manifold squared away I moved on to cleaning all the road grime off of the engine, this no small task. I found that the previous owner didn't bother to do this before he painted it that woeful hue so a lot of the lime green scraped off with the dirt. After which I masked the engine and shot it in the engine bay. This is not the ideal way to paint a motor, but as a rebuild is not in the budget right now, I didn't think pulling the motor for a clean up and reshoot would be the best move either. I went with gloss black on the heads and pulleys and bronze everywhere else. This is what I ended up with. Solid gold right? Is it how the pros would do it? Not a chance, but to me a cleaner less lime green engine is a vast improvement. Now to check the valve lash and install the mainifold, carb, fuel pump, and all the other junk that goes on before she'll run again. I figured I'd say a little something about my horns. These cars came with a Hi and Lo tone horn system comprised of two separate horns. I thought they'd be shot after 63 years and had my eye on an OOOooga horn to replace it, but lo and behold a little 12V juice and they screamed back to life. What a noise too! I played one then the other. Then both together. I've never heard a more manly horn in my life. There's no way I could think of getting rid of them now. So I sandblasted them, shot them with etch primer after knocking the dents out of one of the domes and then finished them in gloss black.  Here they are under etch primer. The flat green looked so good I almost didn't want to paint them. Notice my indifferent dog in the background. 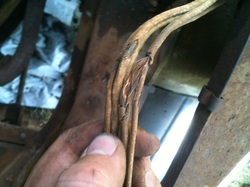 Finally I thought I'd include a word or two on my wiring, or more appropriately my lack of wiring. The pathetic bits of original wiring that is left in the car all look like this. In a word "Roached". It's a disgusting affair with original fabric loom that cracks off and turns to dust when you go near it. It is awful. I have ordered a new wiring harness and plan to dedicate an entire entry to the wiring debacle.
With all signs pointing to a complete rebuild have I finally bitten off more than I can chew? Will I ever drive this car again? Can I repair this car before its rusts completely away? Tune in next time and find out. 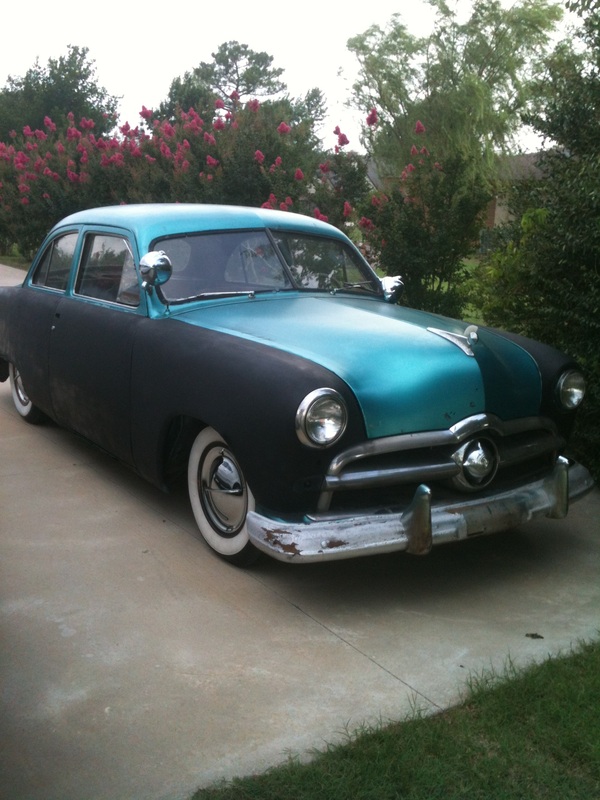 A couple weeks ago I picked up this 1949 Ford deluxe 2 door. I chose it for a number of reasons. Not the least of which was the fact that I could drive it home. The ride home was actually not that dramatic, it would go and stop, albiet the stop was better than the go. I figured that if I bought one out of town I'd either have to tow it or rent a trialer. A couple hundred bucks to just get the thing into my driveway didn't sound too good. Also I picked this one because it had a fresh back window. That's about 325 without the rubber trim. along with the back window there were a number of replacement patch panels for all the rust holes, of which there are plenty. It has the original flathead V8 under the hood. When I got it it was painted, poorly, lime green. I have since taken steps to switch up the paint scheme. Some black and gold should do the trick. The first thing I thought I'd do is fix up the wiring as it was starting a little hard and the wires looked ROUGH. I ran down to the parts store after taking a look at what I had to work with. 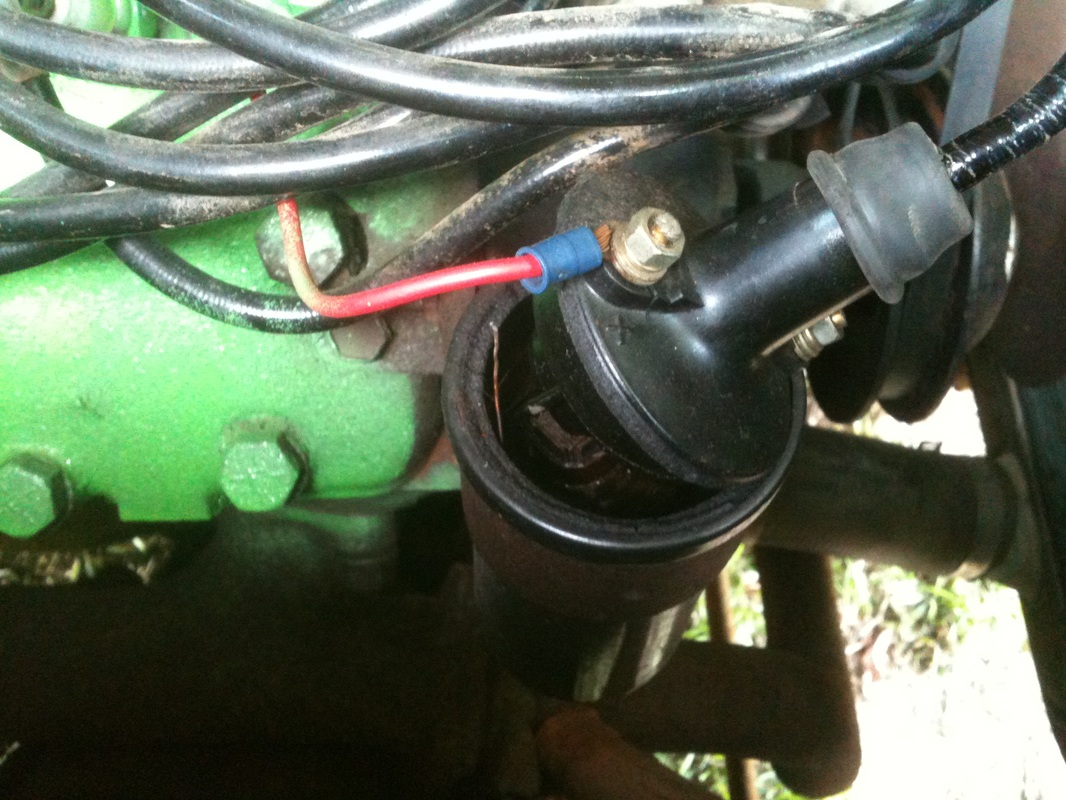 It's safe to say I needed a new coil. Notice the cracked up old coil wire! So after I did a little research I settled on some Accel 7mm wires and a 42,000 volt Super stock coil. I knew I wanted to eventually upgrade to the electronic ignition conversion that PerTronix makes so I made sure that the coil I chose wouldn't cause any problems. The PerTronix Ignitor system is a bolt on kit that take the place of your points under the distributor cap and can be had for around 75 dollars and if it saves me from having to maintain a points setup it is well worth it. Not to mention more accurate timing, longer spark plug life, more horse power, greater efficiency, ect. I'll make a post about the install process when I get it in.  Dig the kooky 70's style lettering. The accel coil is nice and tidy and an easy install. If I had to do it again though I'd save 3 bucks and get the Yellow option as the chrome on this one is cheap and thin. 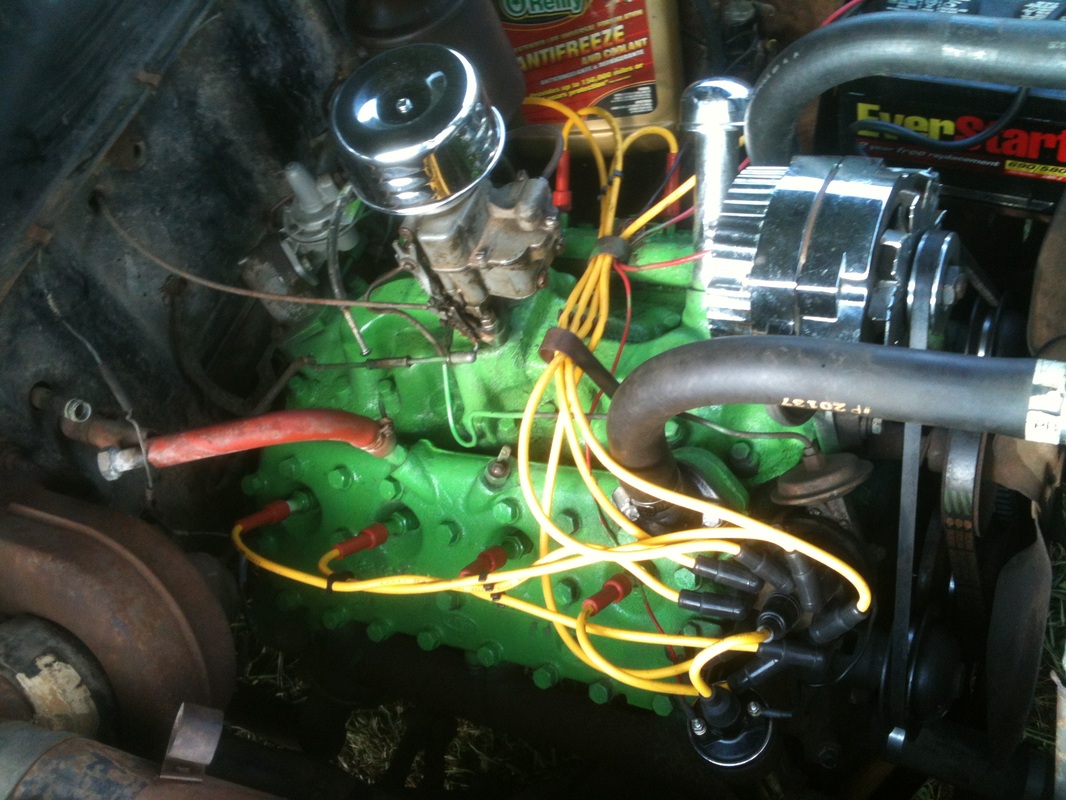 This is the result after I cut down the new wires to fit and installed them. She starts up now instantly and seems to have more power. There's a pretty nasty tick coming from beneath the intake manifold that I'm going to to invsestigate soon. I have big plans for the car including a new wiring harness, remote battery, new fuel tank, a flex fan, and just general upgrades where I can fit them in. |
Categories
All
Archives
September 2019
GREen Bible Aerostar Coils FloorPans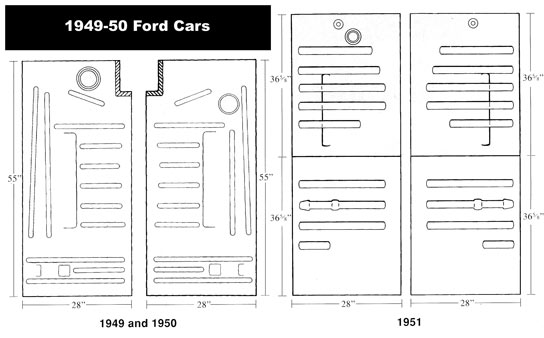
© 2018 Aaron Starnes.
All Rights Reserved. |


 RSS Feed
