AARON STARNES
  • Home
  • Writing
  • LLC
  • Contact Me
  • '49 Ford Blog
  • Adventure Blog
  • Project Pics
  • Home
  • Writing
  • LLC
  • Contact Me
  • '49 Ford Blog
  • Adventure Blog
  • Project Pics
Search

Parking Lamp Restoration

8/31/2012

0 Comments

 
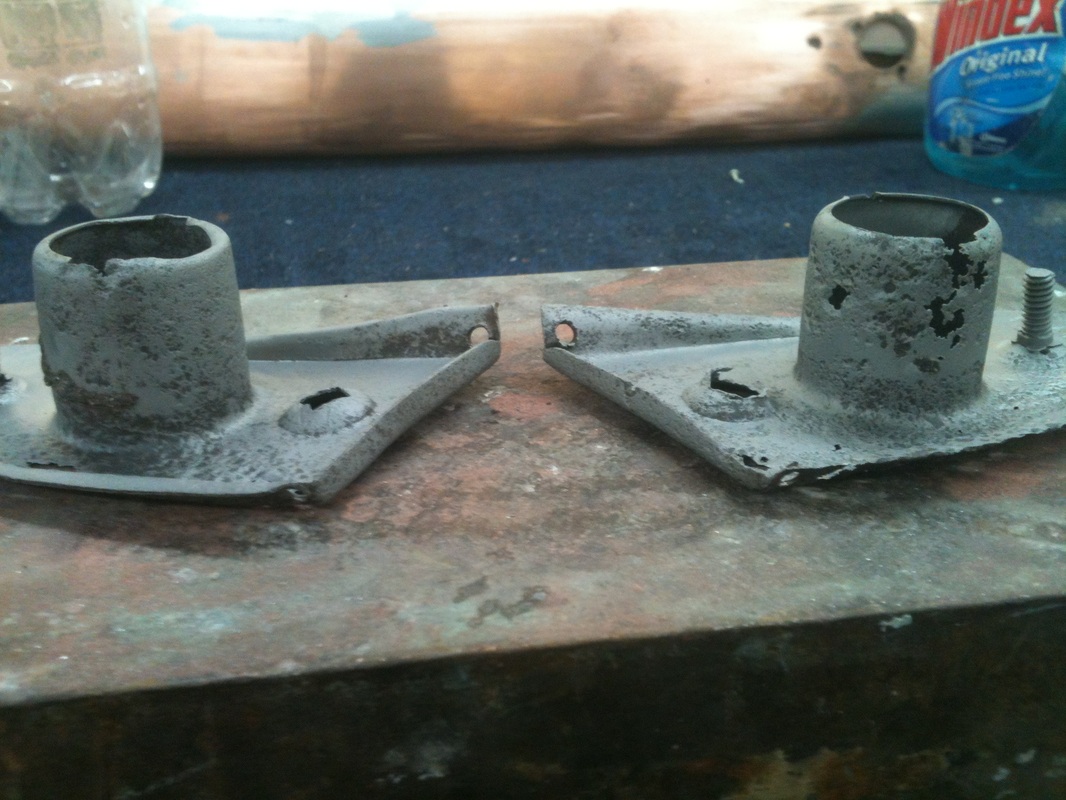
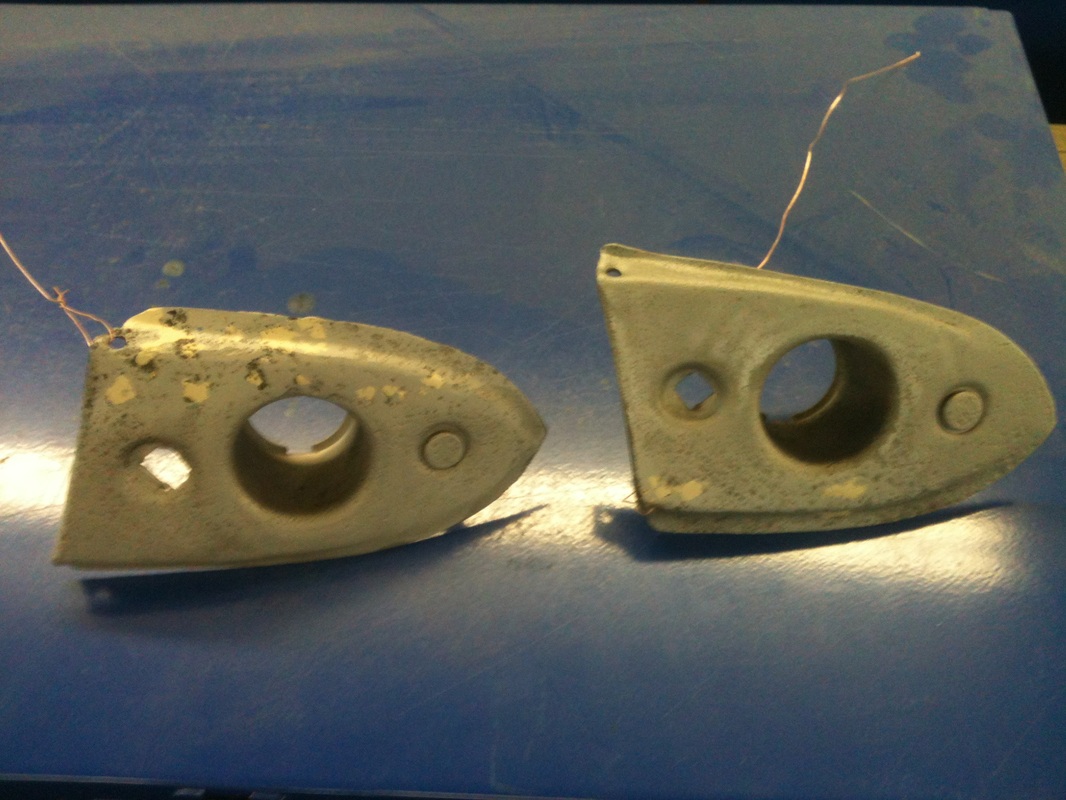
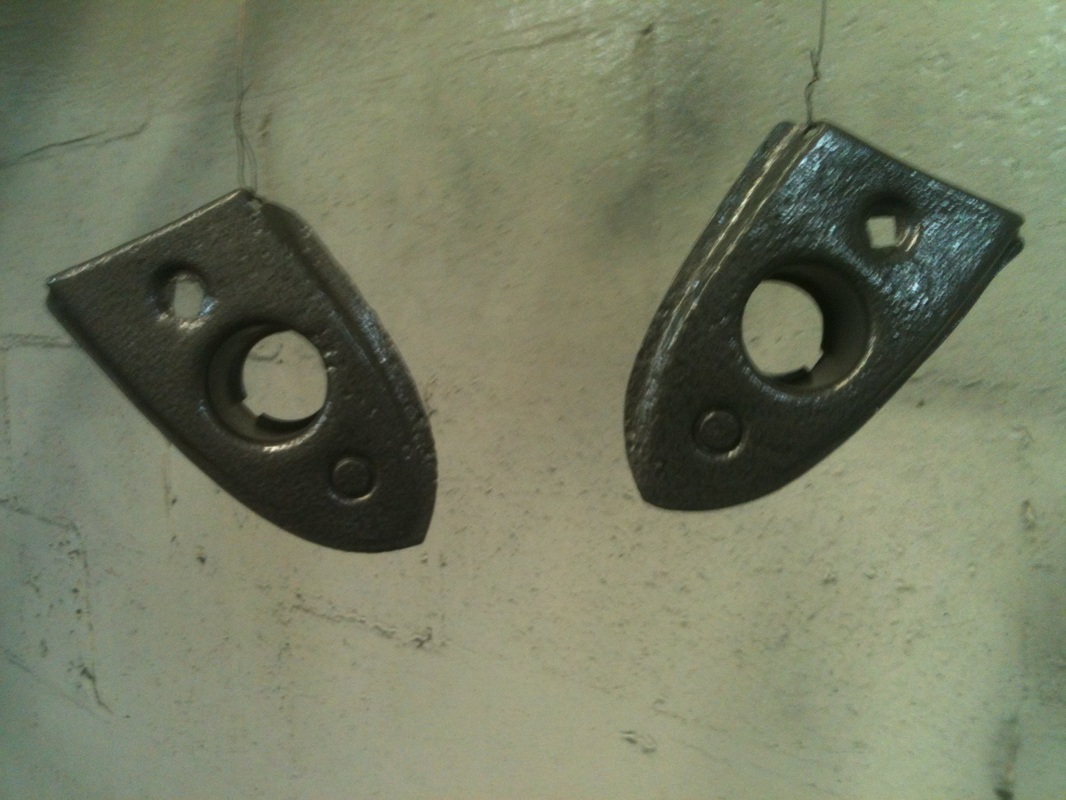
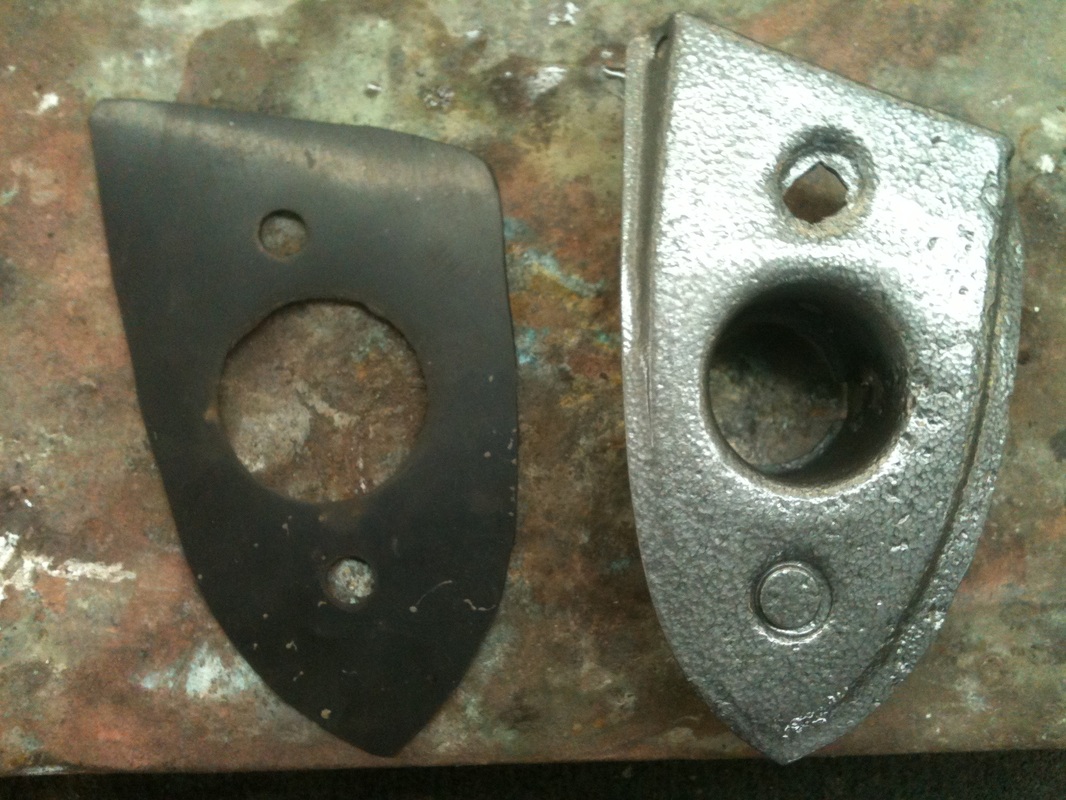
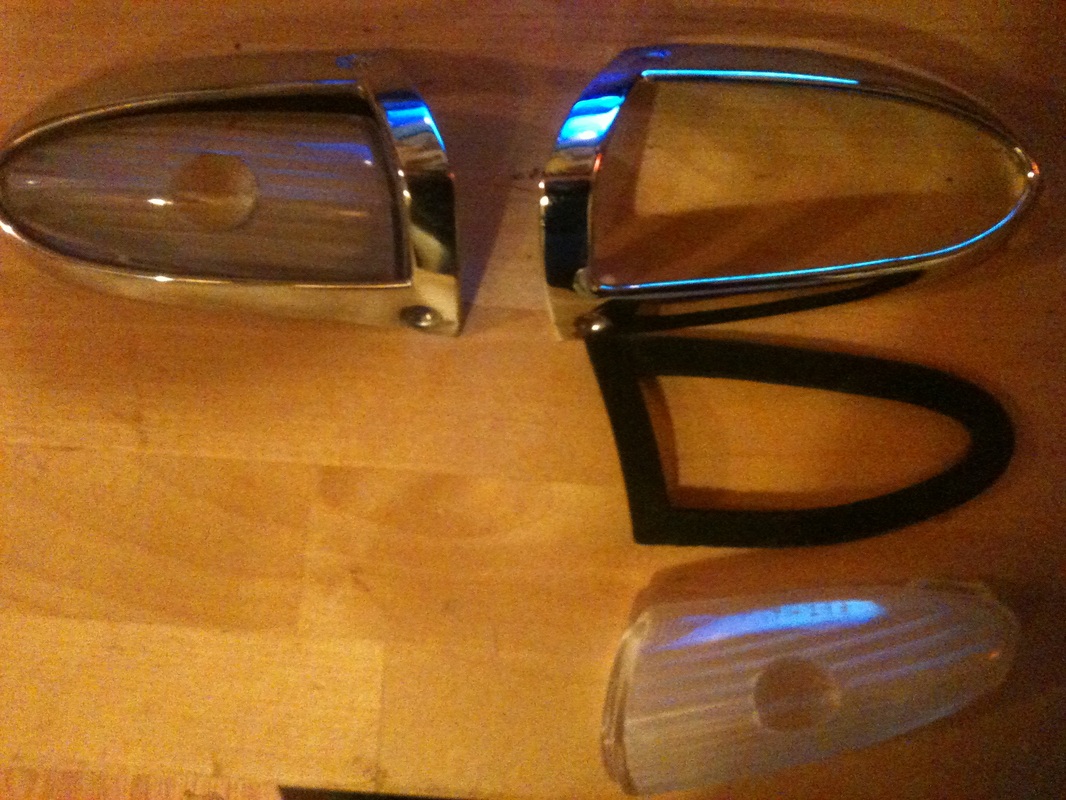
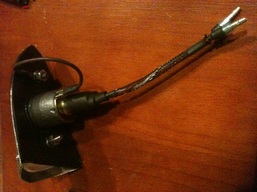
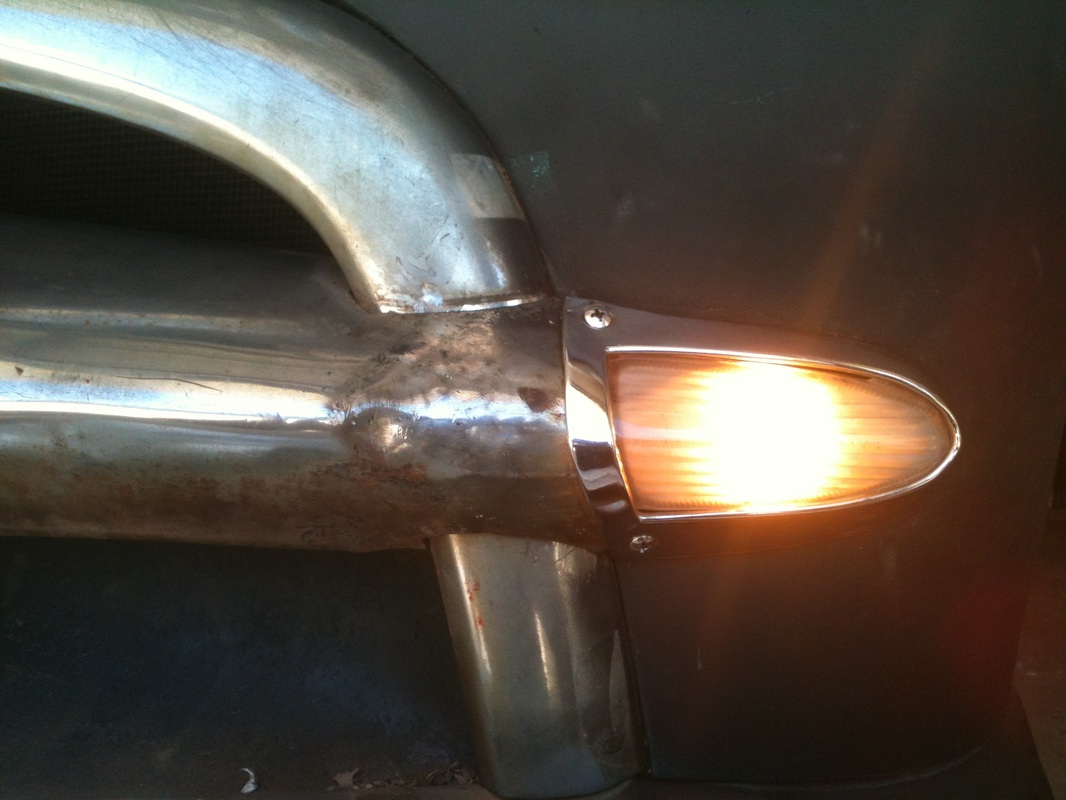
I recently pulled out my parking lamps to see if I could get them to work. The wires were old and crusty. They were also the single filament type but my wiring harness required the dual filament type to run both the parking lights and the blinkers. The removal seemed straight forward but like many things on these old cars nothing is as easy as it should be. The nuts that held the housing to the body were rusted and rounded off which led to me having to pull one of them through its hole. Not good. But finally I had them off and the body hammered back into shape. Afterwhich I was able to start work on the light housings themselves.
1. I pulled out the lamps and they were in bad bad shape. After sandblasting they looked like swiss cheese. Also 2 of the bolts had to be clipped out with bolt cutters because they were rusted so severely.


2. After sandblasting I got after them with a torch and some hard solder. I filled all the pin holes and rebuilt the parts which had corroded away with solder. I reblasted them and that's what you see here.


3. The pitting was really bad which left the surface very rough, so I decided to use a hammer tone paint which sort of bended the look of the paint with the surface below.


4. Next I laid out some scrap rubber and cut some body seals to go behind thelamp housings. Pretty straight forward, but a variety of punch sizes will help keep the holes tidy. In retrospect I sould have used a thicker more spongy rubber to make the body seals from.


5. These are the bezels, lenses, and lens gaskets I ordered from shoeboxford.com a website that specializes in 49-51 Ford passenger cars. They a a forum full of great information and they sell just about anything you could want. These bezels are pretty tough to find as no one is reproducing them at the moment. The lenses are the old glass style.


6. Here is a rear shot of the whole assembly. I used a universal dual contact light socket for these I picked up at Napa. It was cheap and easy enought to modify for my purpose and it fit nice and tightly. I fuinished it of with some bullet connectors, techflex, and some heat shrink. Overall I'd say I'm very pleased with these.


7. Once again nothing is easy. I hadn't looked that closely at the grille on this side of my car, but apparently she has been hit hard on this front corner. If you look closely you can see the grille is beat up pretty good by some former owner. I persuaded it back into shape as well as I could and eventually got it all to line up. I thought the other side with no apparent damage would be the easy one, but I actually had to totally disassemble the grille to get that one on. This is where the aforementioned thicker body seals would have come in handy.  
Picture
Picture
Picture
Picture
Picture
Picture
Picture
0 Comments


Leave a Reply.

    Categories

    All
    Body
    Brakes
    Driving
    Engine
    Floors
    Fuel System
    Glass
    Interior
    Suspension
    Wiring


    Archives

    September 2019
    July 2019
    January 2019
    October 2018
    August 2018
    March 2016
    December 2015
    November 2015
    September 2015
    June 2015
    August 2014
    July 2014
    June 2014
    April 2014
    March 2014
    January 2014
    December 2013
    November 2013
    August 2013
    June 2013
    April 2013
    March 2013
    January 2013
    October 2012
    August 2012
    July 2012
    March 2012


    GREen Bible


    Aerostar Coils


    FloorPans​

    Picture

    RSS Feed

    © 2018 Aaron Starnes. 
    ​
    All Rights Reserved.
Powered by Create your own unique website with customizable templates.
  • Home
  • Writing
  • LLC
  • Contact Me
  • '49 Ford Blog
  • Adventure Blog
  • Project Pics