AARON STARNES
  • Home
  • Writing
  • LLC
  • Contact Me
  • '49 Ford Blog
  • Adventure Blog
  • Project Pics
  • Home
  • Writing
  • LLC
  • Contact Me
  • '49 Ford Blog
  • Adventure Blog
  • Project Pics
Search

Wiring Part 1

8/31/2012

0 Comments

 
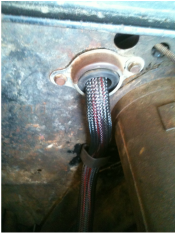
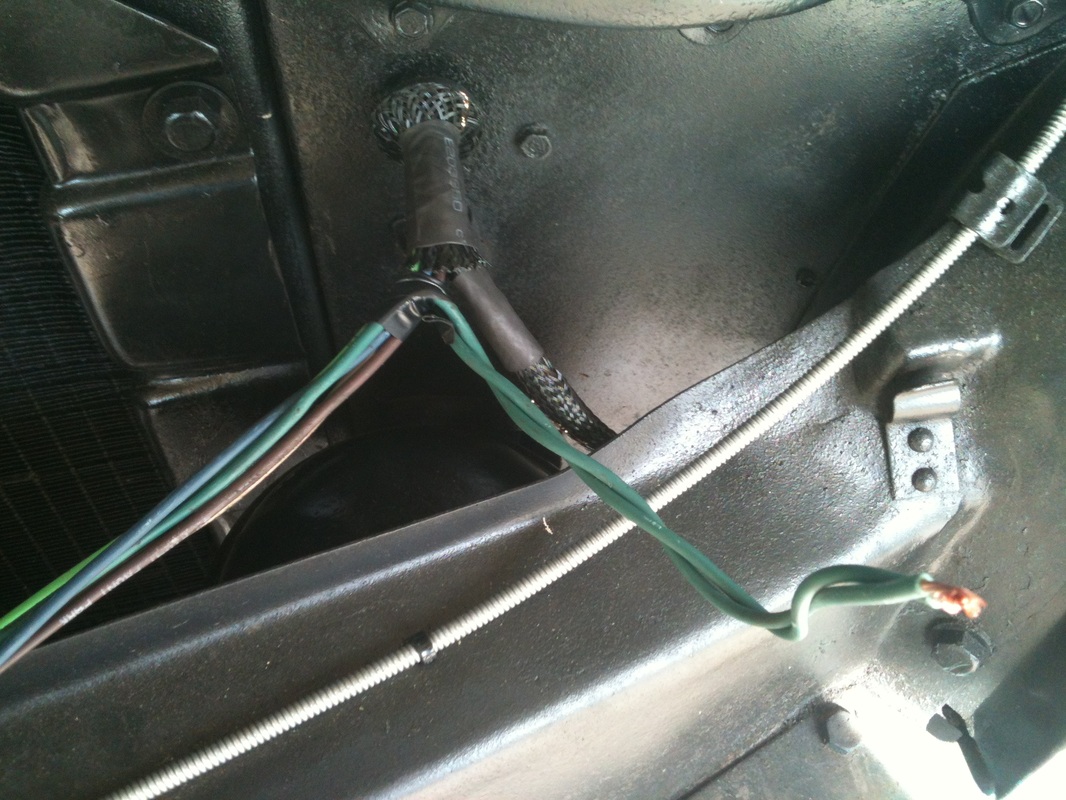
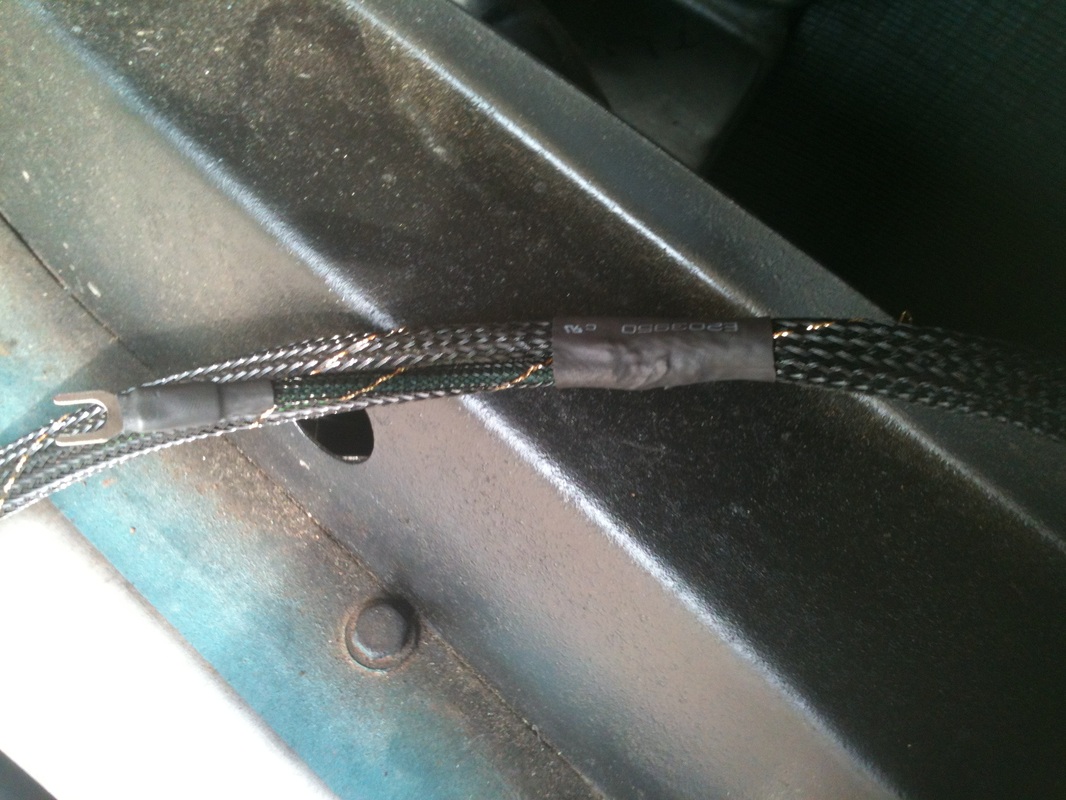
I figured it was about time to catch the blog up. A lot of work has taken place since my last entry. Mostly wiring and small projects related to the electrical sysyem on the car.
Picture
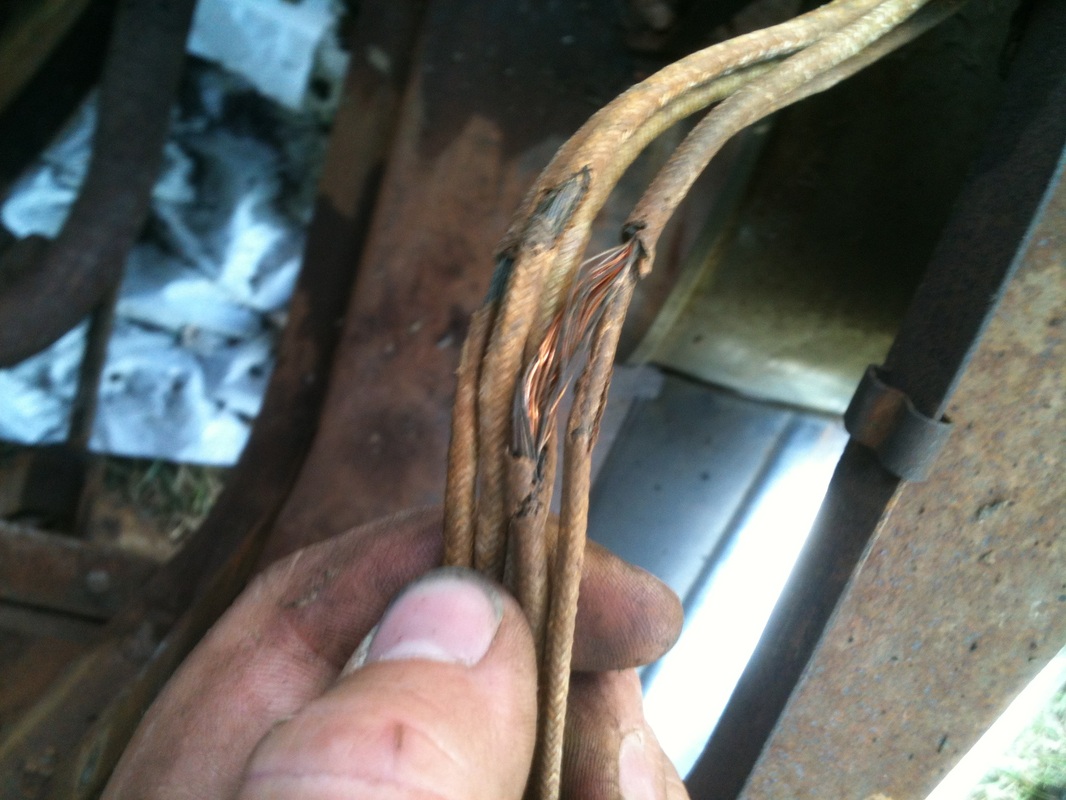
The best place to start would be to describe my plan or attack. First off the original wires were totally roached as you can see. Some how these wires were carrying current or at least some of them. While pulling out the old harness I found that the fuses in the fuse block were replaced by one length of copper tube and an old fuse wrapped in foil. Wow. Fire hazard anyone?

So what is a guyto do? Well this guy started looking around for an inexpensive way to get a fresh new harness in his car. I scoured the internet and came up with this 12 circuit harness from Speedway motors. I mounted the fuse box up under the dash behind the e-brake handle out of the way. You can see some of the old harness here next to the new one. 

 After securing it I had a big mess of wires to sort out. Some going forward to the engne compartment, some back toward the tail lights and some for the dash controls and gauges.

One of my biggest pet peeves wih any older vehicle is botched wiring. It's not just awful to look at and often times fails, it's downright dangerous.

Picture
Picture
Picture
Picture
I wanted to go back with fabric wiring harness, but I couldn't spend the dough for one. So back to the internet and I found a product called techflex which offers that fabric look but can be cut to fit.

The techflex can be tricky as it must be cut using a hot knife, or you could use my method and heat some scissors with a torch. It is time consuming, and I think there are probably easier ways of doing things. But this is the look that I wanted so I didn't mind spending a little extra time for a tidy job. Below is an example of how I sorted the harness. This is my horn powerI ran it in line with my headlights. I solder all terminals on before heat shrinking them. Again this takes longer than merely crimping but it offers peace of mind. 
Picture
Picture
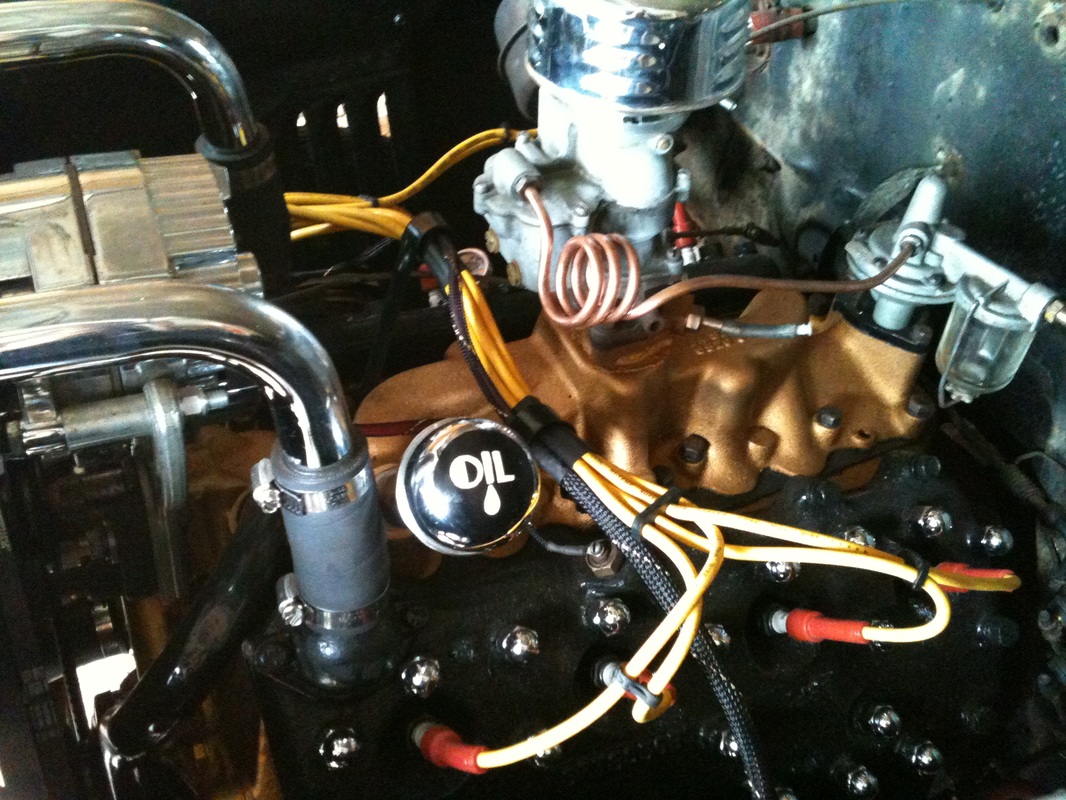
Here is the engine compartment with the wiring completed. Thanks to Nick D. for the sweet oil cap. To recap, wiring is a long, tedious process, but when done right it can be highly rewarding. Short of cranking up an engine for the first time there are few feelings more satisfying than pulling out the headlight switch and watching those sweet halogen beams sweep out from the garage.  
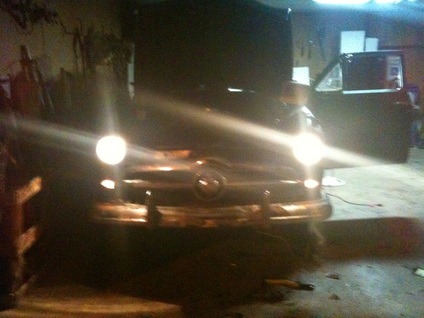
Picture
Ta Da!
0 Comments


Leave a Reply.

    Categories

    All
    Body
    Brakes
    Driving
    Engine
    Floors
    Fuel System
    Glass
    Interior
    Suspension
    Wiring


    Archives

    September 2019
    July 2019
    January 2019
    October 2018
    August 2018
    March 2016
    December 2015
    November 2015
    September 2015
    June 2015
    August 2014
    July 2014
    June 2014
    April 2014
    March 2014
    January 2014
    December 2013
    November 2013
    August 2013
    June 2013
    April 2013
    March 2013
    January 2013
    October 2012
    August 2012
    July 2012
    March 2012


    GREen Bible


    Aerostar Coils


    FloorPans​

    Picture

    RSS Feed

    © 2018 Aaron Starnes. 
    ​
    All Rights Reserved.
Powered by Create your own unique website with customizable templates.
  • Home
  • Writing
  • LLC
  • Contact Me
  • '49 Ford Blog
  • Adventure Blog
  • Project Pics