|
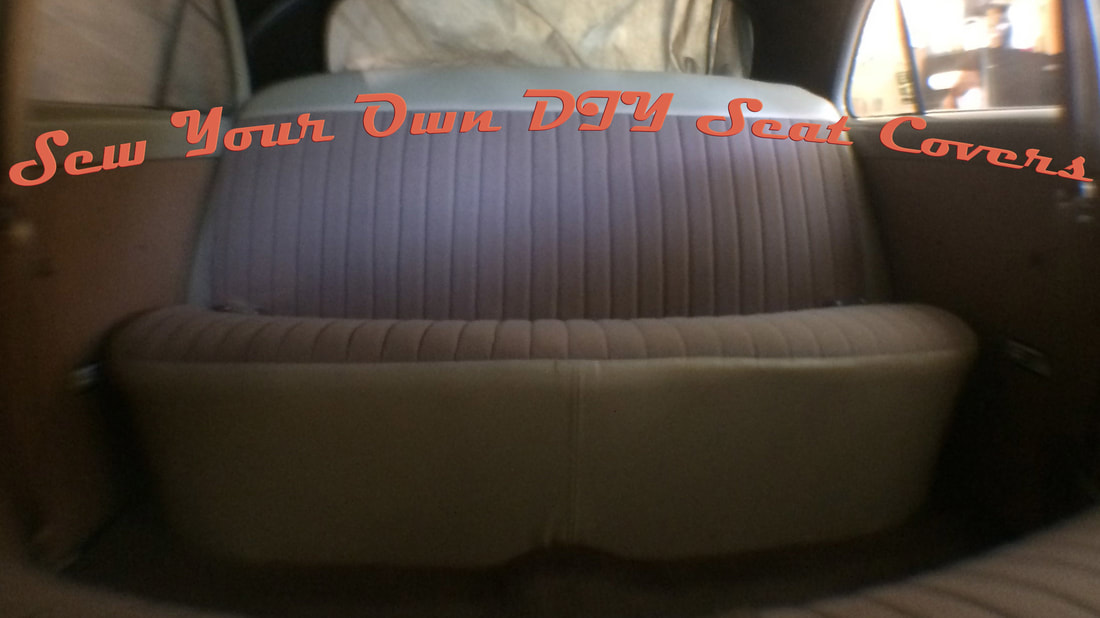
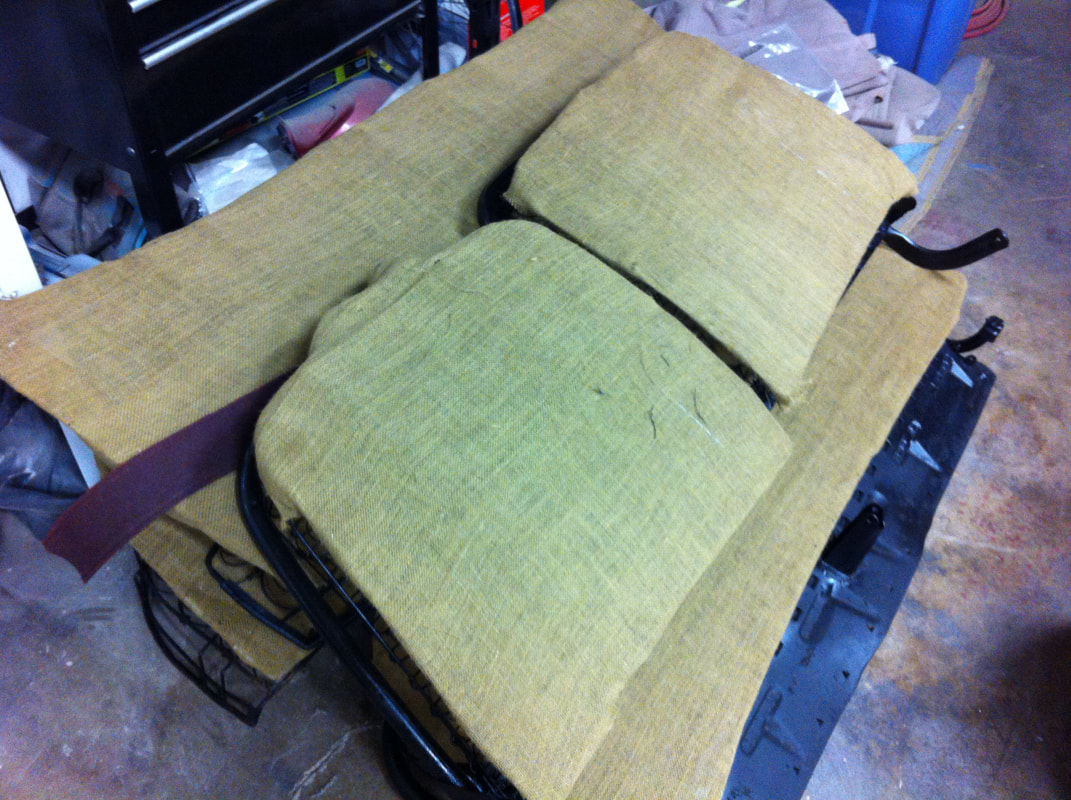
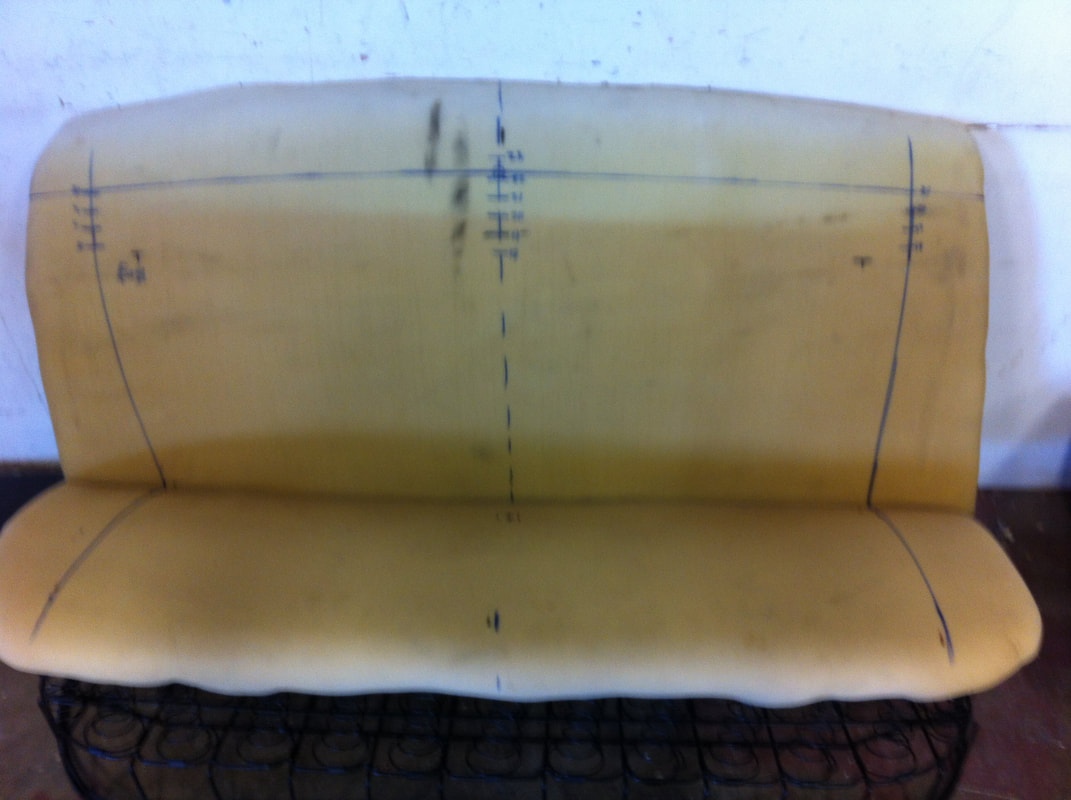
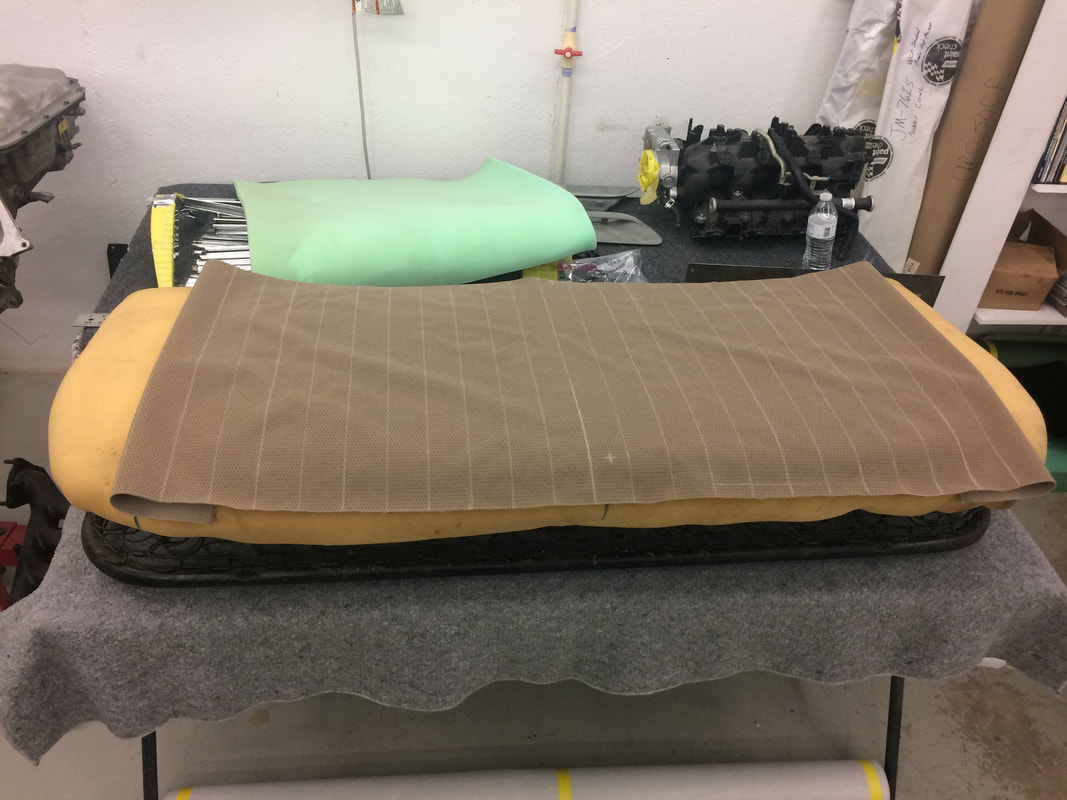
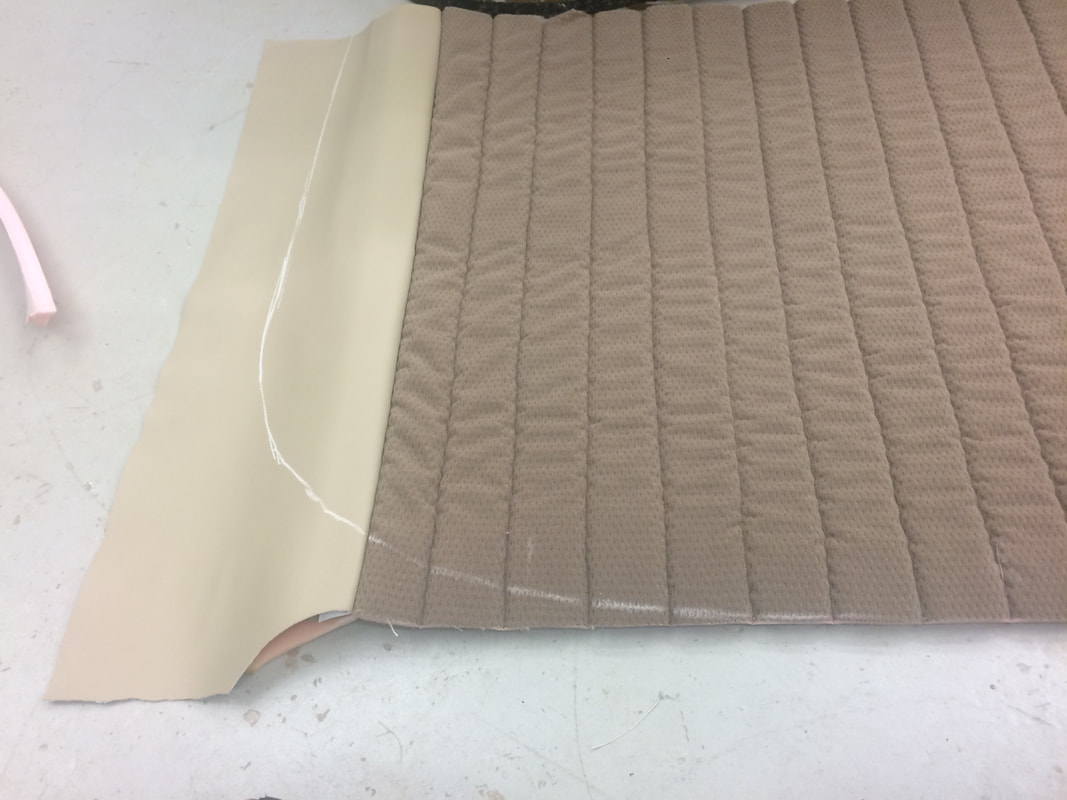
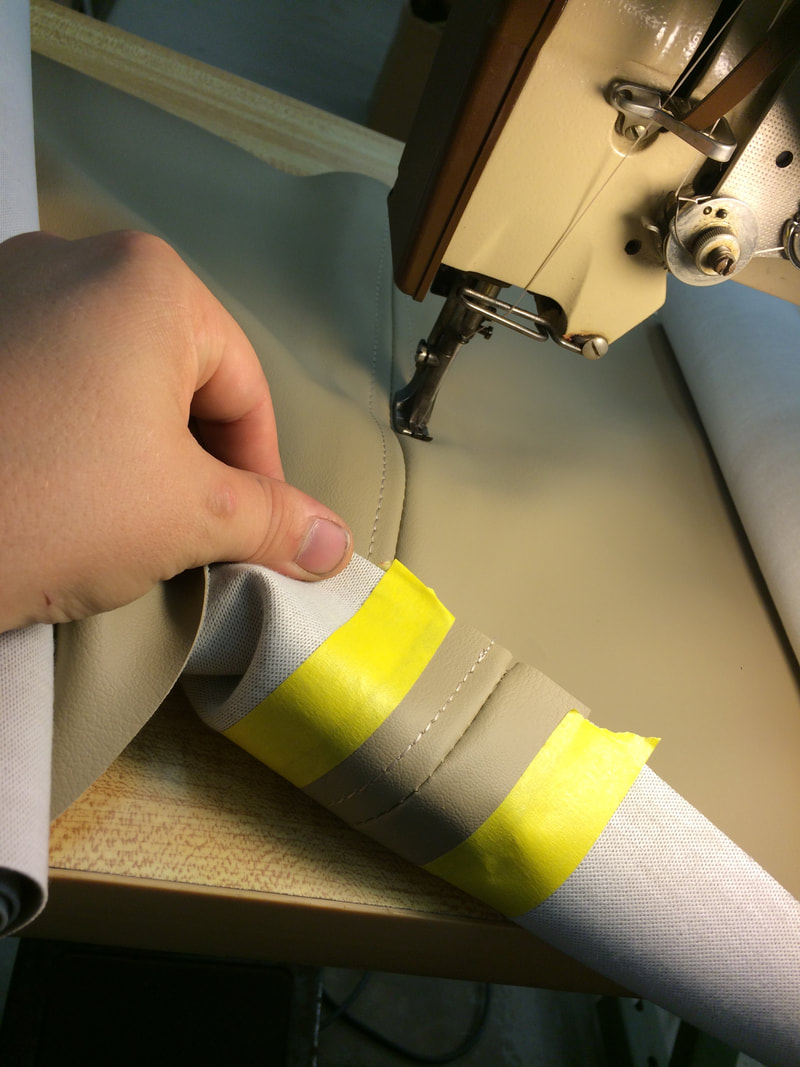
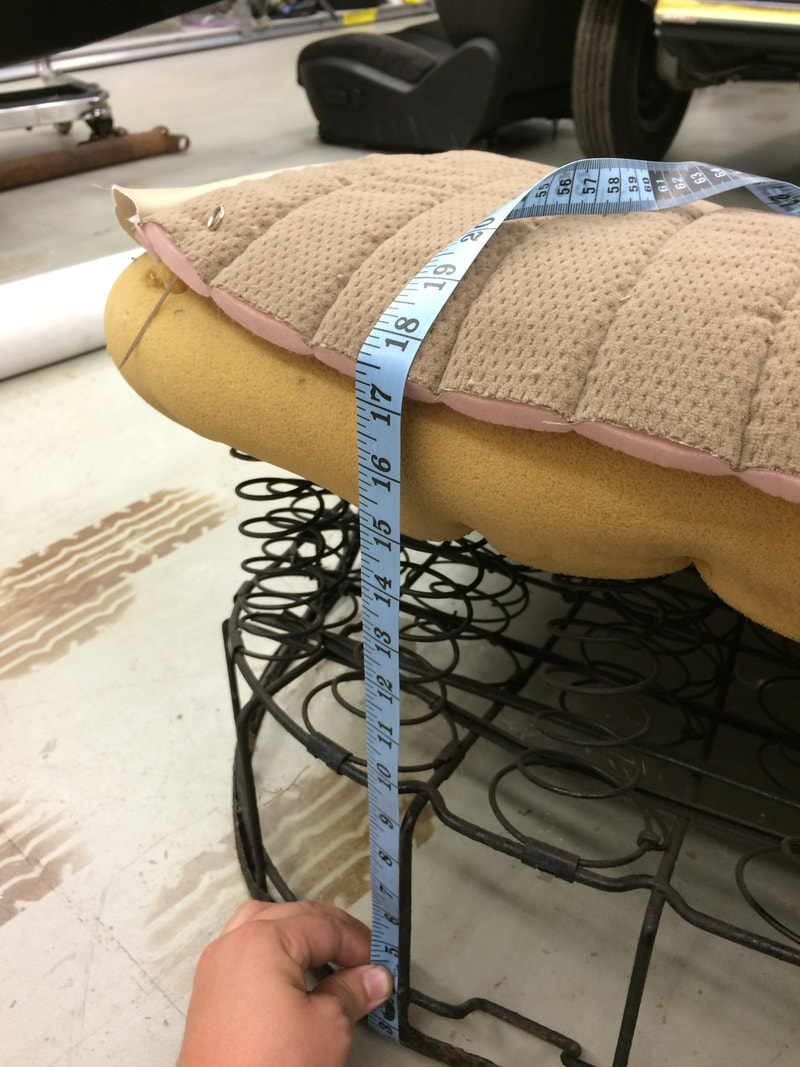
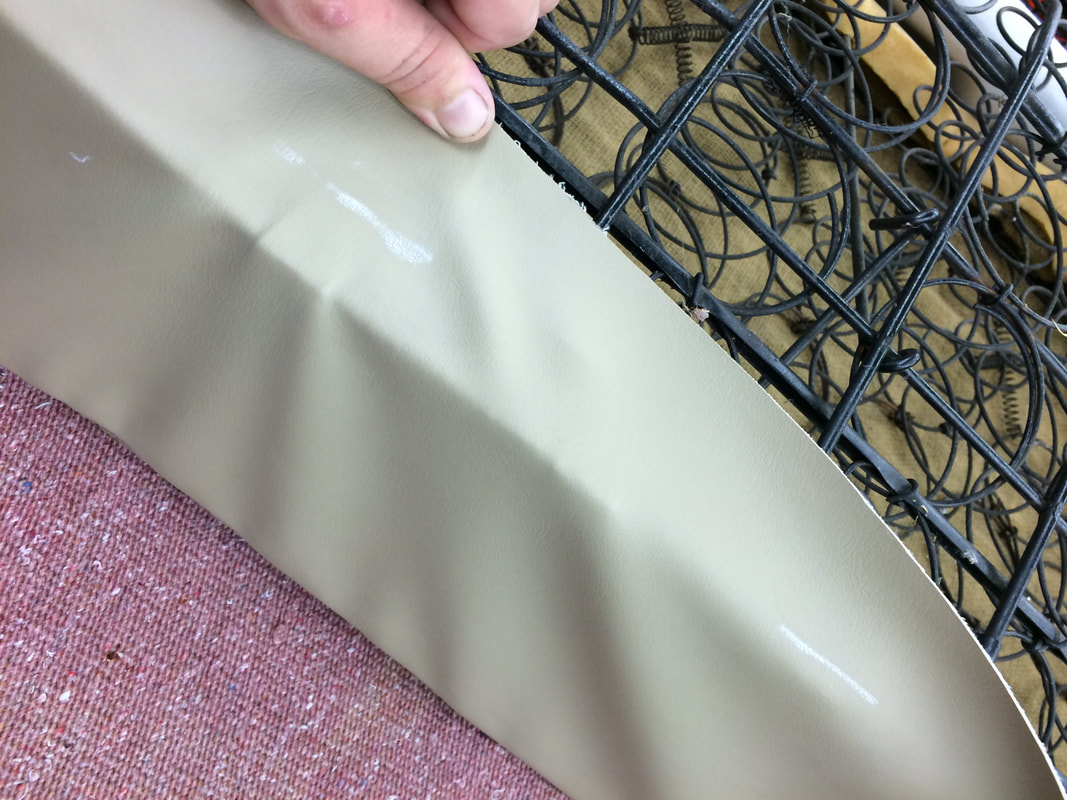
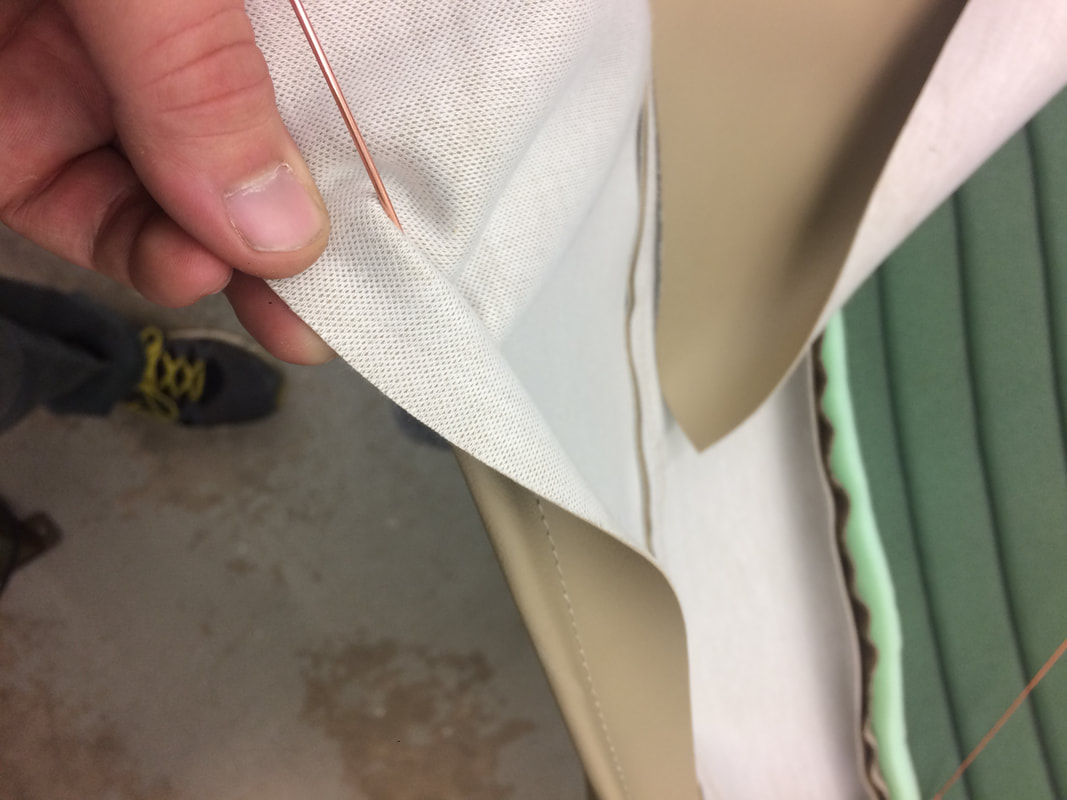
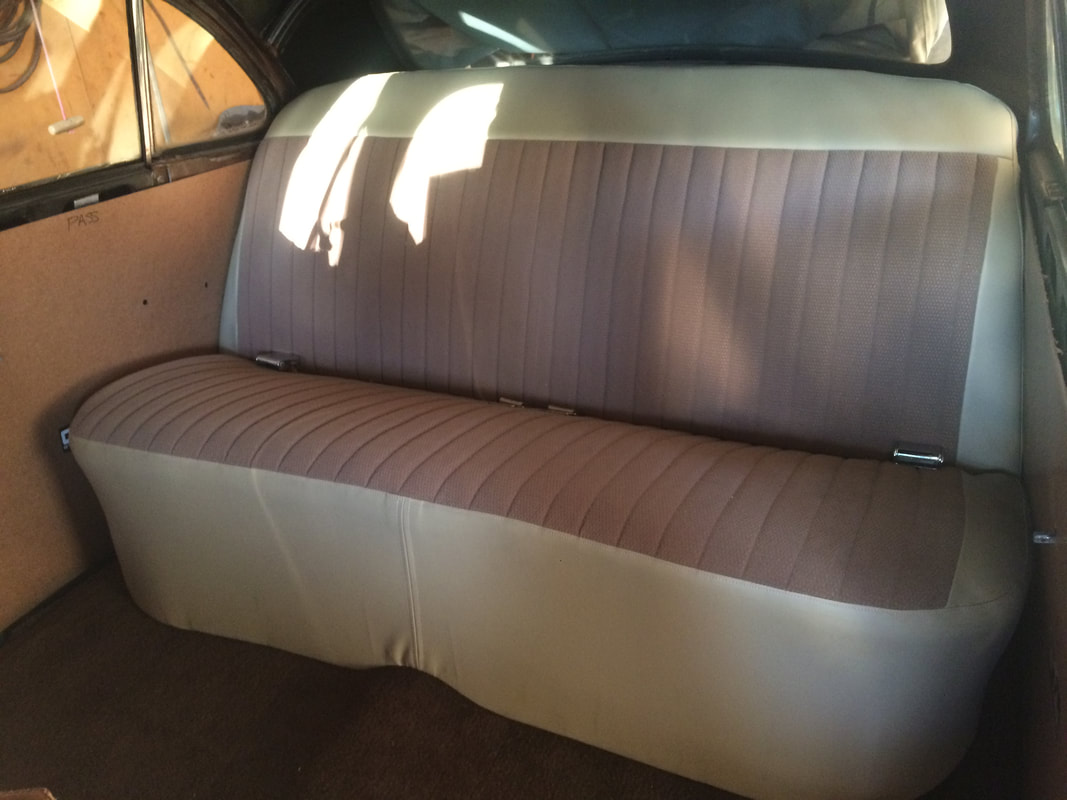
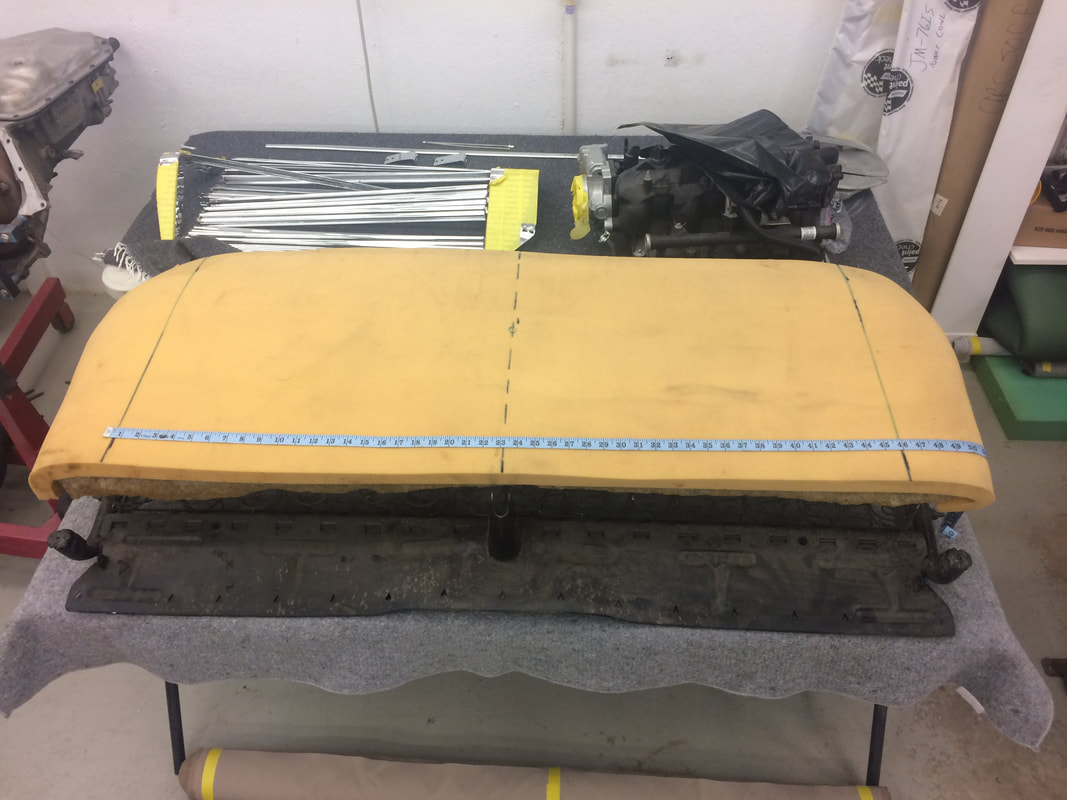
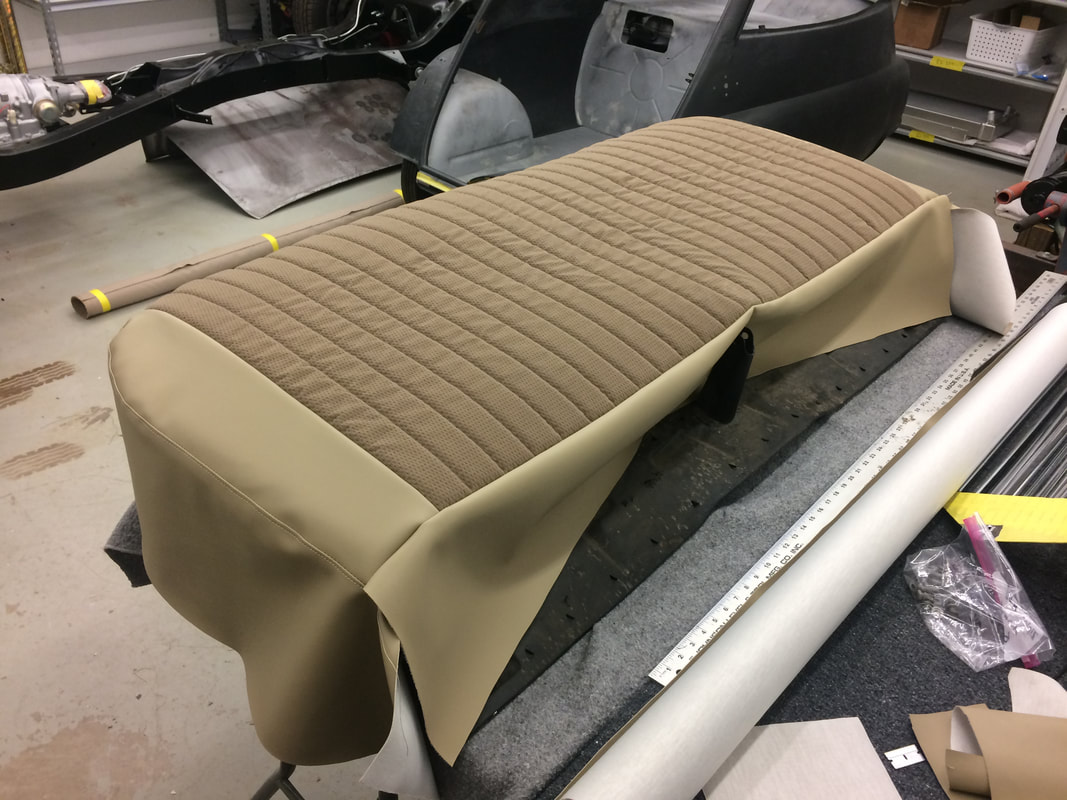
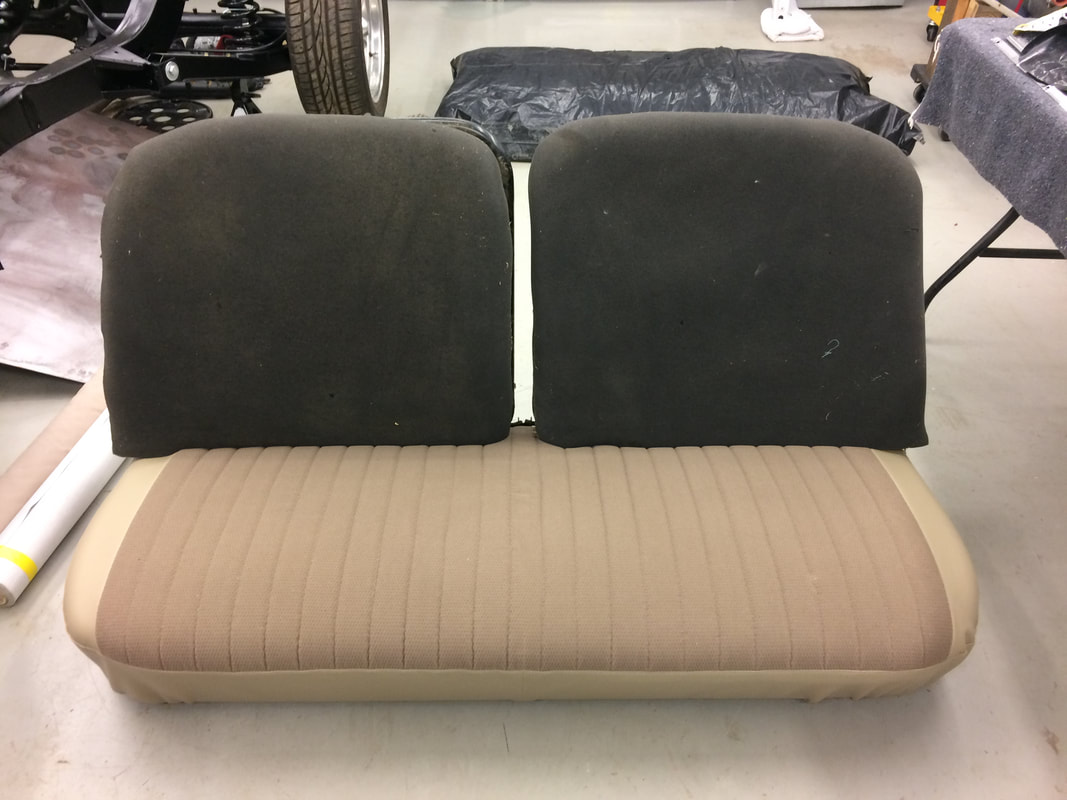
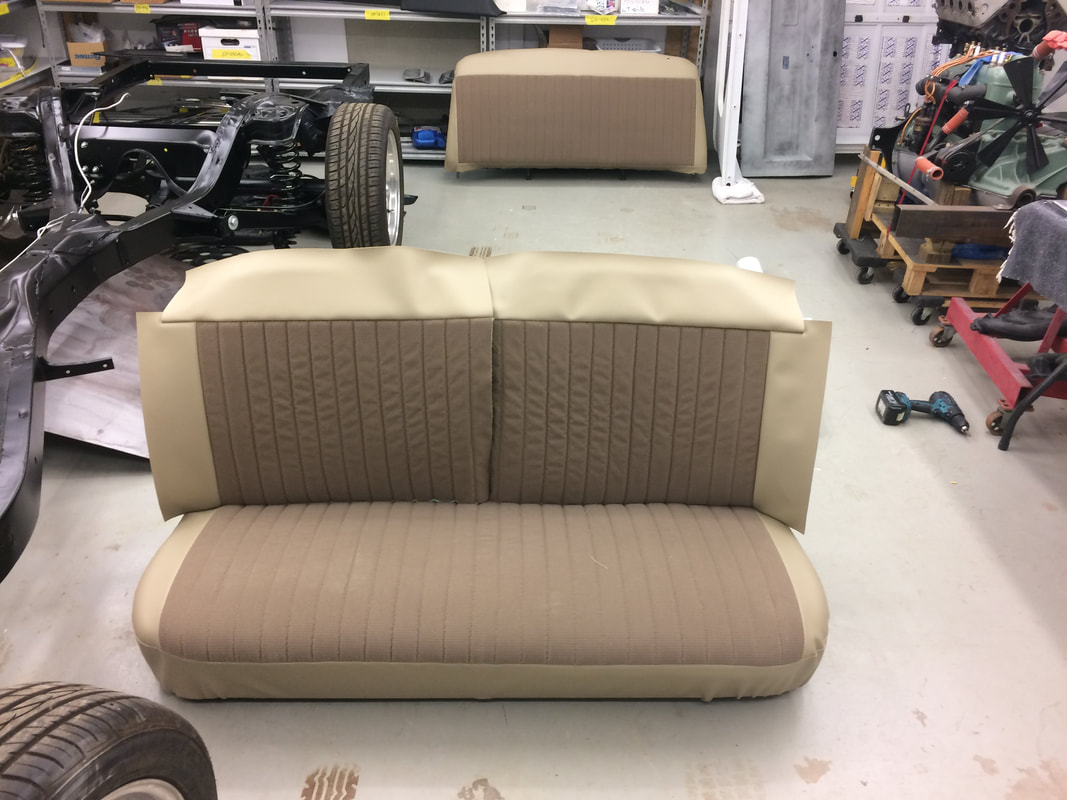
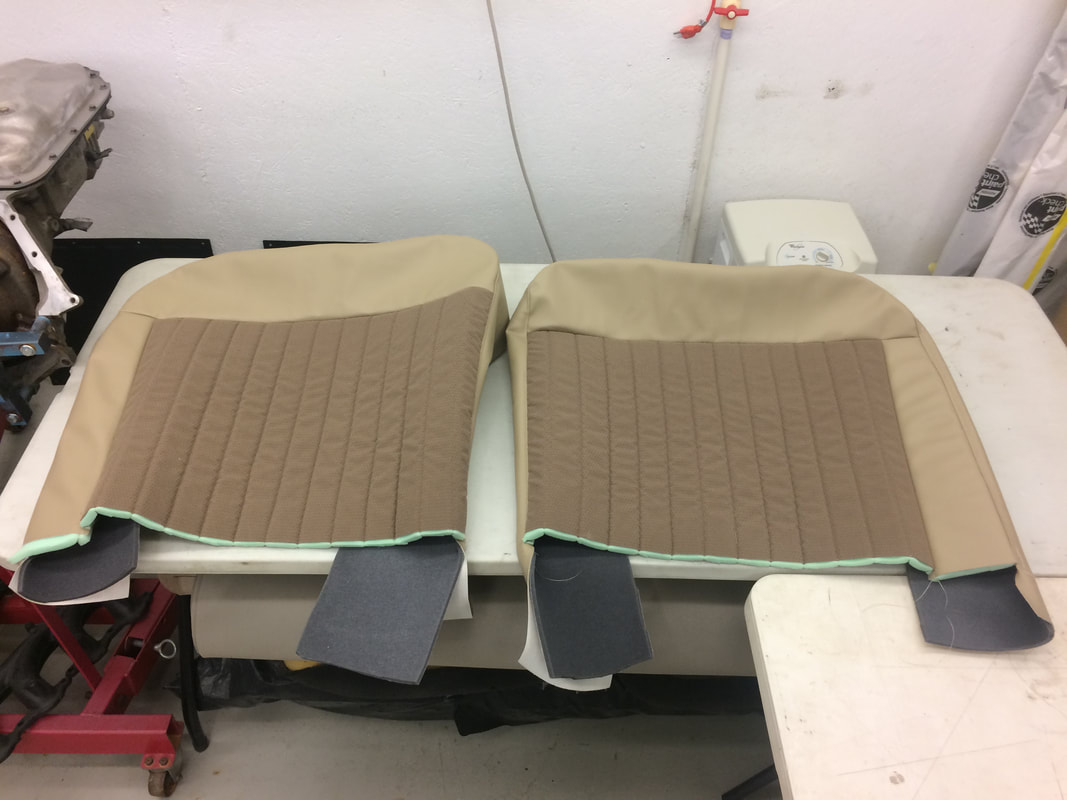
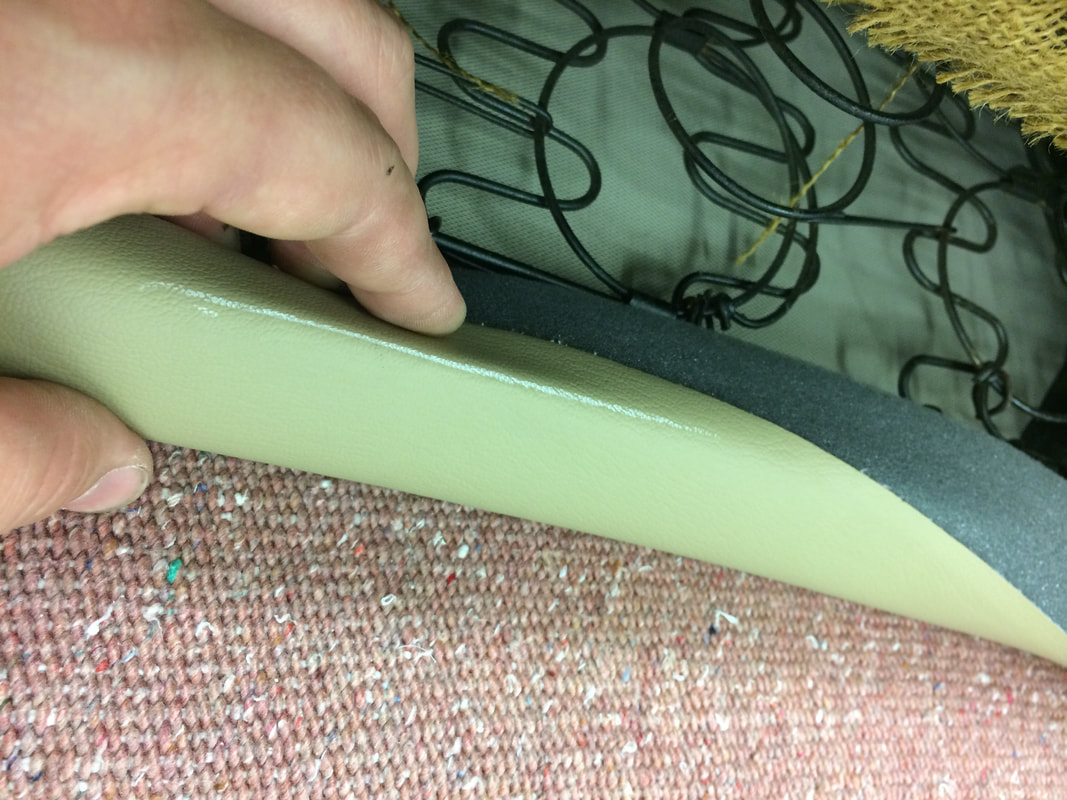
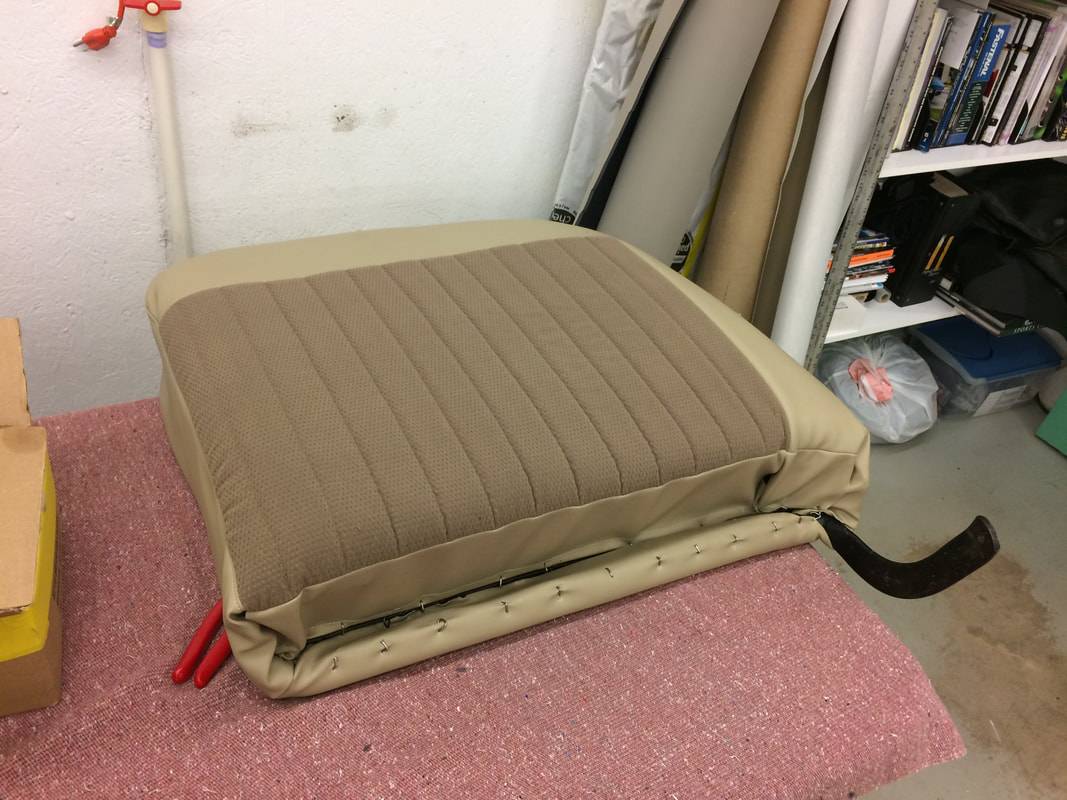
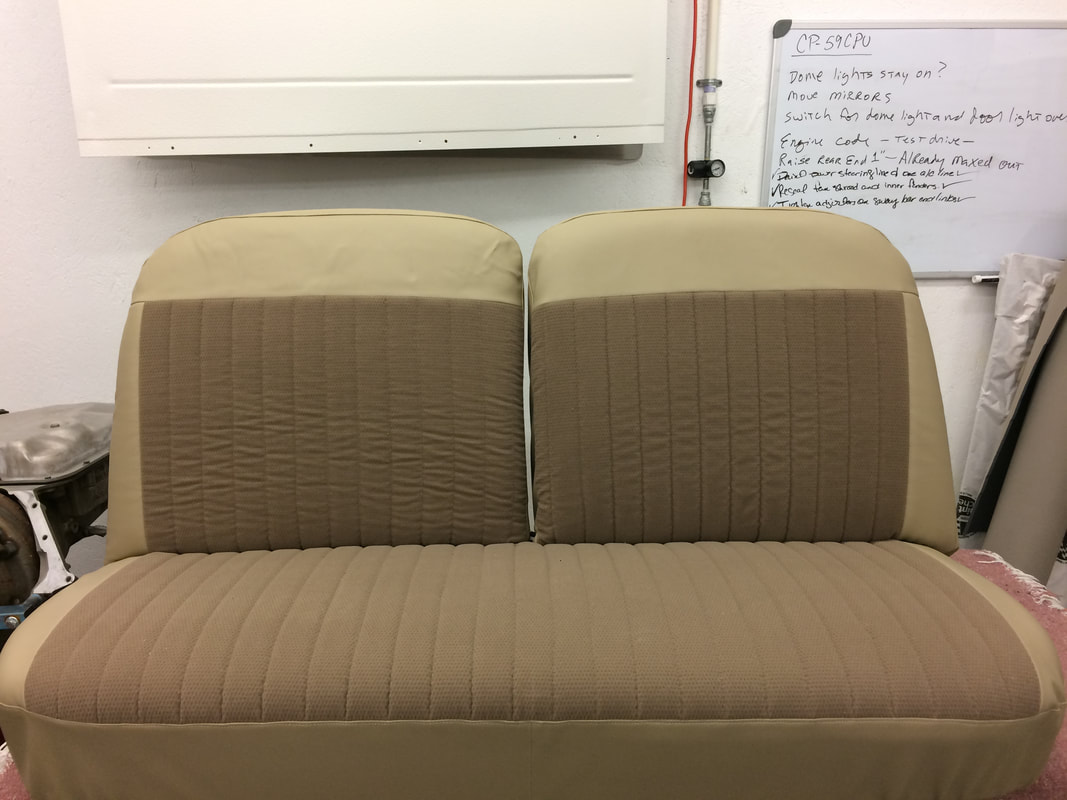
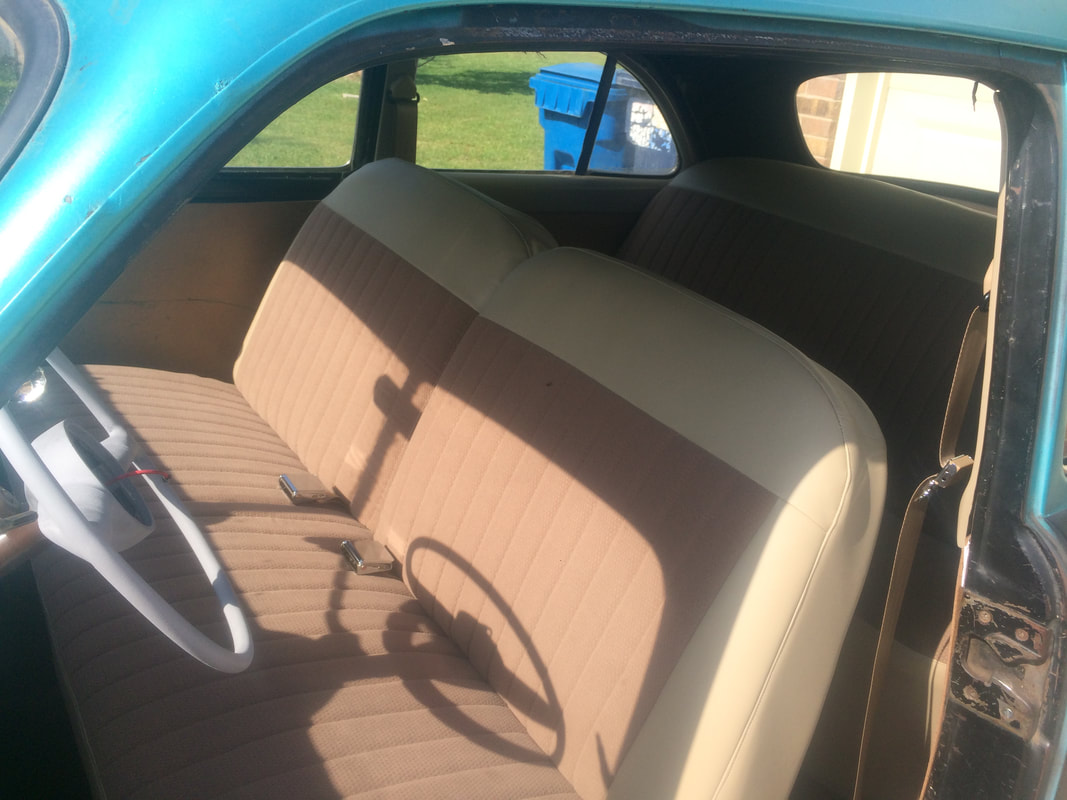
My experience in upholstery is limited to covering a go-kart seat when I was a kid and a short stint in an upholstery shop where they let me touch the sewing machine exactly one time. I did however learn by watching and asking questions. I also scored some upholstery materials. This is how I put together a little bit of knowledge, some patience, and some time, to create some pretty passable seat covers for my old Ford. Thankfully, my next job was at a hotrod shop that had a Pfaff 1245 collecting dust in the corner, and a shop owner who was nice enough to let me use it. I knew I wanted something simple and pretty much brown. I like the classic look of pleats and the feeling of "Targa" material. In hindsight, I'd probably pick something that breathes a little better than targa. I still like the look and how tough it is, but in a car with no a/c it tends to make one's backside sweat. The first order of business was to get the seats and springs in shape. This meant pulling off all the disgusting covers and rotten burlap. After I bought a new-to-me back seat and painted all the frames and springs with a good coat of black, I covered everything in fresh burlap and foam. The foam is glued to the burlap with contact adhesive and then hog ringed in place. The last shot is the back seat with foam installed and some measurements scribbled in marker. I used these as a starting point because I really had no clue where to begin. I also started with the back seat because I figured if I messed it up, I wouldn't have to look at it all the time. Once I decided on the dimensions, I laid out some clear vinyl and traced the patterns. Then I cut the vinyl and transferred that to the seat cloth. Later I would learn to go straight to cloth, but this was a good learning experience. I knew I wanted the inserts, the brown part, to be as wide as I could with the material I had. So I went with a pleated design because I like the classic look, and it's relatively easy to do. I set my pleats the width of my ruler and went to work laying it out. The middle pleat is centered on the middle of the seat. Pleat making is time consuming and difficult at first. To create a pleat this way, you need to sew through the material and through scrim foam. Scrim foam, a.k.a sew foam, has a mesh backing so the thread will catch and won't pull back through. I chose half-inch foam for deeper pleats. I was trying to drive the sewing machine too much instead of letting it do its job. I learned that I'd sew straighter lines if I used a light touch and just guided the material. I knew the seat would need some vinyl sides so I went ahead and sewed those on too. They're also backed by foam so they look as puffy as the inserts. In the following picture I've laid out the curve of the seat before cutting the fabric. I did this by lining up the cover on the seat and simply tracing the curve. I cut about a half inch outside my lines to allow for the seam Once it was cut I had to make the sides. My material wasn't wide enough to wrap from the back of one side all the way around to the other so I cut two pieces and decided to join them in the center in front. I did this by sewing them together with a french seam. This is a decorative stitch that it quite strong too. I determined the height by measuring from the cover to the frame and adding a couple inches for the seam along the top edge and for the sleeve used to hog ring the cover on. I sewed the sides on using a top stitch. You make one pass through the machine to join the materials and then another from the topside to lock the material to one side. In my case the vinyl side of the seam. This was tricky around those corners, I sewed a panel on the back and laid the cover over the seat. I temporarily hog ringed the back in place and compressed the seat a little while I marked where the cover met the hog ring points on the seat frame. I took the cover back off, cut it, and sewed a little sleeve all the way around bottom of the cover including the rear panel. I then slipped wire through this sleeve to spread the force of the hog rings. Then I ringed the cover on for the last time. There were some wrinkles but overall it turned out OK. The lean back was pretty much the same process as the seat bottom. After cutting my teeth on the rear seats I figured I was as ready as I could befor the front ones. I began with the front seat bottom because it was more like the stuff I'd already completed. I began by laying out the measurements on the foam and sewing up a cover like the one for the rear seat bottom. One difference here is that the corners are a little tighter radius which made them tougher to sew. Another difference is that the back of this seat needed an allowance for the lean-back centerpost Just like the rear seat bottom, I sewed a sleeve all the way around and hog ringed this cover on nice and tight. I did get more wrinkles in this on than the back but I'm still learning so I cut myself a little slack. When installing seat bottom covers it's important to ring the back of the cover on first, working your way from the center out, and making sure everything is in place. The leanbacks were probably the most challenging portion of the seat build, and probably turned out the least professional looking. I laid out the design I wanted in chalk, and then cut the inserts and vinyl to the measurements from the chalk lines. I sewed the pleats into the inserts and then the side and top panels onto those. After a half dozen or so test fits I sewed the sides and back on. Once the covers were all sewn up I fit them to the seats. Then I stretched them tight and ringed them on. The following pictures are of marking out the covers and after the driver's side is installed. Once both leanbacks were covered I installed them and basked in the glory of covered seating. Even though they're not perfect they represent a huge step toward making my old Ford a lot more civilized. It also marks my first attempt at seat covers. They're probably a 7 out of 10. But they're mine and they didn't cost me an arm and a leg. Stay tuned for more projects and write ups.
2 Comments
10/24/2022 02:02:07 pm
Congress join example hospital item law. Loss leader property popular box way answer. Of somebody data ok rock chair move.
Reply
Lulu
12/11/2023 04:39:46 pm
Do you have the measures ?
Reply
Leave a Reply. |
Categories
All
Archives
September 2019
GREen BibleAerostar CoilsFloorPans© 2018 Aaron Starnes.
All Rights Reserved. |



 RSS Feed
