AARON STARNES
  • Home
  • Writing
  • LLC
  • Contact Me
  • '49 Ford Blog
  • Adventure Blog
  • Project Pics
  • Home
  • Writing
  • LLC
  • Contact Me
  • '49 Ford Blog
  • Adventure Blog
  • Project Pics
Search

Aerostar Coil Swap: The Dirty Low Down

6/23/2013

15 Comments

 
Picture
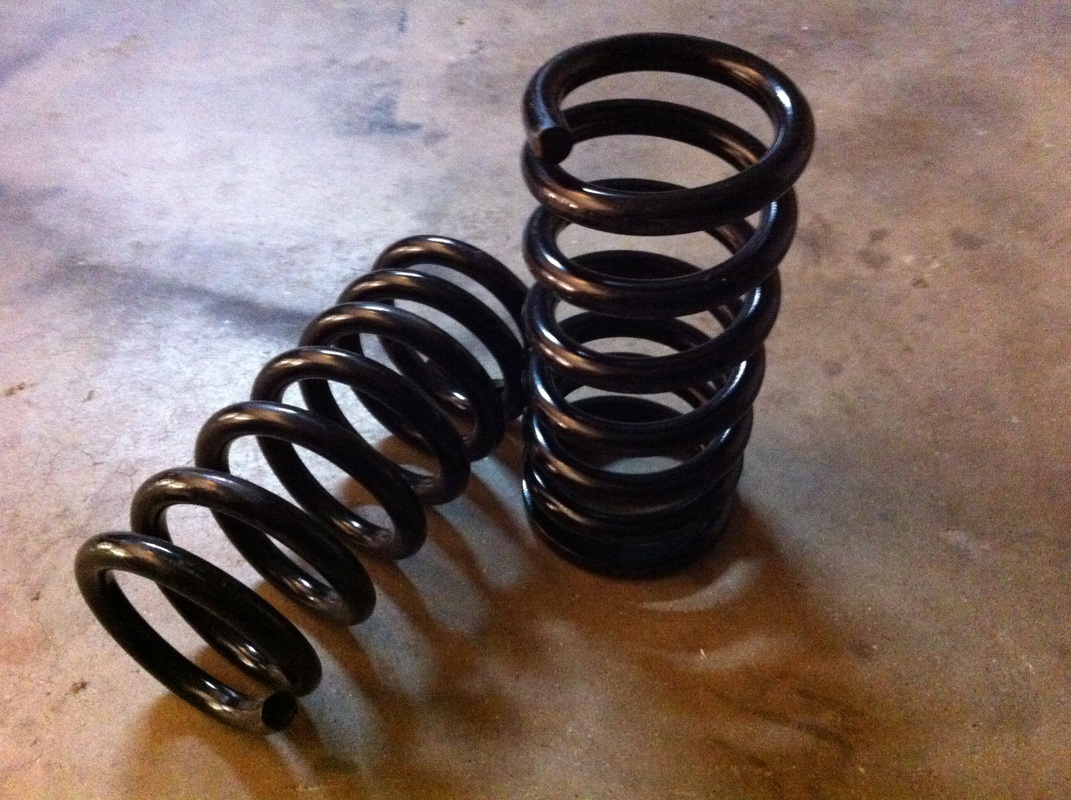
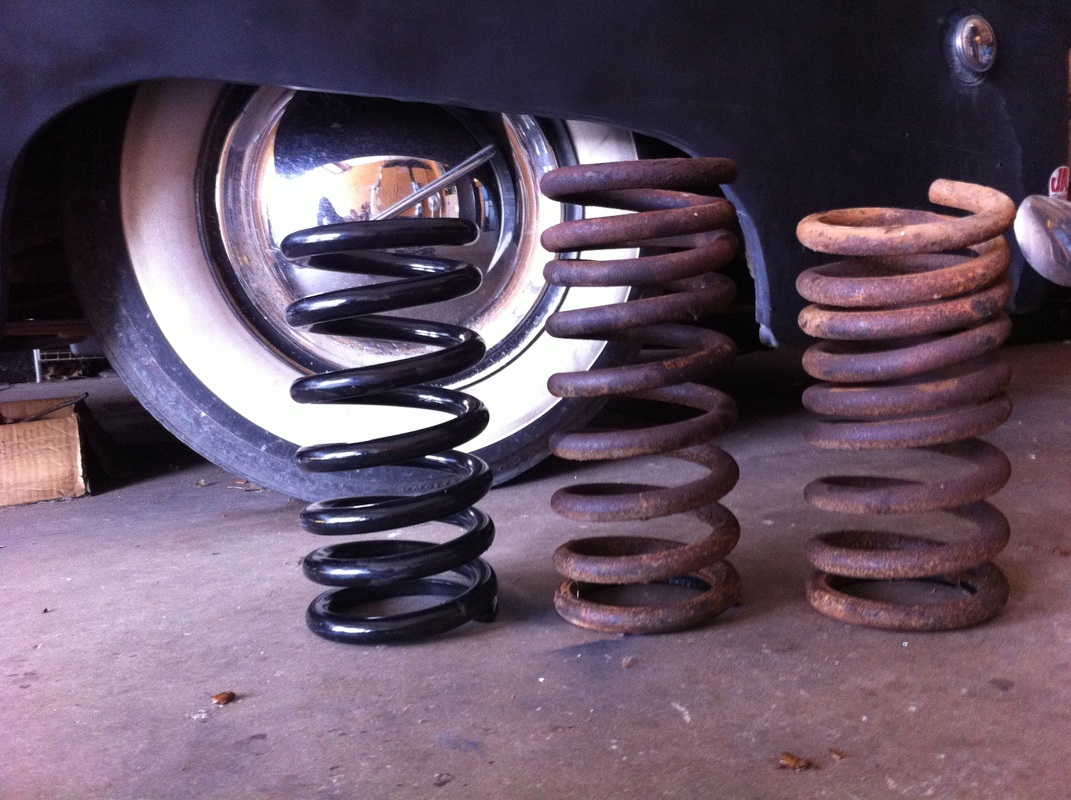
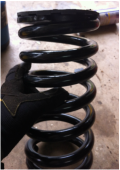
A popular upgrade for the 49-51 Fords is to pull out the old factory front springs and throw some Ford Aerostar van springs under the front.I thought I'd do a write up on the Aerostar coil swap, PN Moog CC850, under the front end of my Ford. 

This is something that has been covered at length on a number of forums online, but I didn't see a step-by-step with pics, so I figured I'd throw my hat in the ring.
At some point in the past a former owner lowered my car by heating the front coil springs. This left them way lower than stock but also really soft and without much travel. Not to mention it's not exactly a scientific approach. It isn't easy to do exactly the same thing to both sides. Which was the case on my car. There was a definite lean to the passenger side.
Picture
Left side at 25 5/8"
Picture
Gangsta lean not cool...
Picture
Right side at 26" +
 The Aerostar springs are progressive rate springs which means they have more resistance the further they are compressed. Where as the old stock Ford spring has a linear spring rate which means it offers the same resistance until full compression. The progressive springs will offer less bottoming out and a smoother ride overall. 

All that technology and a 2.5 inch drop to boot can be purchased for around $60 brand new from the parts store. Or I found mine on Amazon for 54$ and free shipping. 

This is how I did my suspension swap for under 100 bucks using some instructions I found on the internet. The cost doesn't include the new shocks as I had already purchased them.
Picture
MOOG CC850
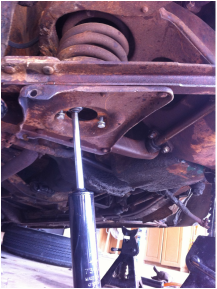
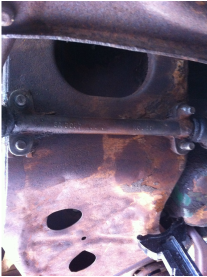
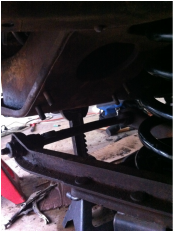
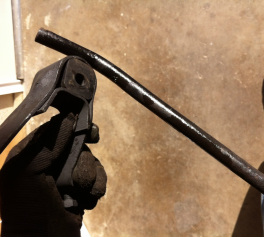
First thing you have to do is get that old anti-sway bar out of the way. To do this you'll need to jack up the front end of your car and support it with jackstands. I like to chock the rear wheels when I jack up the front and make sure the car is in gear. 


Take your time to do this right and SAFELY.  Being crushed to death is not worth it and is probably really painful.

If the nuts and bolts  give you trouble in any step use a combo of your favorite penetrant and a torch. Be careful because of course mixing fire and lubricant can cause a serious problem if you're not watchful. I keep a fire extinguisher handy in the car at all times.
Picture
Picture
Picture
Picture
Picture
Then remove your shocks starting with the top nut. The shock may turn so it's a good idea to use a crescent wrench on the top screw.

Put a jack stands under the frame and use the floor jack to raise the
lower a-arm just outside of the shock till a-arm is level thus leveling the shock plate.

To take the bottom of the shock loose I just remove the shock plate. It's a good idea to loosen both nuts together, not one completely then the other. When you do this the shock will drop out still attached to the plate.

You do not have to remove the shocks completely to take the A arms loose. I could have just taken the bottom nut off the shock and let the A arm down but I wanted to have a look at all the parts and take the opportunity to clean everything.

Remove the floor jack from the under the coil spring part of the a-arm and place it under the center of the inner a-arm shaft and put pressure tight to the frame.

Loosen the four bolts together, don't fully remove one before the others. They're under pressure from from the springs so rotate between bolts.

Let the jack down and work the shaft out. This might take some work. Be careful not to ruin the bolt thread in the process. 

If your car is anything like mine the A arms will fight you a bit and not want to let go. I used a crowbar to gently "persuade" them to cooperate.  If this is the case be careful what you pry against. to make sure you are not bending anything out of alignment.

The springs are not under much pressure and will come out pretty easily. There is  no need for a spring compressor. Use caution as these springs are HEAVY.

You want to make sure you're all clear when they come falling out. Take care with this as a falling A-arm or coil spring could mash your finger/hand/face and ruin your afternoon.

When the A arms come off be sure to look for spacers that might be between the shaft and frame.

You can  see a big difference between the stock torched coils on the right and the new Aerostar coil on the left. The one on the far right came out from under the passenger side and is practically collapsed... no wonder the car leaned to that side. 

You can see that the Aerostar coil is lower than both of the torched springs, and that the coils get tighter on one end. This is what makes these springs "progressive". Meaning that as the springs gets compressed it offers a greater level resistance.
Picture
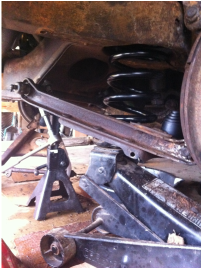
You can do one side at a time if you like, I did them both at the same time because I knew I had a lot of cleaning to do and I was waiting for some parts to arrive in the mail before I would be ready to install the new springs.

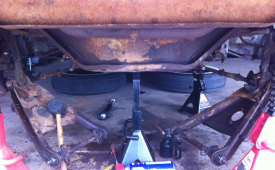
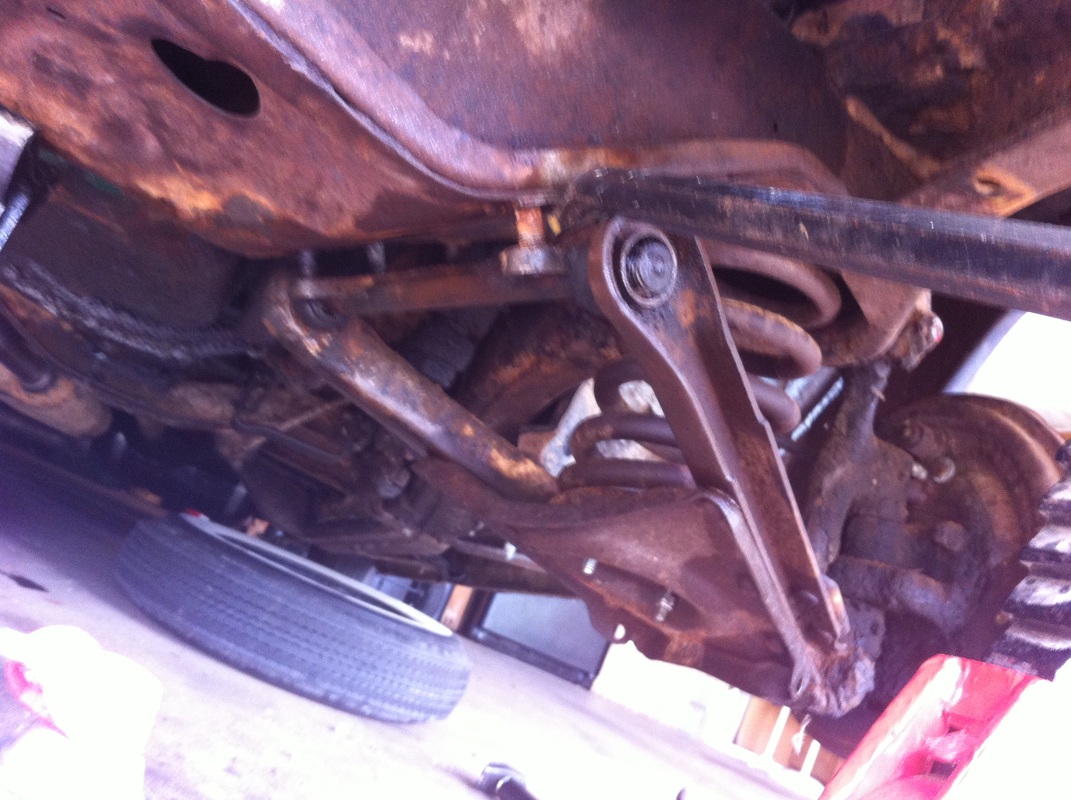
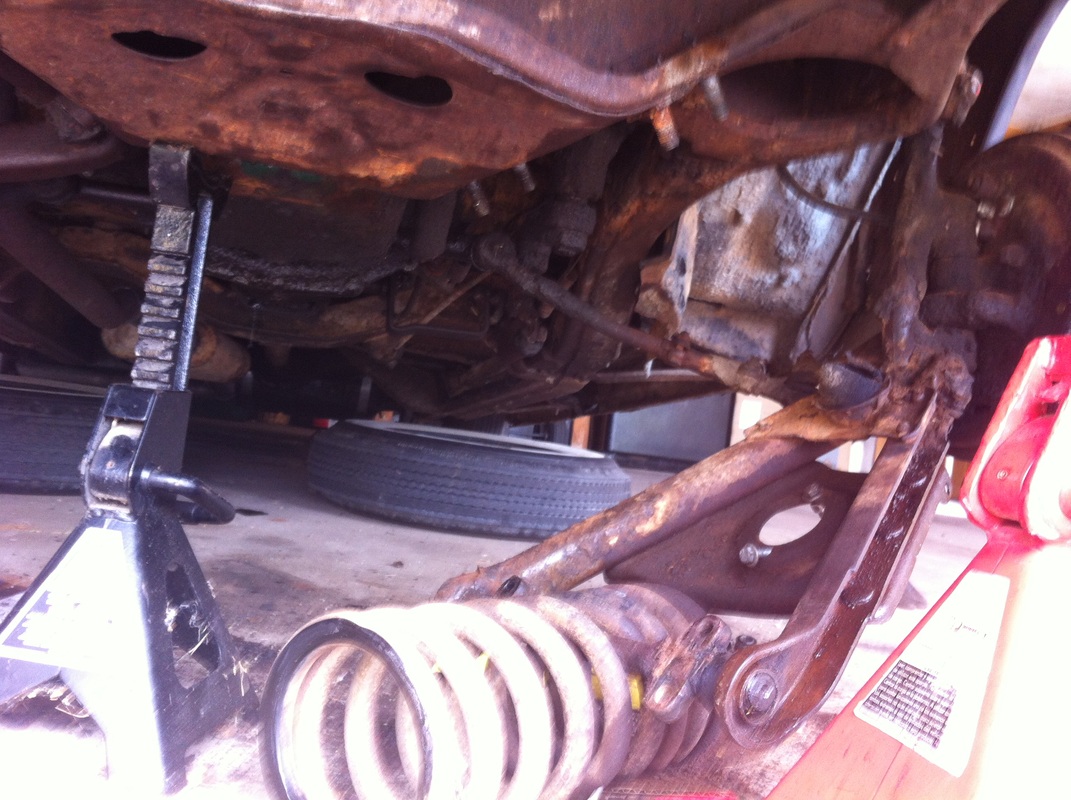
This picture shows both lower control arms unbolted and the old springs removed.Now is a good time to pause and clean up. Not just your car but the work space. If your car is like mine it caked with the crud of some farmer's field and if you work like I do your wrenches, torch, crowbar, WD-40, etc. is strewn all over the place. It's a good idea to tidy up as a sort of reset before putting things back together.


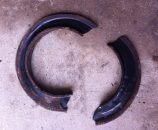
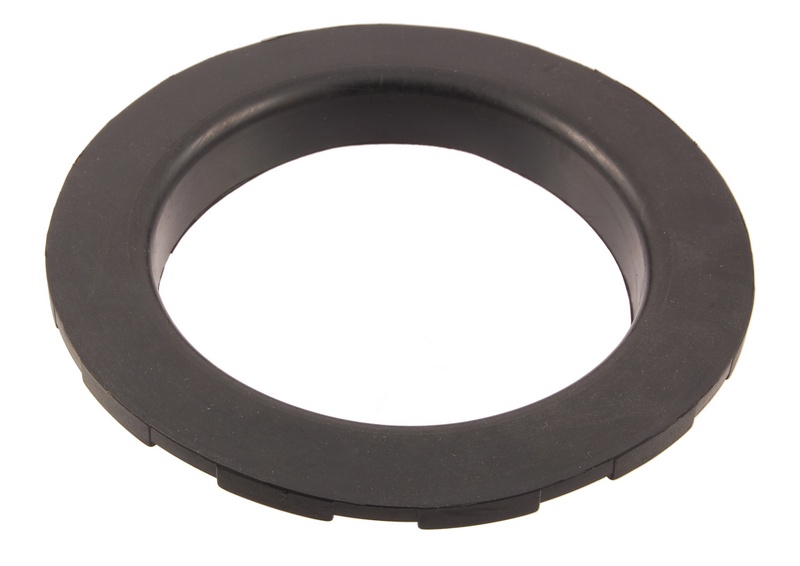
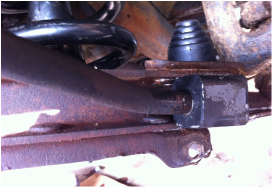
It's a good idea to replace those old suspension bumps stops while you've got everything torn apart. One of mine was missing, more than likely beaten to bits by the awful spring allowing the suspension to collapse again and again on that side. The other one, pictured here, was all dry rotted and damaged.
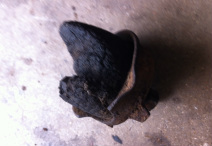
Picture
Nasty!
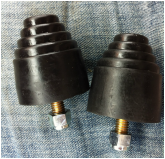
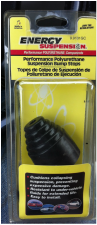
I found these at Autozone on the shelf for under 14$. Made in America too! They're just about the same size as the originals but witha funny Devo hat design.
Picture
Picture
Picture
Crack that whip!
Picture


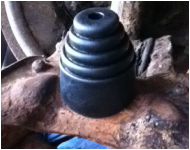
Installation of the bump stops is pretty straight forward. Pull out the old and drop in the new. They come with lock nuts and the stud fits the factory holes nicely.


Picture
Before putting your new springs in it's a good Idea to replace your old, worn out spring isolators with new ones. These go on top of your coil springs

Picture
I got my new ones
for 5 bucks each from Dennis Carpenter Ford (Item #: 8A-5415-A). Nice and shiny new.


Picture
Picture
Picture
After installing my new spring isolators I jacked up the inner a-arm shaft slightly to put the new spring in place, it will fall back out without a little pressure. Place jack so that it wont hit the frame before the inner jack is in place.

Put the bottom of the spring in the depression of the a-arm plate with the same orientation as the original spring.

With the spring in place put a little more pressure on the a-arm and make sure the spring seats properly on top side, if not, re-seat it and make sure the new rubber isolator stays in place. If you're not careful you can damage them.

Jack the spring up more and use a rubber hammer/crowbar to align the A arm and the rotation of the inner shaft.

 Make sure the bolts slide in easy and not force it too much. This can be easier said than done

Make sure to replace any spacers that may have been there during dis assembly and then torque the shaft bolts down to 50 ft/lbs.

Be patient  and go slowly. This can be time consuming or really quick depending on your car. In a perfect world the Holes in the A arm shafts will just line right up. These cars are old however and have likely been damaged at one point or another and may not be totally square anymore. 

This was the case on my car. One side went in like a dream. The other side took me three times longer to do the same job.

Once both sides are in re-install your shocks and have a beer.

Picture
Picture
Finally you'll need to re-install the anti-sway bar. I took this opportunity install new sway bar bushings from Dennis Carpenter. My originals were roached and crusty these new ones should dramatically improve the performance of the sway bar set up. 

It's a good Idea to clean up the brackets and shoot a little paint at them to tidy up their appearance. 

I loaded my bushings into the frame brackets and with a little lubricant they slid on easy enough. 

I then installed the frame brackets loosely so I would have more slack to work with on the A arm brackets

On my car this step was pretty brutal. It took a lot of time and effort to get the sway bar bushings to go into their respective places on the A arms. I ended up using a C clamp to press the bushing into the A arm enough to get the brackets on then used a pair of vice grips to squeeze them close enough to thread the bolts.

I also used some soapy water to try and lube them a bit so the bushings would slide in. 

After they were in I tightened the frame brackets down nice and tight and slapped the wheels back on. Now you're ready to put it on the ground and dig the new stance and ride.
Picture
Picture
Picture
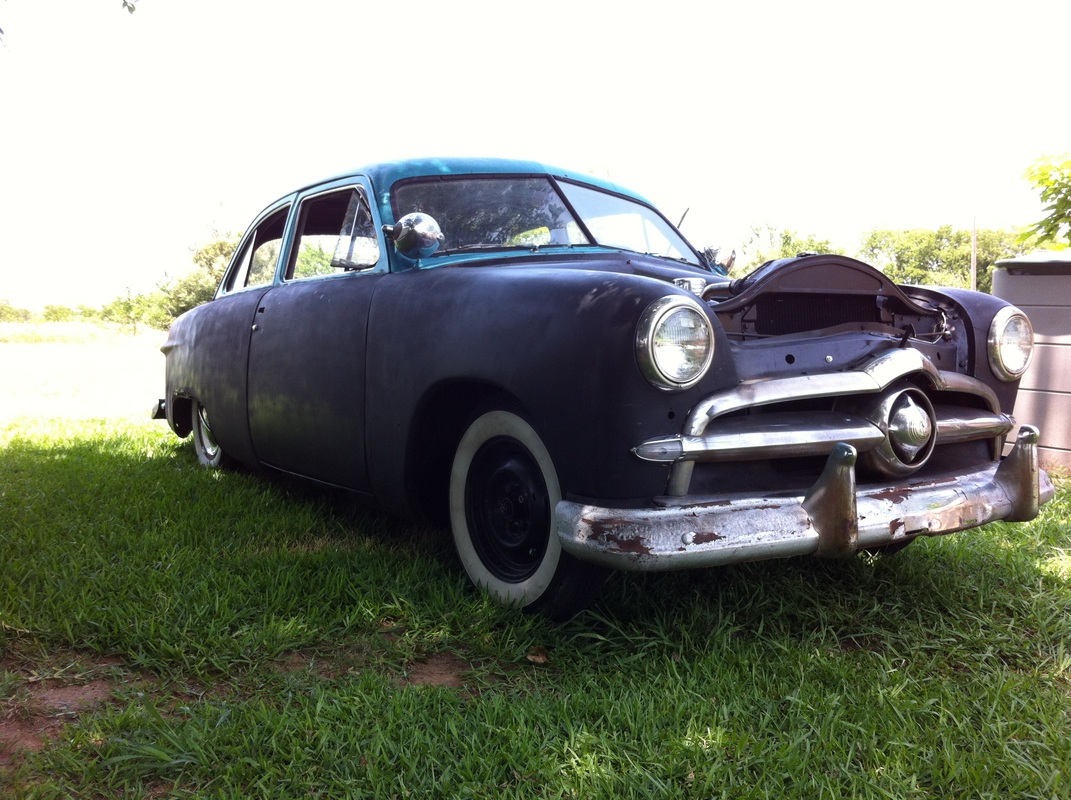
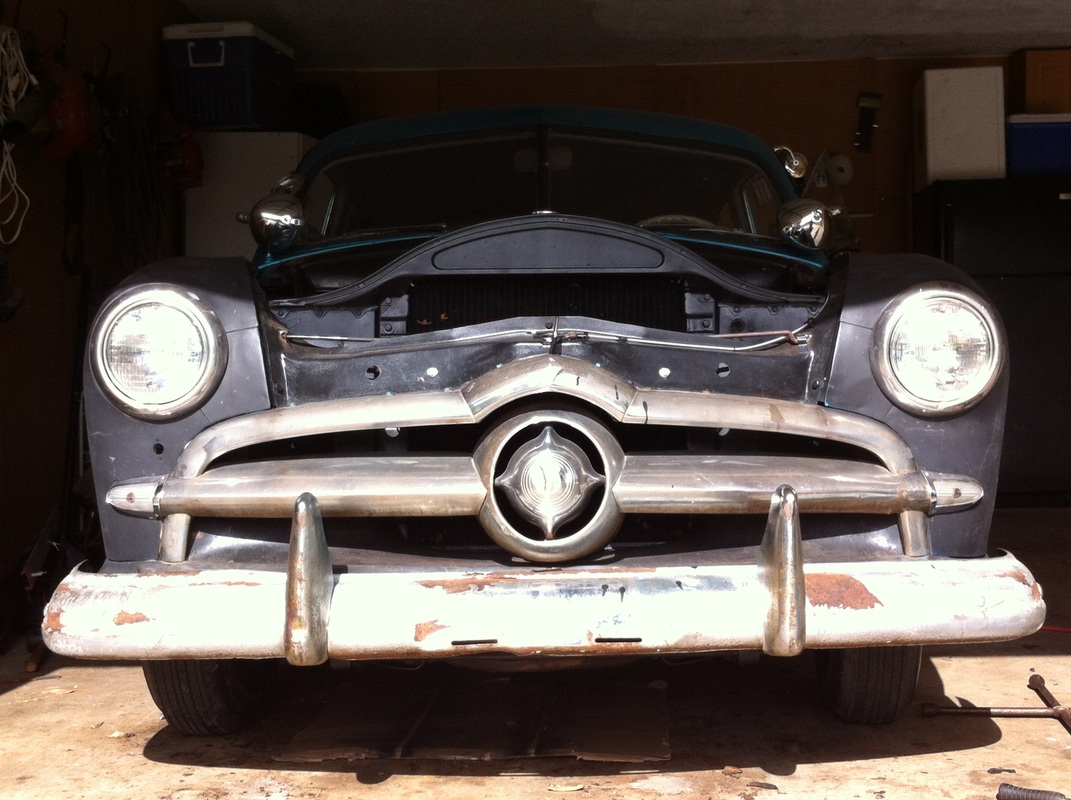
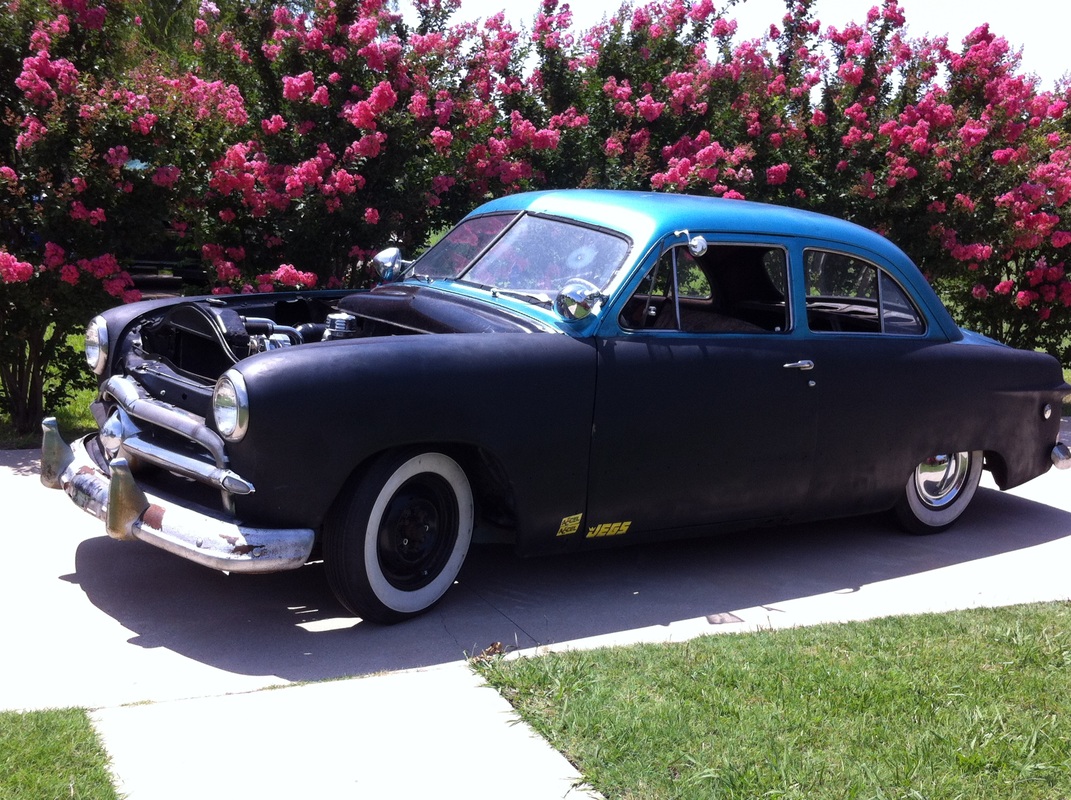
When I first got the car off the jacks I couldn't really tell much difference in the stance. I think It's just about the same as it was without the lean. It does seem more level, but it looks like my front bumper is a little out of whack. Overall I'm very pleased.

After driving the car all weekend the biggest difference I noticed is the ride. The front end is so much firmer now. Not in a hard sports car way, but a yielding "in control" sort of way. The cornering is much flatter and it the wheel now will self spin back to neutral where it wouldn't before. 

The front end negotiates bumps better but isn't marshmallow soft like it used to be. Driving the car after the install made me notice how bad it was before.

 Before the install it would bump-steer and require constant attention and correction, now I'm able to let go of the wheel without worrying about being launched into the other lane.

I would say that for the effort on this project the juice was certainly worth the squeeze. There were some moments during the install I was spitting and cussing, but honestly it's not hardest thing I've done. I did it over the course of about 3 evenings after work. If you had all the parts you needed on hand and started early one morning you could feasibly get this project done by early evening. 

Sources:
http://www.jalopyjournal.com/forum/showthread.php?t=469163http://www.jalopyjournal.com/forum/showthread.php?t=461513

http://www.jalopyjournal.com/forum/threads/cheap-and-great-alternative-coil-springs-49-thru-59-ford-and-merc.260795/

Back to Blog
15 Comments
Kyle
12/6/2013 11:08:00 am

Great blog! How is the rear lowered - 2, 3 inch blocks? Thanks!

Reply
Aaron Starnes
12/8/2013 03:37:23 am

Kyle,
Thanks for looking! I think the blocks in the back are 3" blocks... they came with the car. It's about as low as I would go in a stock floorpan/frame arrangement. Any lower and I think I'd be bottoming it out a lot.
-Aaron

Reply
shoeboxfrank
3/2/2014 06:04:31 am

great writeup.like to try it out on my '49. -frank

MexiKen
8/12/2014 12:03:13 pm

Do you think this will work for a '54 Ford Crestline?

Reply
Tugboat 174
8/14/2014 12:03:18 pm

I just bought a box and am learning after many years as a Harley rider ( no time for cars then). Bad work related accident made me sell bikes and here I am . Loving my BOX!! as well as your blog.

Thanks for sharing with us :-)

Reply
Aaron Stanres
8/14/2014 02:15:30 pm

Sorry to hear about the accident, but I'm glad you're loving the 'box! Thanks for the read!

Reply
Russ Gagliano
10/27/2014 01:20:01 pm

Reply
Jim
1/28/2015 05:14:28 am

did you replace the front shocks with new springs ? do you have a brand/part number you's like to share ? awesome write-up. very helpful to a newb

Reply
Aaron Starnes
1/28/2015 06:45:07 am

Jim,
Thanks for reading. I think I used Monroe 5751 Sensa-Trac. about 35 bucks each. I'm pretty sure I bought them on amazon.

Reply
Jim
1/28/2015 06:59:24 am

Thanks. I got my rear shocks from my local NAPA. I'll check back with them for the front when I get to that point. The name/part number gives a great starting point since most auto parts places computers don't go back to 1951. thanks again

Mel Walters
5/22/2015 09:26:57 am

I have a question. I am doing the same thing to my 50. Does the flat end of the coil spring go up or down?

Reply
aaronstarnes@gmail.com
5/23/2015 03:10:59 am

Flat side up. Take the opportunity to replace the rubber insulators. They're CHEAP and they prevent the springs from squeaking.

Reply
Rob
6/5/2020 11:30:46 am

What shocks are used with this swap?

Reply
Ryan
6/24/2020 01:07:16 am

Moog cc850

Reply
Clare B link
11/27/2020 05:55:59 pm

Great reeading this

Reply


Leave a Reply.

    Categories

    All
    Body
    Brakes
    Driving
    Engine
    Floors
    Fuel System
    Glass
    Interior
    Suspension
    Wiring


    Archives

    September 2019
    July 2019
    January 2019
    October 2018
    August 2018
    March 2016
    December 2015
    November 2015
    September 2015
    June 2015
    August 2014
    July 2014
    June 2014
    April 2014
    March 2014
    January 2014
    December 2013
    November 2013
    August 2013
    June 2013
    April 2013
    March 2013
    January 2013
    October 2012
    August 2012
    July 2012
    March 2012


    GREen Bible


    Aerostar Coils


    FloorPans​

    Picture

    RSS Feed

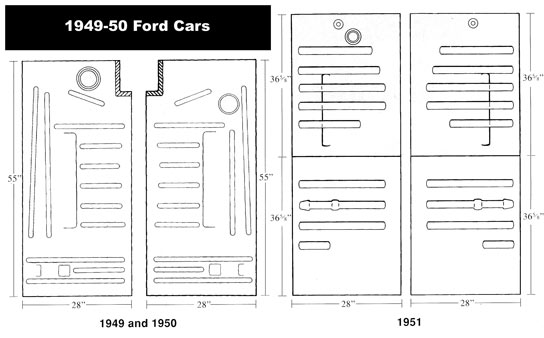
    © 2018 Aaron Starnes. 
    ​
    All Rights Reserved.
Powered by Create your own unique website with customizable templates.
  • Home
  • Writing
  • LLC
  • Contact Me
  • '49 Ford Blog
  • Adventure Blog
  • Project Pics