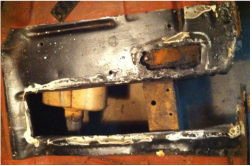
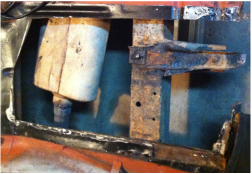
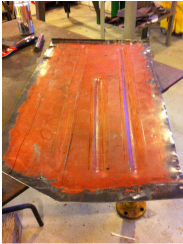
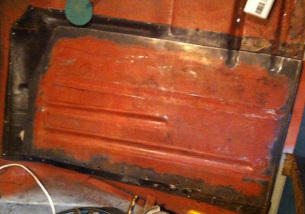
 The floors in my old Ford were in serious need of attention. They were soft and flimsy feeling and had been sort of patched back together with sheet metal and rivets. This kept the dust and road grime out of the cabin for the most part and didn't look too bad but I knew something evil was lurking under those patch panels. So one afternoon I decided to see just how bad off it really was...
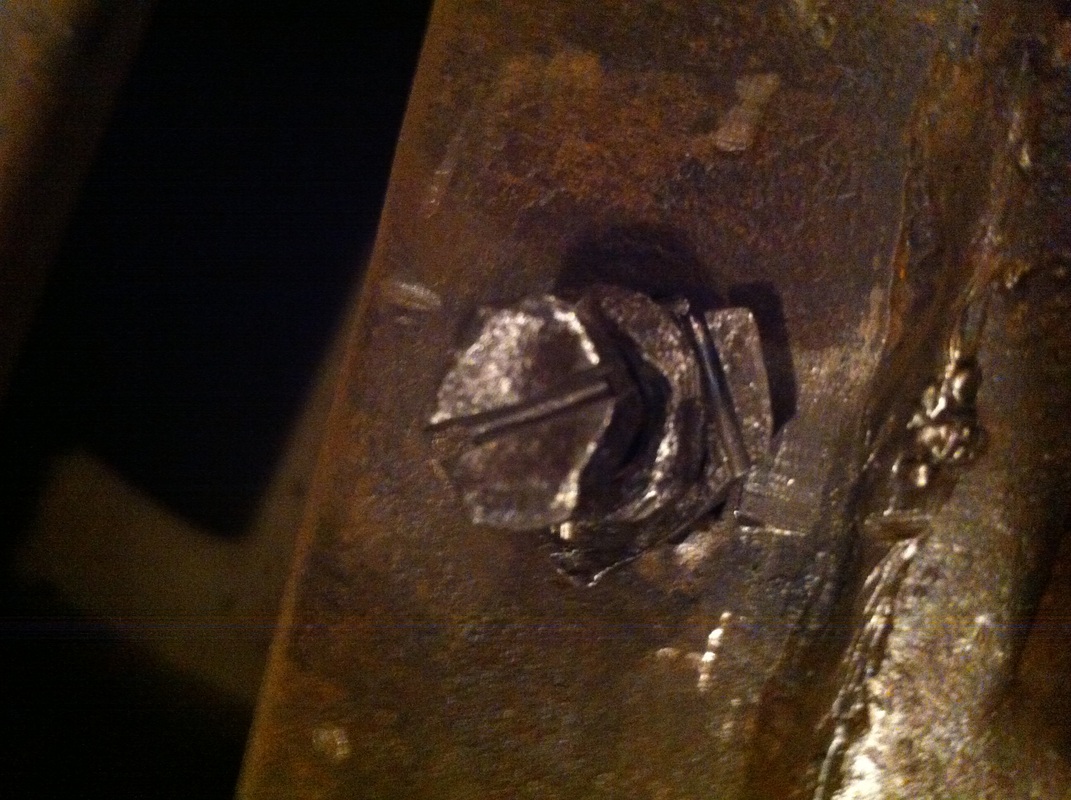 Body mount came out in a whole bunch of rusty flaky steel. But the body mount bold was so corroded you couldn't get a wrench on it and even if you did it was not coming out without a fight. I started by cutting a slot in the top with the cutoff wheel. This will come in very handy when it's time to back the bolt out.
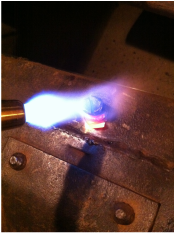
 Then I quenched the bolt with 3 in 1 oil. I don't know if 3 in 1 is the best thing to use but it certainly works. I've also read about folks doing this with wax. I can't vouch for that because I've never done it that way but you can see how in theory it would because it is petroleum.  An impact driver was used to crack the stuck bolt loose. When you whack an impact driver with a hammer it turns just slightly in one direction or the other. The force of the hammer blow keeps it well seated in the screw head. Basic stuff but effective.  Old bolt out Old bolt out After cracking it loose with the impact I used a pair of vice grips to back it the rest of the way out. I like removing bolts this way because there is not drilling out snapped-off bolts or tapping new threads. It is a little time consuming, but not nearly as time consuming as drilling out rusty bolts. It took me awhile to develop a little patience with old bolts. But this approach keeps me from busting the bolt off in the threads and spitting and cussing. In the end I think I save time not to mention I get to use the torch which will never cease to be at least a little fun.  After the old body mount was out of the way I could get everything cleaned and ready for a new one to be installed. I bought this new body mount from Chris and Hollie at Shoebox-Central. They have a real passion for these old cars and provide excellent customer.
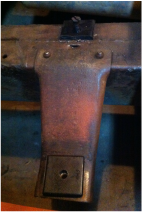
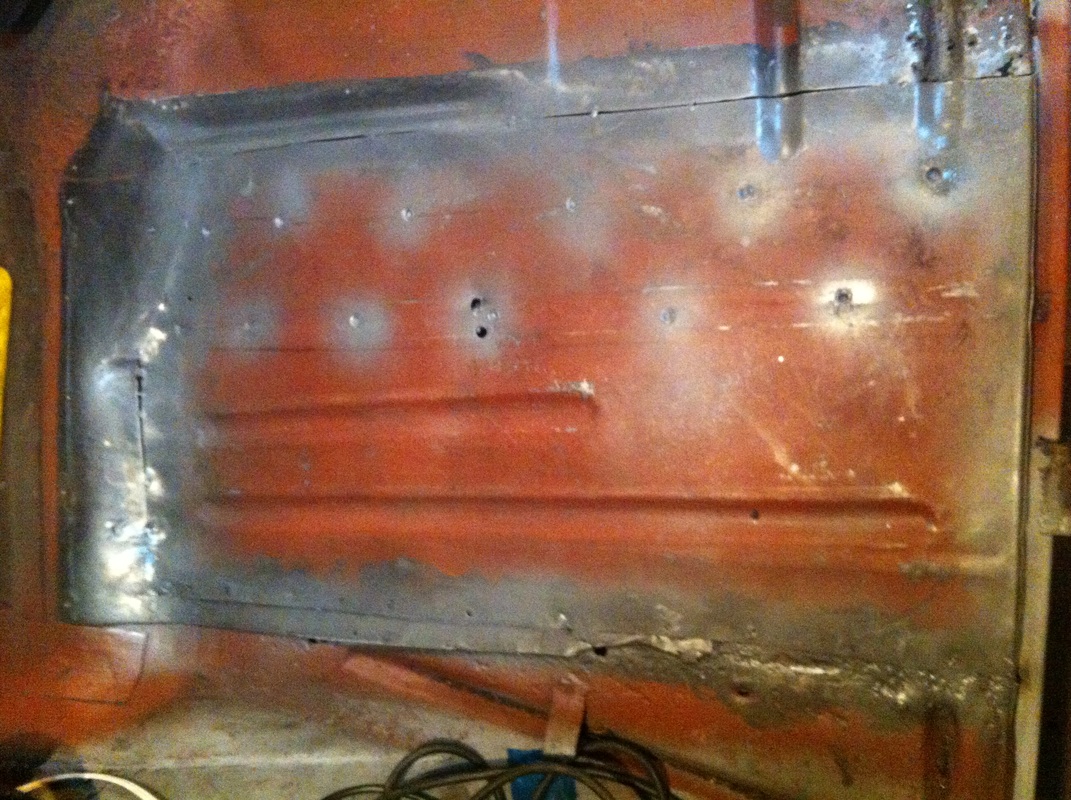
 With some new hardware in place the body mount goes in with the new mount pads between in and the frame. The underside of the body mount is primed and painted and I will hit it with undercoat when the job is complete. The topside is prepared with weld through primer. I have since added some washers under the bolt heads to spread the pressure out. While I have a hole in the floor I am going to weld up the leak in the exhaust left by the muffler guy. Thanks muffler guy! In his defense its in a place that would be tough to get to but he's a professional so I don't know if that's really an excuse. After everything has been mocked up and I'm sure it's in the right place I'll weld the body mount to my inner rocker panel.
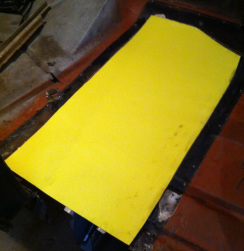
That's where I am right now. I will continue cutting, gutting and welding in new until my floors made more of floor than rust holes. Watch out for Floors pt. 2 where I'll try and tackle the forward portion of the passenger floor board.
2 Comments
Travis
4/2/2014 11:53:22 pm
Aaron, this is awesome work!
Aaron Starnes
5/6/2014 08:40:11 am
Thanks! There's more coming. Leave a Reply. |
Categories
All
Archives
September 2019
GREen Bible Aerostar Coils FloorPans
© 2018 Aaron Starnes.
All Rights Reserved. |


 RSS Feed
