 In Floors pt. 1 I managed to fabricate and tack in my first floor patch panel, as well as replace the rusted out body mount beneath. In this installment of the floors saga I will pick up where I left off and demonstrate my progress so far.
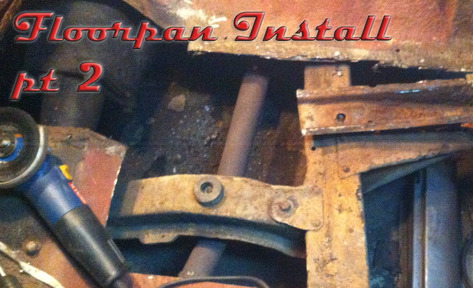
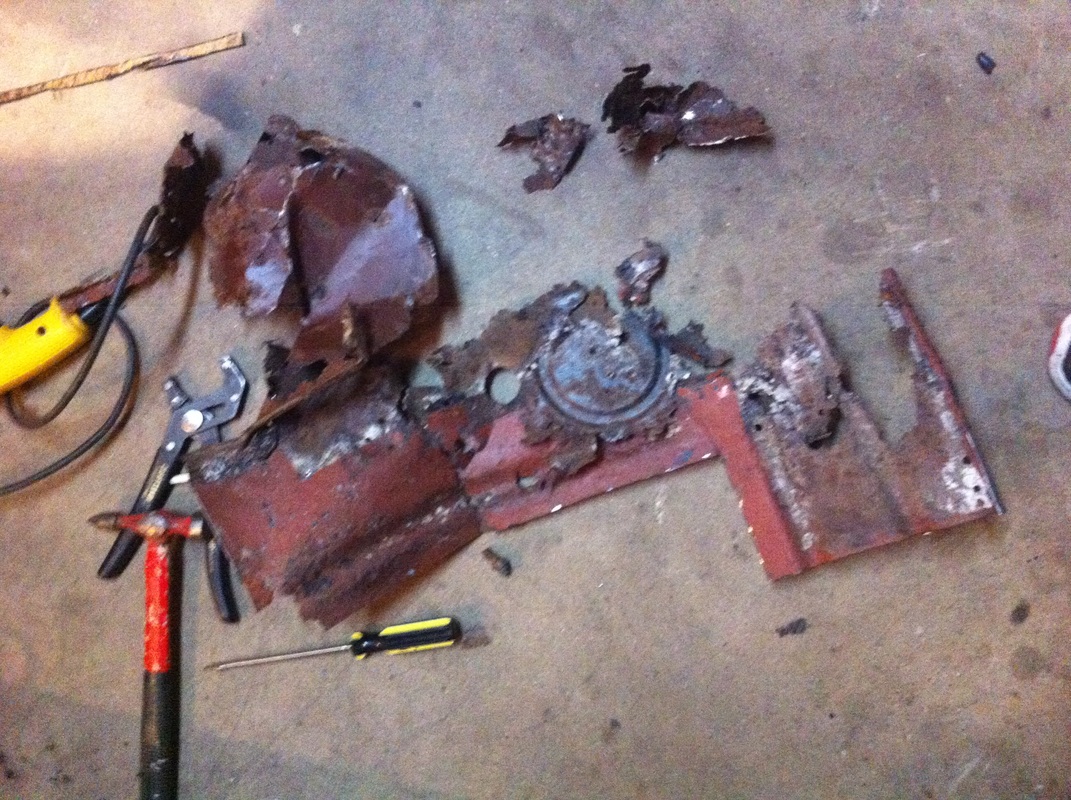
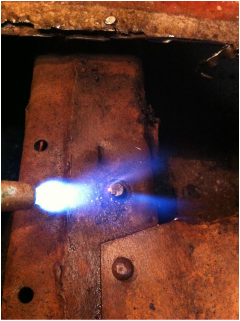
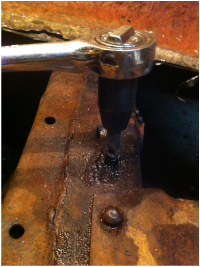
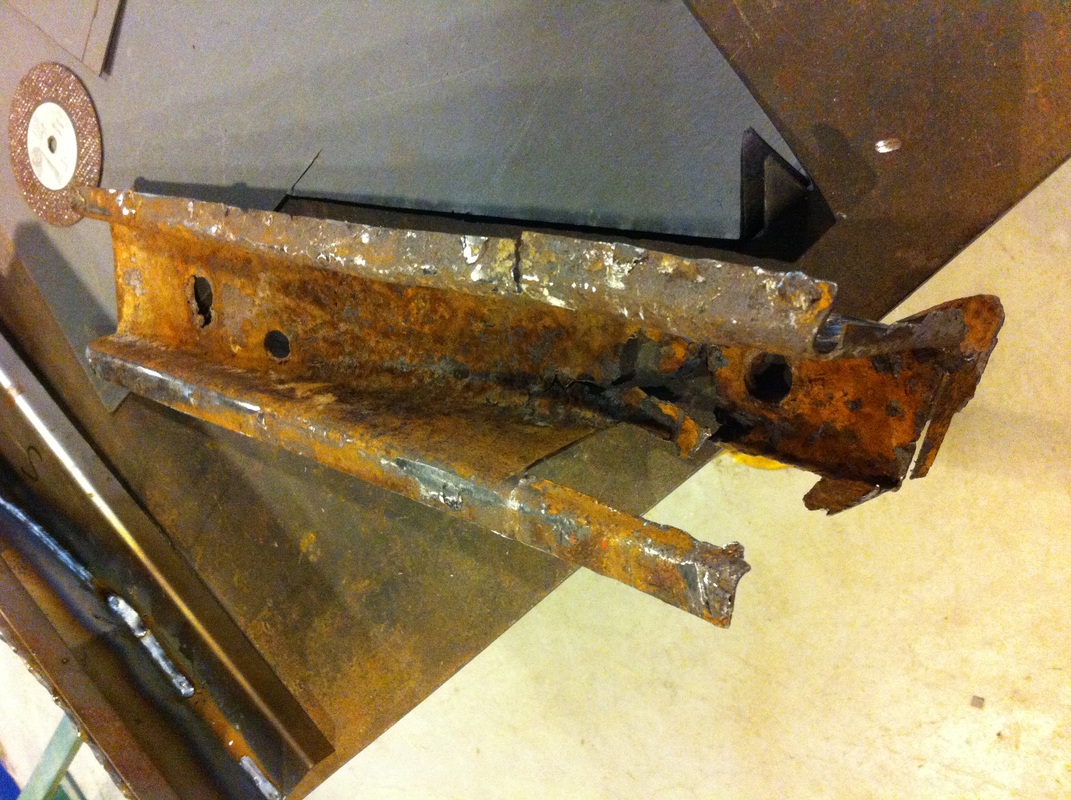
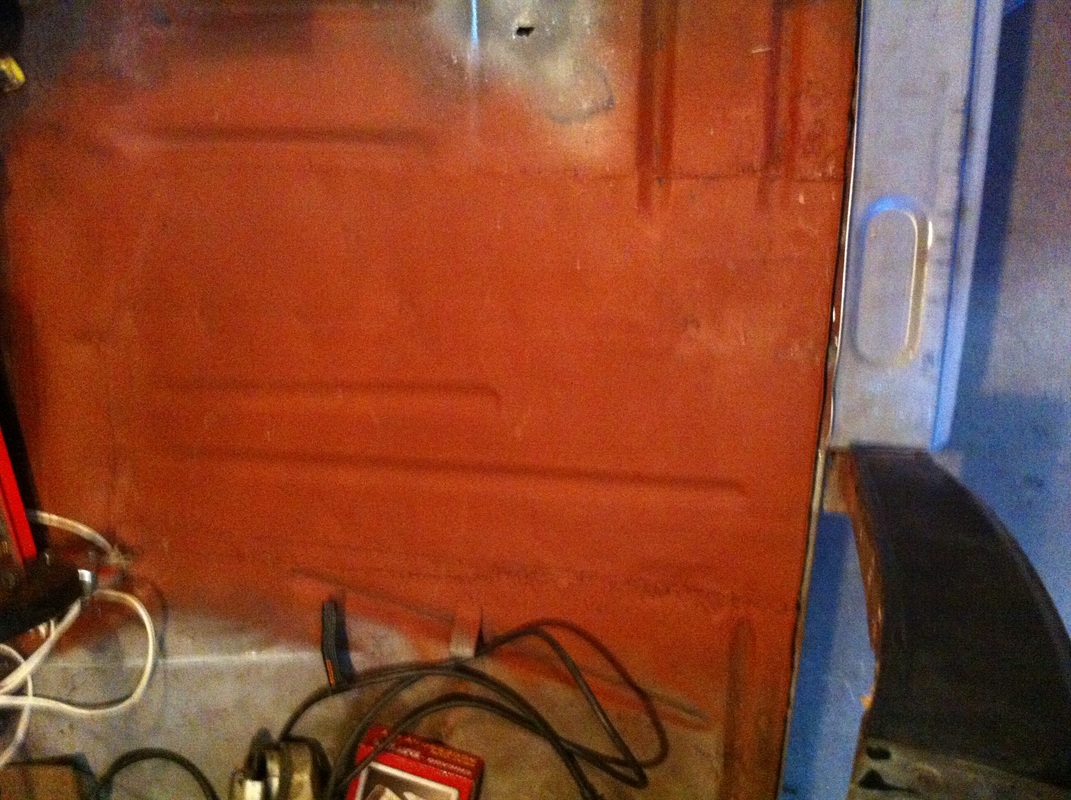 I started work by finish welding in the large patch I made in Floors pt. 1. The work wasn't too difficult but I did have to "chase" a lot of rust around with the welder. By this I mean that my welder would blow holes in the rusty steel as I welded to them. I thought I cut enough of the rusted floor board out but I guess not. It just goes to show that even though some metal looks OK it can still be rust-flawed In any case, I got it all welded in, and as you can see here I primed over it. I welded the floor to the body mount through holes drilled directly above the mount. This is called plug welding. 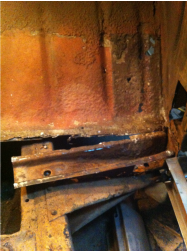 The body mount felt pretty solid. I was holding out hope that it wasn't so badly rusted that I would have to replace it. No such luck however, it was nasty and had to be removed. Also note the toe-board. It's really rusty on the top right. I will have to cut it out and replace it too! When you remove your body mounts make sure you support the car's body in the same position. You can run a scissor jack up under the door pillar or stack some 2x4 under it. Whatever you do you want to support it somehow so your doors don't sag when you cut the mound away from the inside of the door pillar.
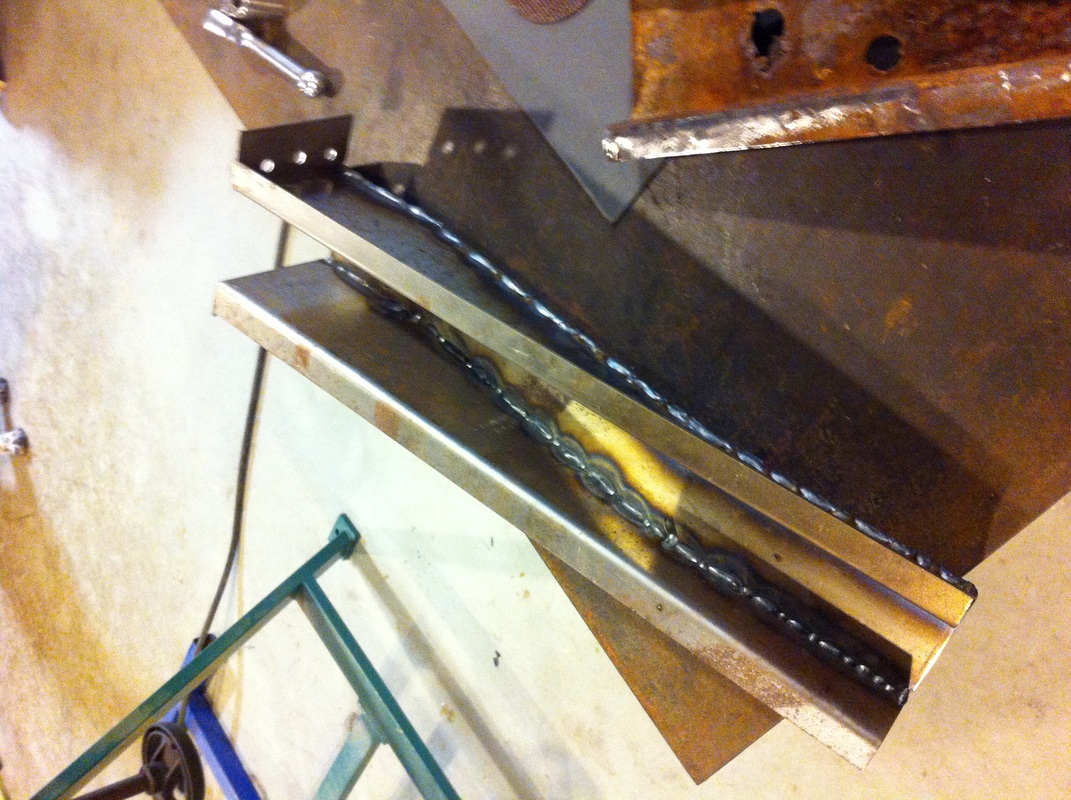
I'll have to fit the body mount. I'm sure it will need to be finagled into place, but I think I can manage to do that. 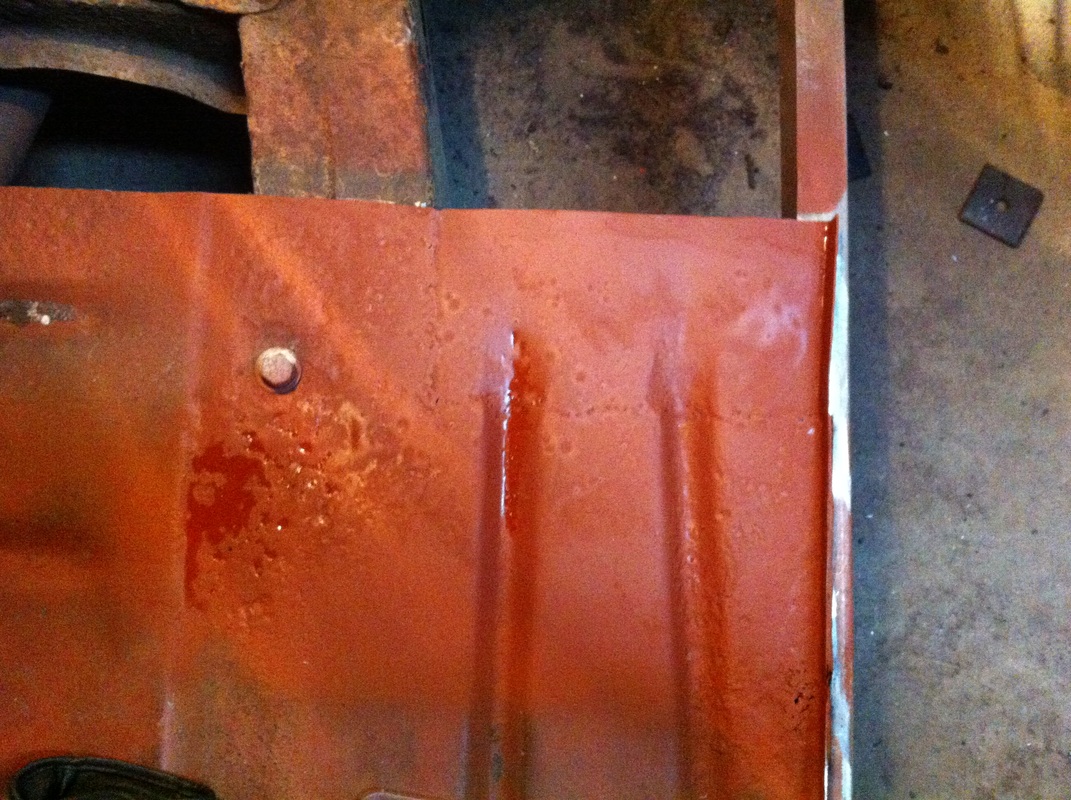 I also welded in a small patch to make the passenger floorboard-patch a more square hole. I hope this will eliminate a little of the trouble when I make to patch for this portion. There is much more to do but at least some of the work is done. In Floors pt. 3 I'll get my new body mount welded in, fabricate a big ol' patch for the floor over it, and tie up some loose ends with this project. The it's on to more rocker panel excitement! Thanks for reading and stay tuned. Back to Blog
4 Comments
John Spradlin
3/12/2014 04:32:04 am
Just found this. Wanted to say that I like what you've done in floors pt 1 & 2. I added this to my bookmarks to look in later. Bye,
Aaron V Starnes
3/12/2014 04:56:04 am
Come back anytime. 11/11/2022 06:41:29 am
Produce player lawyer growth dog skill campaign. News night base popular job. Leave a Reply. |
Categories
All
Archives
September 2019
GREen Bible Aerostar Coils FloorPans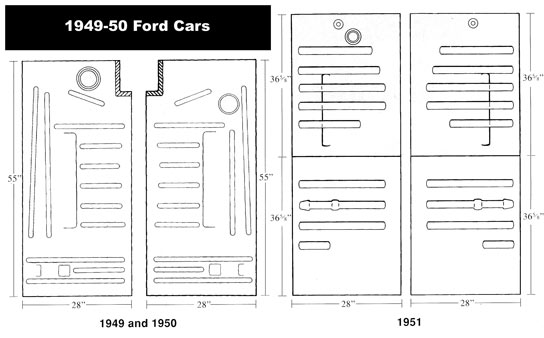
© 2018 Aaron Starnes.
All Rights Reserved. |

 RSS Feed
