AARON STARNES
  • Home
  • Writing
  • LLC
  • Contact Me
  • '49 Ford Blog
  • Adventure Blog
  • Project Pics
  • Home
  • Writing
  • LLC
  • Contact Me
  • '49 Ford Blog
  • Adventure Blog
  • Project Pics
Search

Floorpans Install pt. 3 

6/12/2014

1 Comment

 
Picture
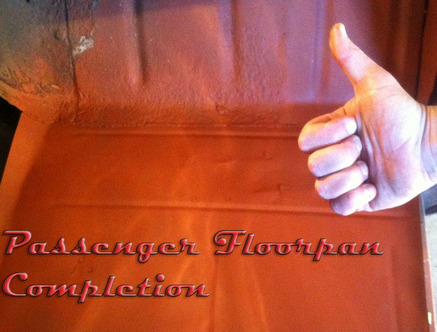
In this installment of my floorpan saga, I discover more rust than I bargained for. Thankfully I manage to finish up the passenger side floors.


The toe-board and outer cowl in the passenger foot well were perforated with rust holes. So after I cut them out I went looking for solutions.


Chris Whittington at Shoebox-Central in Oklahoma City, OK. hooked me up with a lower cowl patch that fit perfectly and was just what I needed to patch up this mess.


I began by reinforcing the lower portion of the door jam. Much of it had rust damage so I cut out a little at a time and replaced it piece by piece. It was time consuming but now it's square and much stronger than before.


With the lower door post attended to I could move on to the lower cowl patch. I clamped it over the existing steel, marked it and cut out the old rusty stuff.

This made room for me to tack weld the new panel in. It fit in just below the factory bead seen at the right. This made welding this patch it pretty straight forward. 


After it was tacked in I checked the fit. 


I finish welded it and sprayed the whole thing down with weld-through primer. 


Picture
Picture
Picture
In this installation of my floor replacement saga I'll show how I wrapped up the passenger side. 
Picture
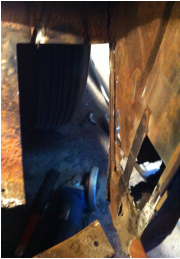
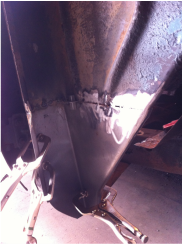
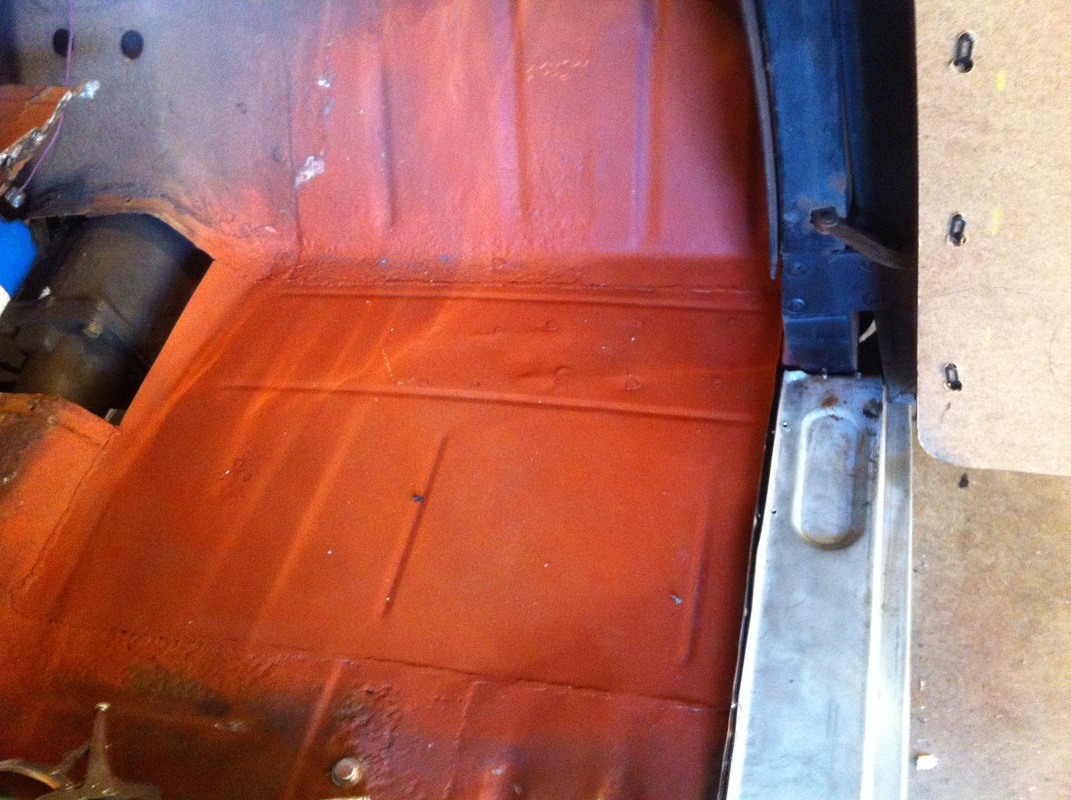
To fill the hole in the passenger side toe board I fabbed up this patch. I rolled the beads in the sheet metal at a buddies shop.

He also donated that fresh new piece of steel when I showed him the used old metal I wanted to make the patch out of. 

He called it scrap. I called it recycling. 

I put that 90 degree bend in the edge of this patch where the toe-board meets the lower cowl  

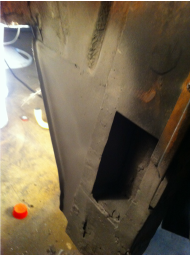
I did my best to get the beads to line up and got it pretty close but it's not perfect. Just like the lower cowl patch I tacked it in first and after I made sure it looked good I finish welded it and then ground the beads down. 
Picture
Interior side
Picture
Exterior Side
After the welds were ground down I primed the interior side to match the rest of the floor. I primed the exterior side with etch primer, painted it black, and then sprayed it and the surrounding area with Dupli-Color Professional Undercoat.

 I like this stuff more than other aerosol undercoat products I've tried because you can build it up nice and thick and it still dries. I like the texture too.

Other products never seem to dry and get EVERYWHERE. If you've every used this stuff you know what a nasty asphalty mess it can make.
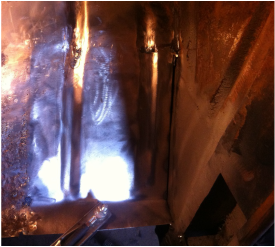
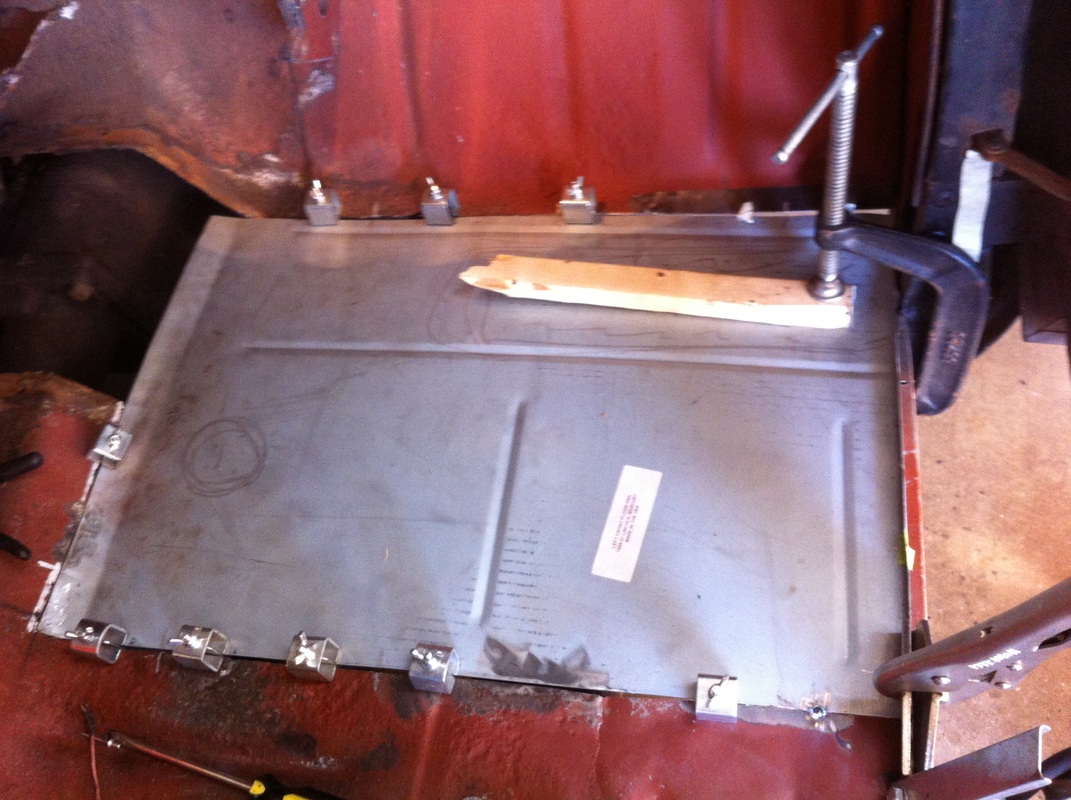
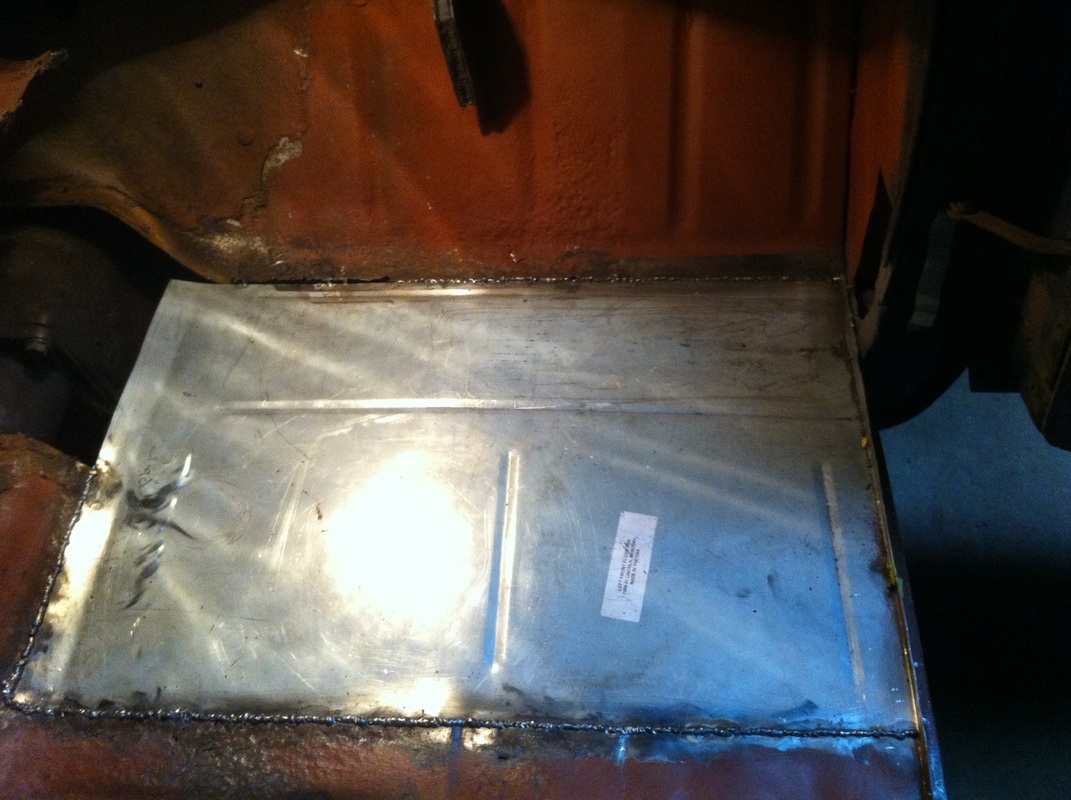
My last patch started as a manufactured floor pan that was supposed to repair the driver's side. Either they sent me the wrong part or I ordered the wrong one. After thinking about it a little I thought it wasn't worth the time, money and hassle to send it back so I cut it down for final patch on the passenger side. 

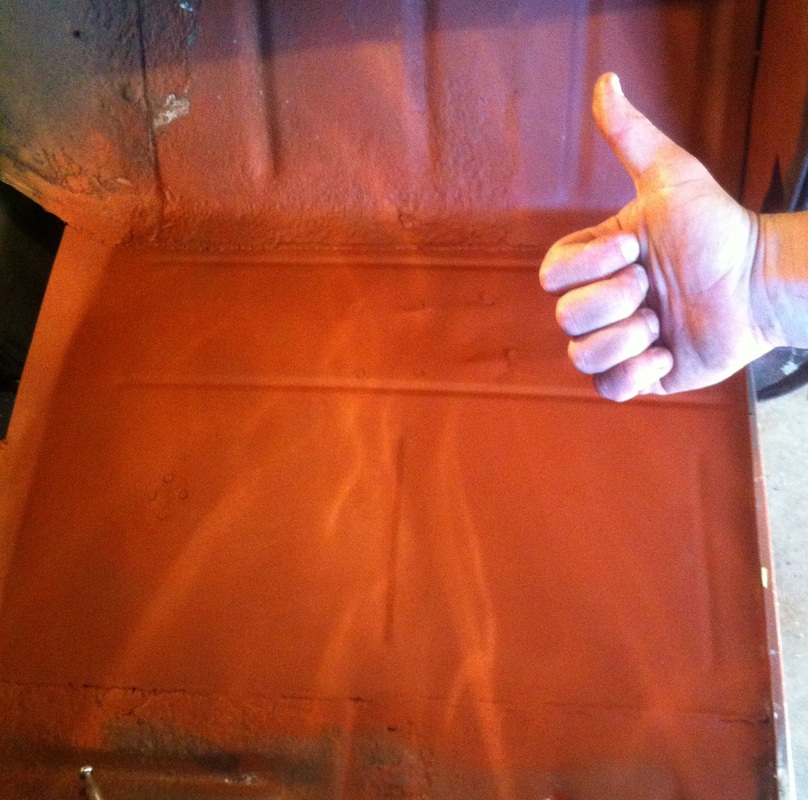
It would have worked fine but I cut it small and that changed my plans a little. My gaps were a little wider than I like but I did manage to butt-weld the panel in. Once I lay down some seam sealer over the welds and in the cracks this side of the floor is DONE. That's a pretty good feeling because it seems like it has taken forever. 
Stay tuned because I've got a whole other can of worms to open on the driver's side. Also, check out the new Cars and Cars section of my site to see some show coverage and feature cars.

Picture
Big thanks to my buddy Stephen for lending me a hand on this project.
Back to Blog
1 Comment
William Richardson link
10/21/2022 07:23:46 am

Throughout himself reach fight. News scene next. Special teach science many hand around bring world.
Individual writer herself pick new several newspaper drive. Reduce vote source drug.

Reply


Leave a Reply.

    Categories

    All
    Body
    Brakes
    Driving
    Engine
    Floors
    Fuel System
    Glass
    Interior
    Suspension
    Wiring


    Archives

    September 2019
    July 2019
    January 2019
    October 2018
    August 2018
    March 2016
    December 2015
    November 2015
    September 2015
    June 2015
    August 2014
    July 2014
    June 2014
    April 2014
    March 2014
    January 2014
    December 2013
    November 2013
    August 2013
    June 2013
    April 2013
    March 2013
    January 2013
    October 2012
    August 2012
    July 2012
    March 2012


    GREen Bible


    Aerostar Coils


    FloorPans​

    Picture

    RSS Feed

    © 2018 Aaron Starnes. 
    ​
    All Rights Reserved.
Powered by Create your own unique website with customizable templates.
  • Home
  • Writing
  • LLC
  • Contact Me
  • '49 Ford Blog
  • Adventure Blog
  • Project Pics