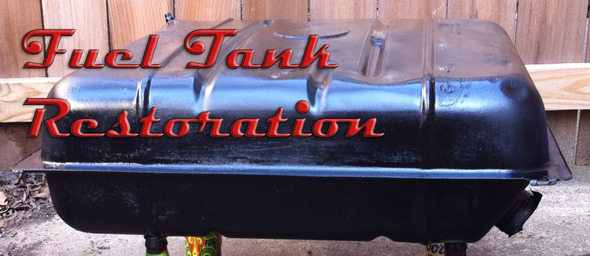
The fuel tank on my Ford was pretty awful, it was full of rust and old gas. In fact when I drove it home the fuel source was an antifreeze jug full of gasoline bungee corded down under the hood. This was, needless to say, not safe and not a permanent solution to a rusty tank problem. I thought I had found a solution in a poly fuel cell, however after pulling out the old rusty tank and installing the the new fuel cell I noticed that it hung down much too low and was unsightly from the back of the the car. Not to mention unsafe if I ever scraped it on anything. What to do?
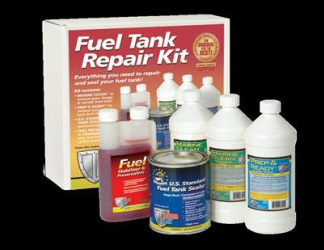
I have treated a number of motorcycle tanks with chemical liners with a good degree of success, but it's always a long and tedious process. Short of replacing the old tank with a new one I figured this was about the only solution to my rust problems. So after a little asking around and some research I found out about a complete kit from POR15 that would run about 75 buck and a lot of labor and would line the inside of my fuel tank protecting the steel from any moisture.
The Process 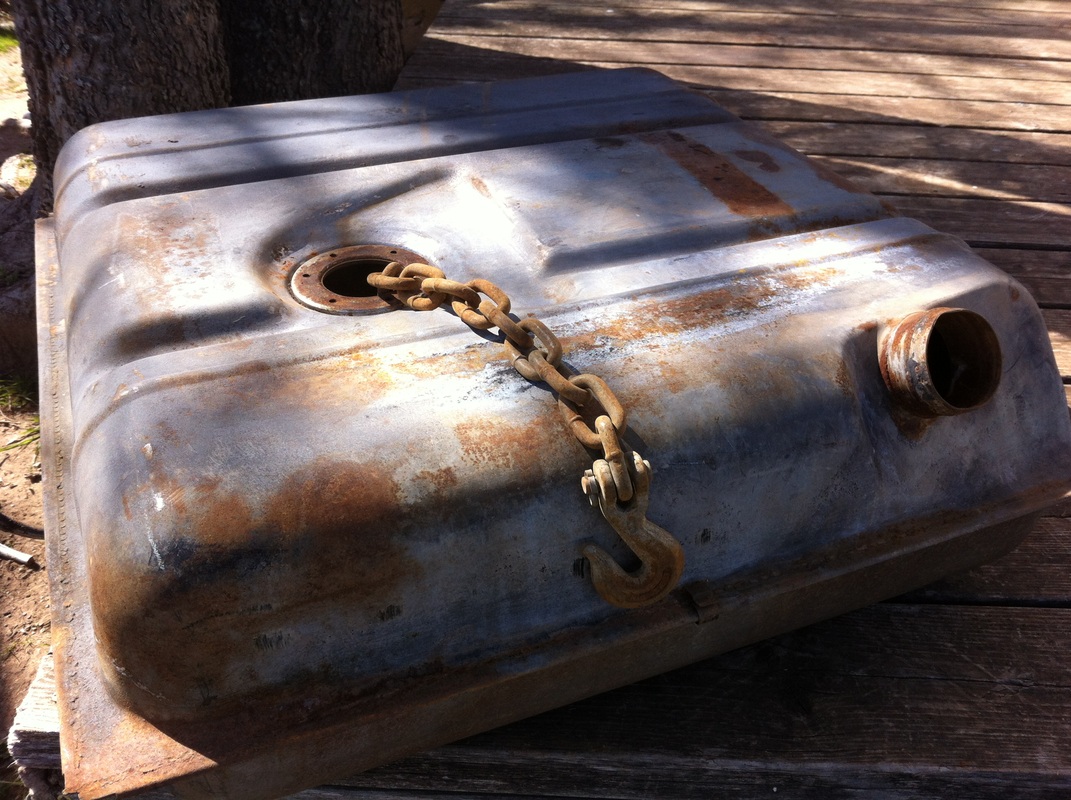 Rusty tank and chain. Rusty tank and chain.
Marine Clean
The first step is to get all the nasty crud out. I did some preliminary rinses, and then tossed about four feet worth of chain in there to try and scrape a some of the scaly rust out. Then I blocked all the holes and poured in my first bottle of Marine Clean mixed 1:1 with hot water. The instructions say the hotter the better. I left the chain in the first go round just to agitate things. Then as per the instruction left it on each side for a couple hours. Then after a good rinse I pulled out the chain and in went the second bottle of Marine Clean. Then I just repeated the process. 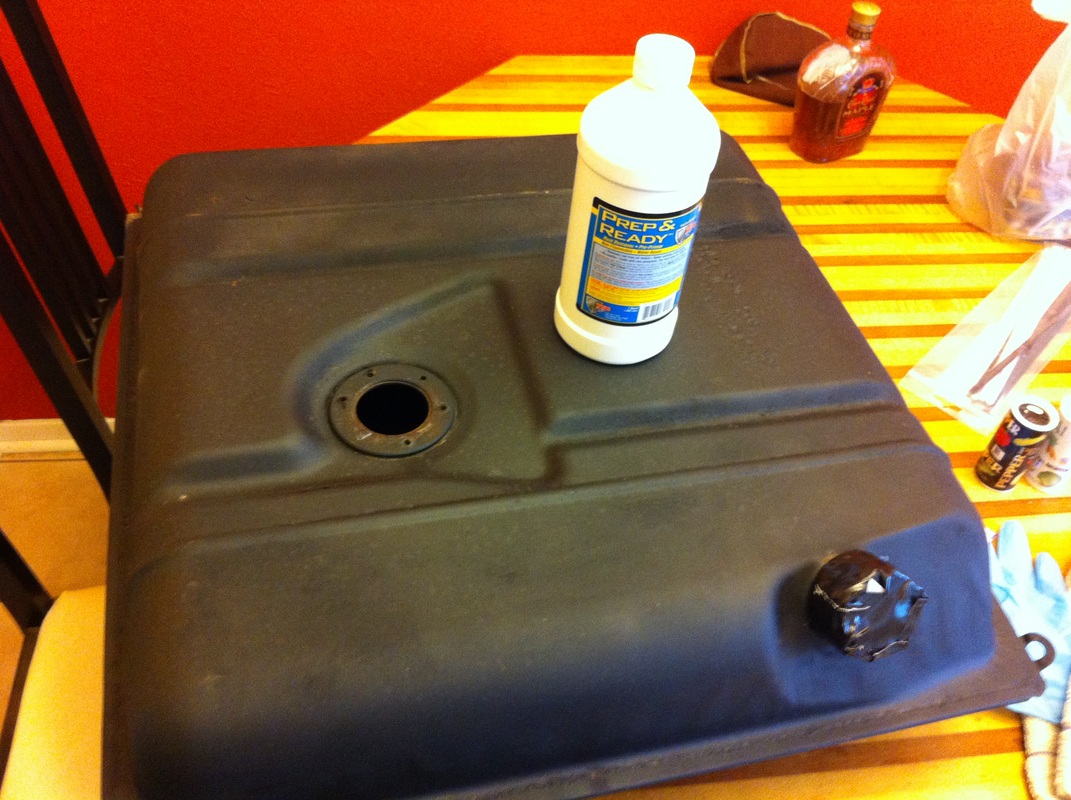
Prep and Ready
Next came the Prep and Ready etching solution. This stuff puts a good bite on the metal and allows the sealant to bond to the interior of the tank. This is by far the quickest of the processes. Eye protection and gloves are a really good idea here. 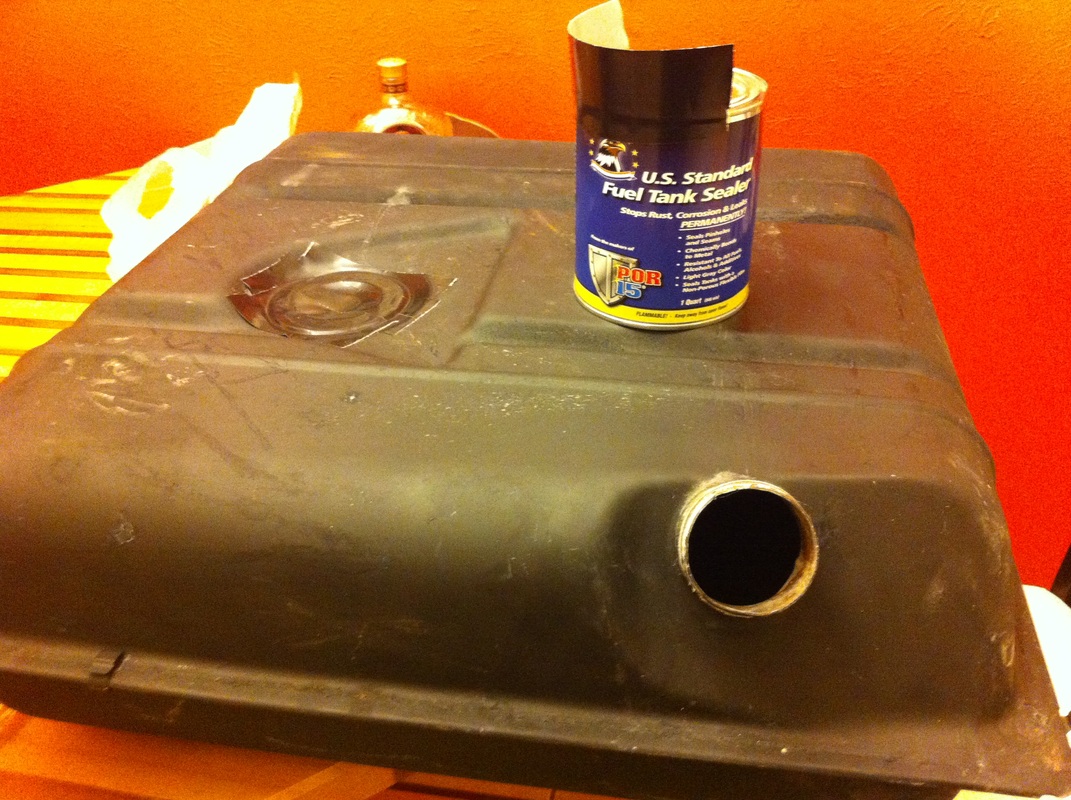 Use tape as a spout to keep a clean can Use tape as a spout to keep a clean can
Sealant
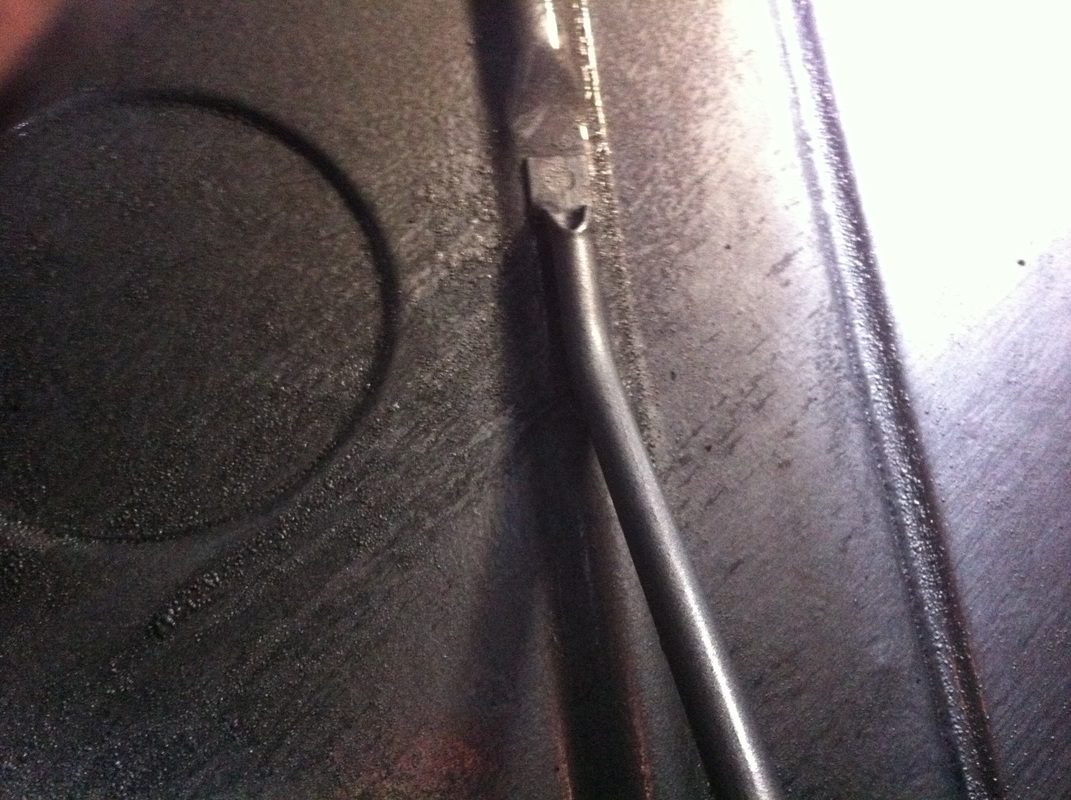
The whole can goes in and you let it sit on every side for thirty minutes. You may be thinking, "sure that's all well and good, but I've got a couple pin holes." Well I did to. While I was cleaning the outside of the tank I scraped away some rust that was all the way through. It left me with a couple holes a between 1/16" and 1/8". I slapped some QuickSteel on there to fill the holes before I poured in the liner. 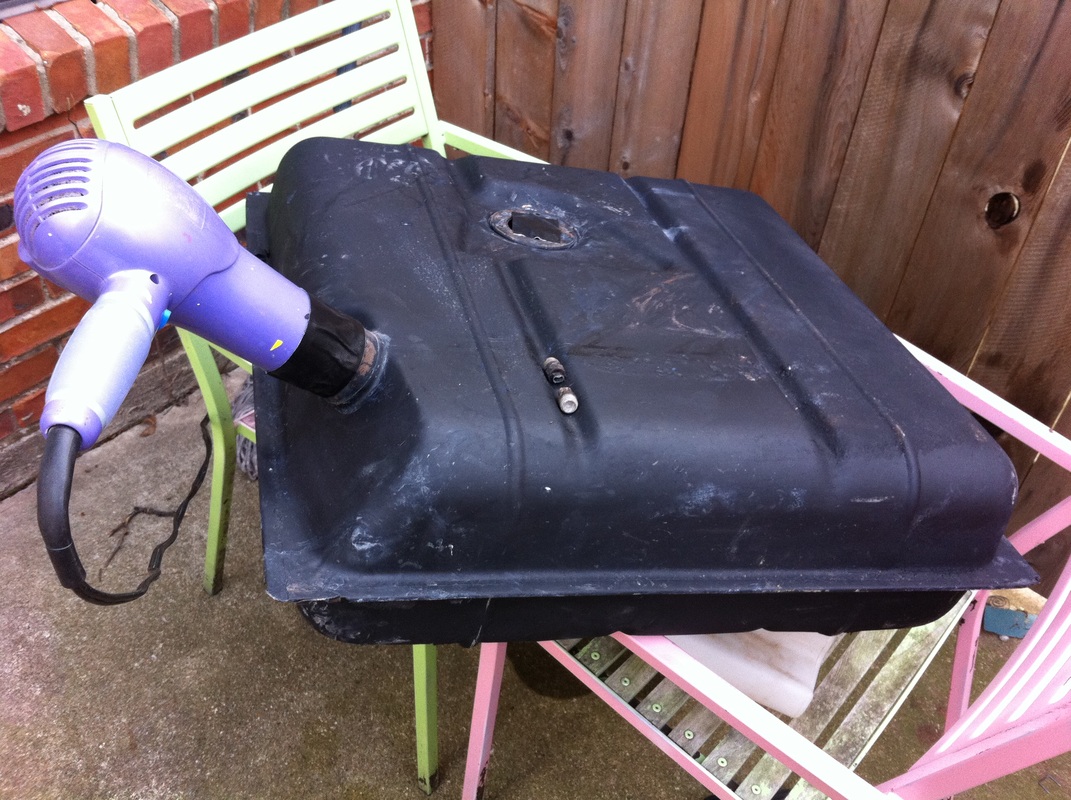
Next is the drain and dry. I used this set up, just some tape around a hairdryer set on low and tilted toward the drain plug so excess would pour back into the can. I ended up using about a third of the quart. This is messy so keep some gloves handy.
 No more rust here! No more rust here!
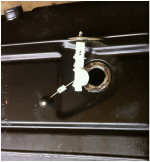
Here's a shot of the inside of the tank after the sealant had dried, notice the pickup tube.They say after it dries out you have to wait 96 hours before you put fuel in it. But thanks to ample drain and dry time the inside of the tank looked great! Spotlessly clean. That was no problem for me because I still had a couple things to do.
 If you're like me you might make a couple extra paint stands... for added support If you're like me you might make a couple extra paint stands... for added support
I thought the outside of my tank was a looking a little rough, so I squirted a can of black satin paint at it. This was a pretty relaxing endeavor. The sun was shining and the weather was awesome out so between coats I'd kick back, make another "paint stand", and watch the paint dry.
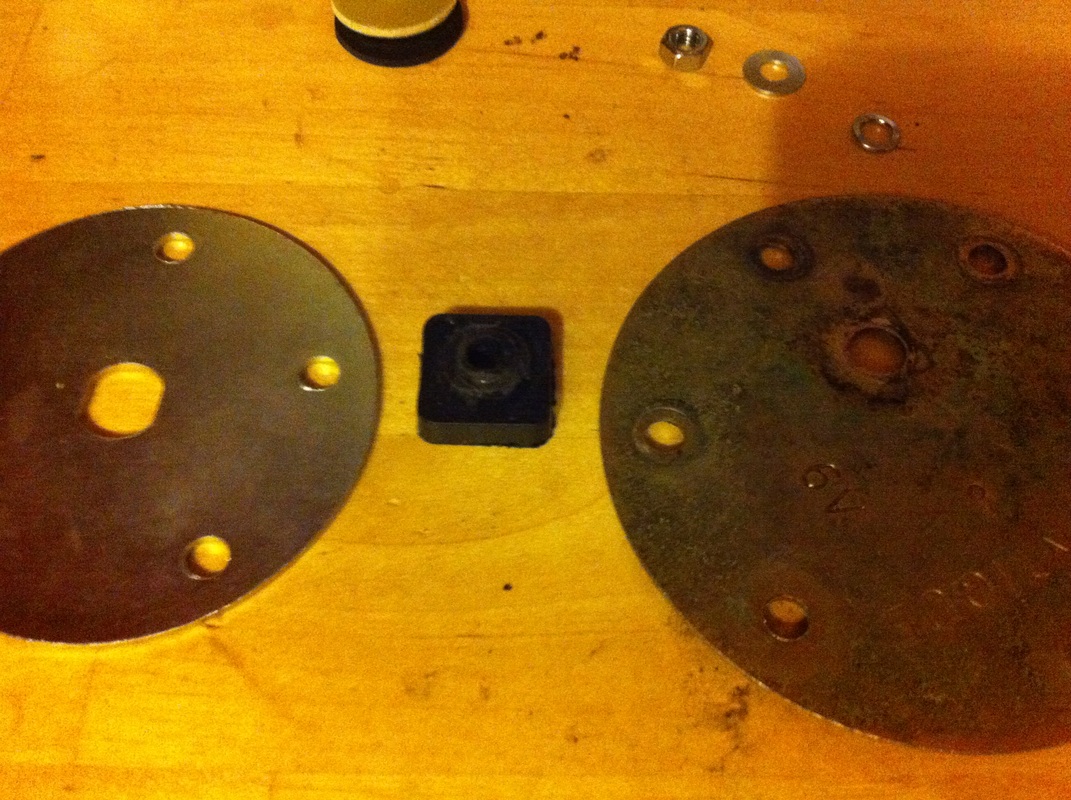
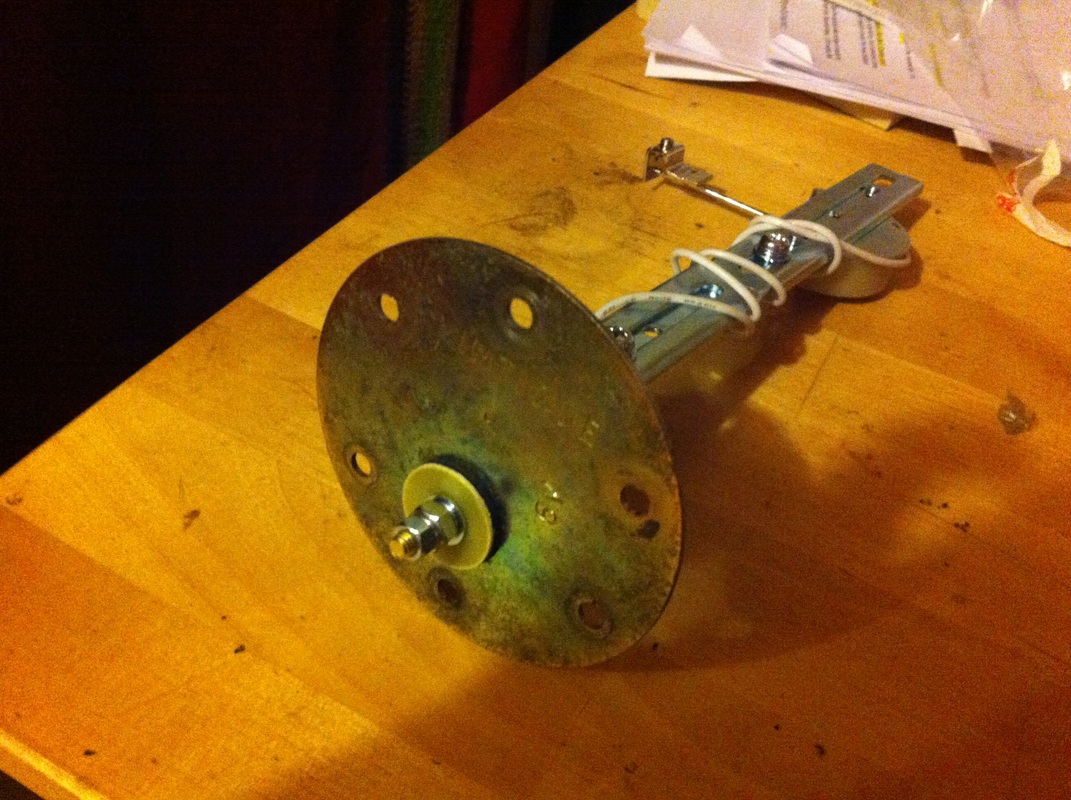
I also had to sort out my sending unit. I used a universal one from SunPro that talked to my fuel gauge. It came with a chart and you trimmed it down depending on what depth your tank is. In all about a 30 minute job. I did however have to do some problem solving here. The unit I ordered came with a 5 bolt mounting plate. If you've ever messed with the sending unit on one of these old Fords you know they have six bolts. What to do?
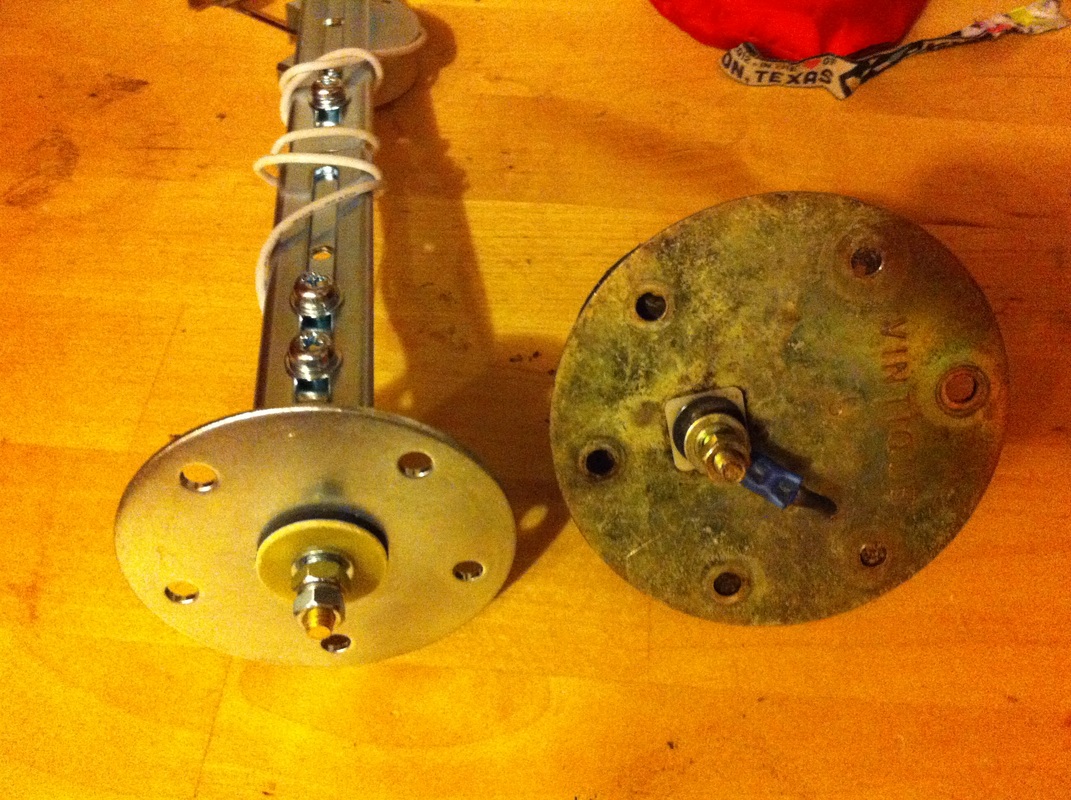 The old plate on the right has 6 holes. The old plate on the right has 6 holes.
Luckily I had my old sending unit still (and to think I was gonna throw this thing away). So with a little Frankensteinian logic and some elbow grease I combined the bits I wanted into a functional sending unit.
Then it was time for a pair of fuel tank mounting straps. I searched and searched for some universal straps online and really only came up with one option. I found some 42" galvanized straps at www.tanksinc.com I was able to call these guys and talk to them about what I needed. Convinced, I ordered them up. They came fast and I was very pleased with the quality. I laid them out and made my marks where they needed to be cut. I cut them after bending them over to double the thickness where the mounting bolt would go through. Then I drilled a hole in each one for said mounting bolt.
To reduce rubbing I cut up an old mouse rubber mouse pad and glued the pieces to the mounting straps. I also cut some for between the body and the tank. With a little help from my buddy Stephen I got my freshly restored tank in position and strapped her in tightly. After I hooked the pick up line back up and reconnected the filler neck I put some gas in it and cruised to the gas station. I put 8 gallons in my 16 gallon tank and whaddya know my gas gauge read half a tank! A good day indeed. 
This good lookin' tank sure makes the rest of my car look rusty.
I've had the sealant kit in for about 2 weeks now. No issues so far at all. I would recommend it to anyone with a nasty old tank. That is to say I would recommend it with these words of caution. Do it right. Don't cut any corners. And don't rush.
It is messy. It is time consuming. This is a weekend long project at least. If you're gonna be around an awful lot you might get it done in a day and a half. Otherwise it could take all weekend. I had to do mine in two parts and it blew from one weekend well into the following week. There's just a lot of waiting, waiting to turn the tank, waiting for the tank to drain, waiting for the tank to dry, etc. With that said however, you can't argue with results, and the results I got from the POR-15 kit exceeded my expectations. "Happiness is not pleasure, it's victory"
1 Comment
pkerot
4/3/2013 05:50:19 am
POR is great stuff. Leave a Reply. |
Categories
All
Archives
September 2019
GREen Bible Aerostar Coils FloorPans
© 2018 Aaron Starnes.
All Rights Reserved. |

 RSS Feed
