AARON STARNES
  • Home
  • Writing
  • LLC
  • Contact Me
  • '49 Ford Blog
  • Adventure Blog
  • Project Pics
  • Home
  • Writing
  • LLC
  • Contact Me
  • '49 Ford Blog
  • Adventure Blog
  • Project Pics
Search

Installing Bradley Floorpans

6/1/2015

5 Comments

 
Picture
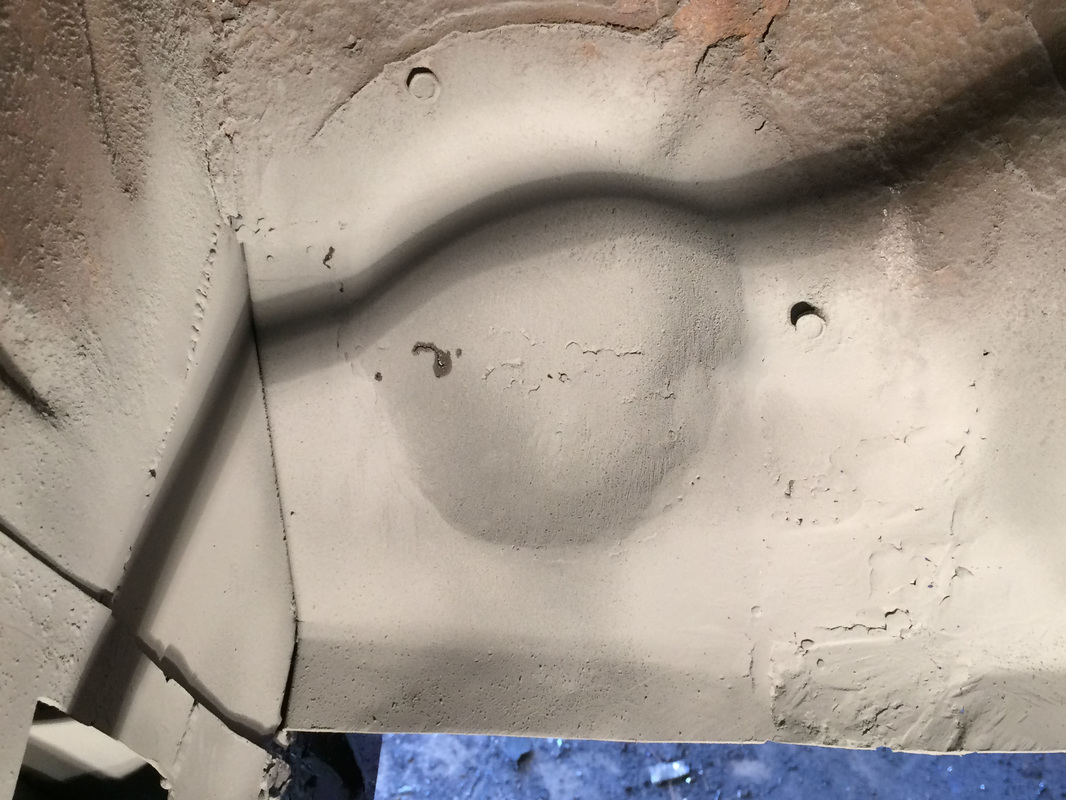
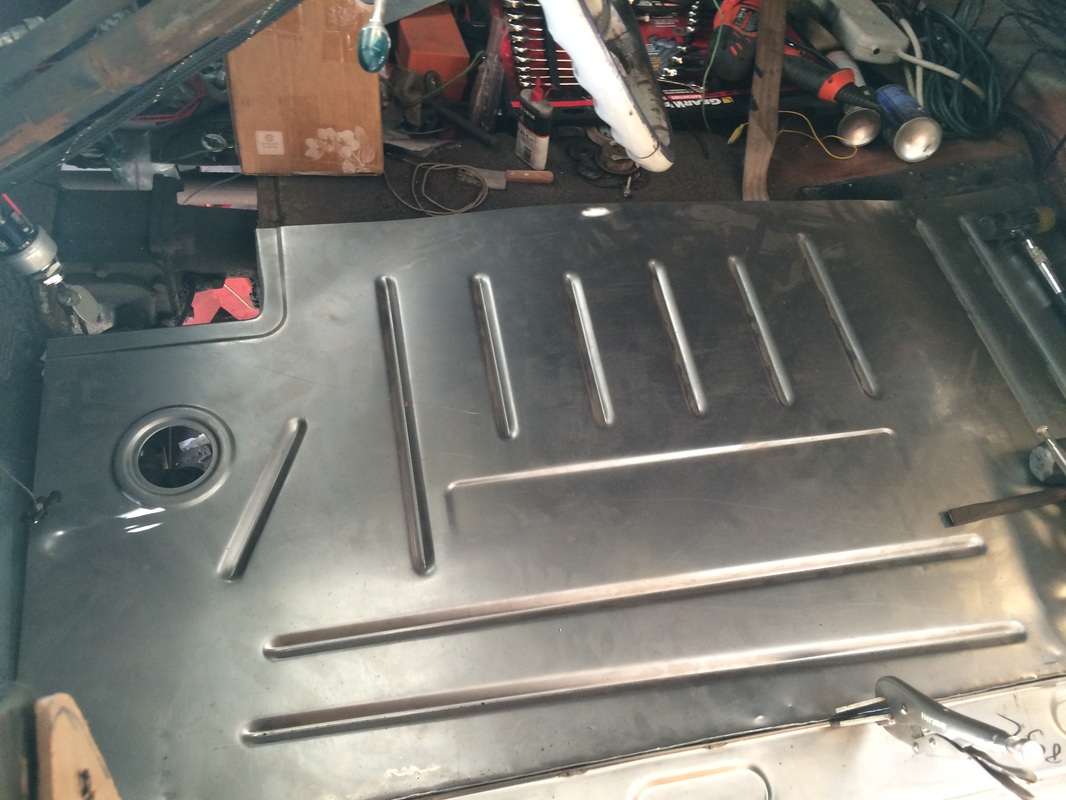
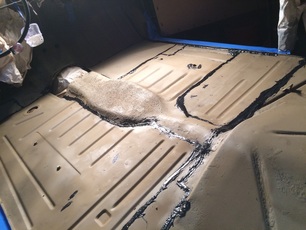
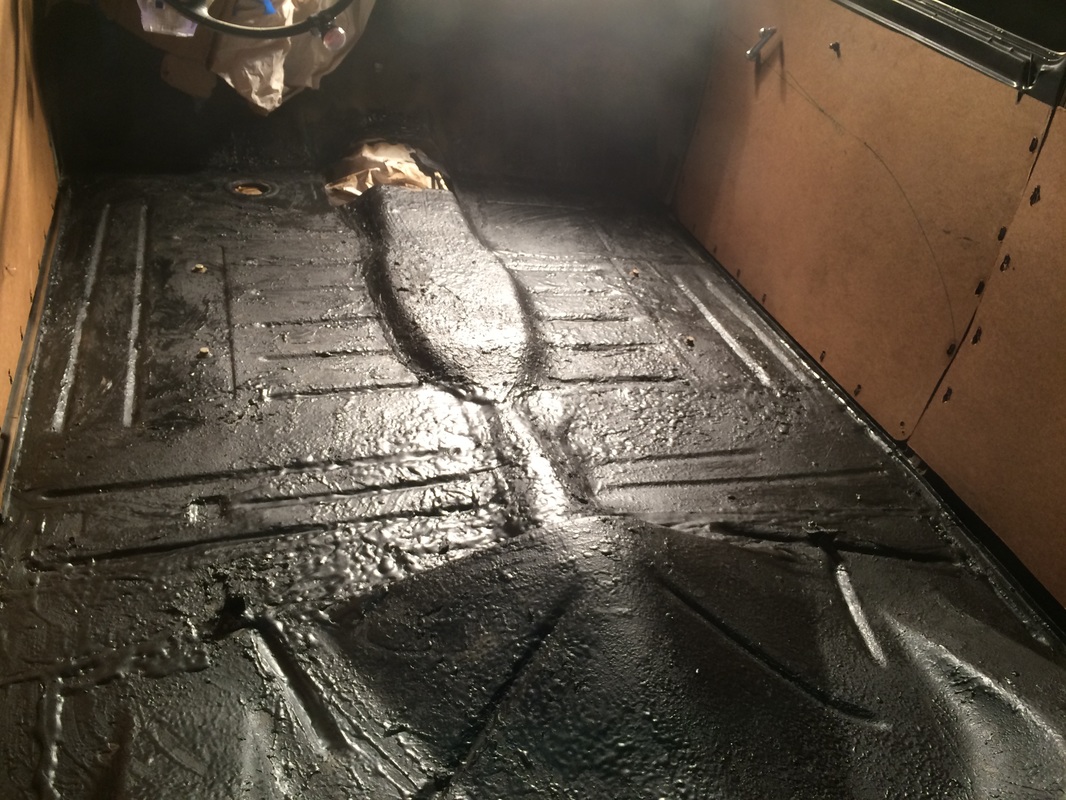
This article covers the final step in replacing the rusted out floors of my old Ford. This completes the most drawn out project I've done with the car so far and is a big step toward getting this thing off the jack stands and back on the road.

The previous owner was probably doing the best they could with what they had when they pop-rivited sheet metal down over the rust holes in the floor. It was an admirable attempt, they used POR 15 and seam sealer, but it wasn't cutting the mustard for me. 

That's why a few months ago I started cutting into the floors and this is what I found. 

Tons of rust. Rust in the floorpans, rust in the inner and outer rockers and rust in the body mounts. 

This is what I had left after cutting all the rust out. It wasn't much to look at and I knew I had a lot of replacement work to do on the floors. 

Notice the square tube frame work I welded in to keep the body stiff after I cut loose the rockers and body mounts. I took this extra precaution to make sure everything was where it should be when it was time to weld it back up. 

On the passenger floor, the one I did first, I made patches for each area to save as much of the original steel as I could. 

It was a lot of work and I constantly fought flaky, rusty, original steel which looked fine but melted away when the welder hit it. Read about that install here and the rocker panel install in this article. 

Not only were my floors rotted out, my toe board (the space behind the pedals) was all full of holes too and so was the bottom of the door pillar.
I began with the easy stuff first. The bottom of the dimmer switch mount plate was all rusty. I cut out the rust, cut a patch, and welded it on. After that I sandblasted and painted it. 

The next bit was a little more difficult. I had to make a pretty complicated shape to replace the bottom half of the relief in the toe board behind the dimmer switch. I had a little help from my boss here.

I made it in two pieces. You can see the new relief hammered out of a piece of sheet metal in the picture on the left and it's welded to the new toe board patch on the right. 

In the second picture you can see the lower door pillar patch and the toe board patch sitting next to the rusty originals.

Here is everything welded in place on the car. It is not perfect but I'm happy with it. I had to make pie cuts in the upper edge of the relief to get the fit it needed.

The picture on the right is the new patch tacked into position on the bottom of the door pillar.


Here's everything all welded in and primed. Notice the tiny square patches to the bottom right of the new relief panel.

The steel around the patch looked good but blew out when it was welded. In this situation I just cut farther back into the original floor and make a small patch of fresh steel.  
Picture
Picture
Picture
Picture
Picture
Picture
New relief patch
Picture
Picture
Welded in
Picture
Lower pillar patch
Picture

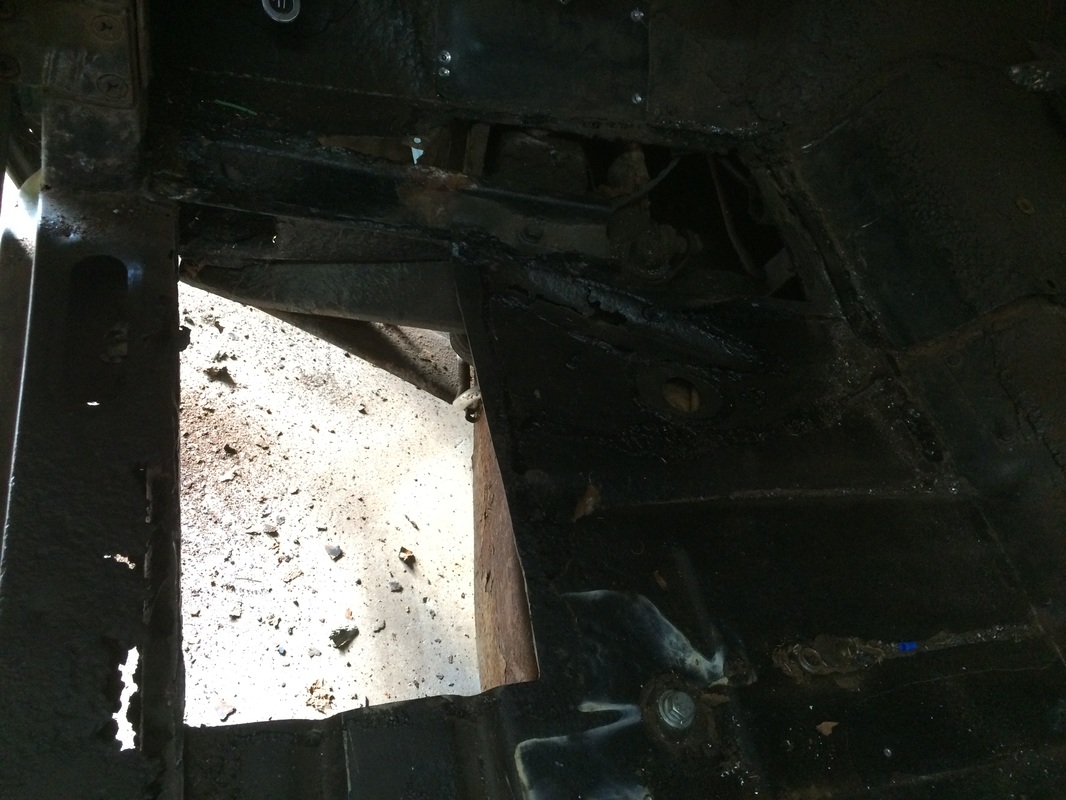
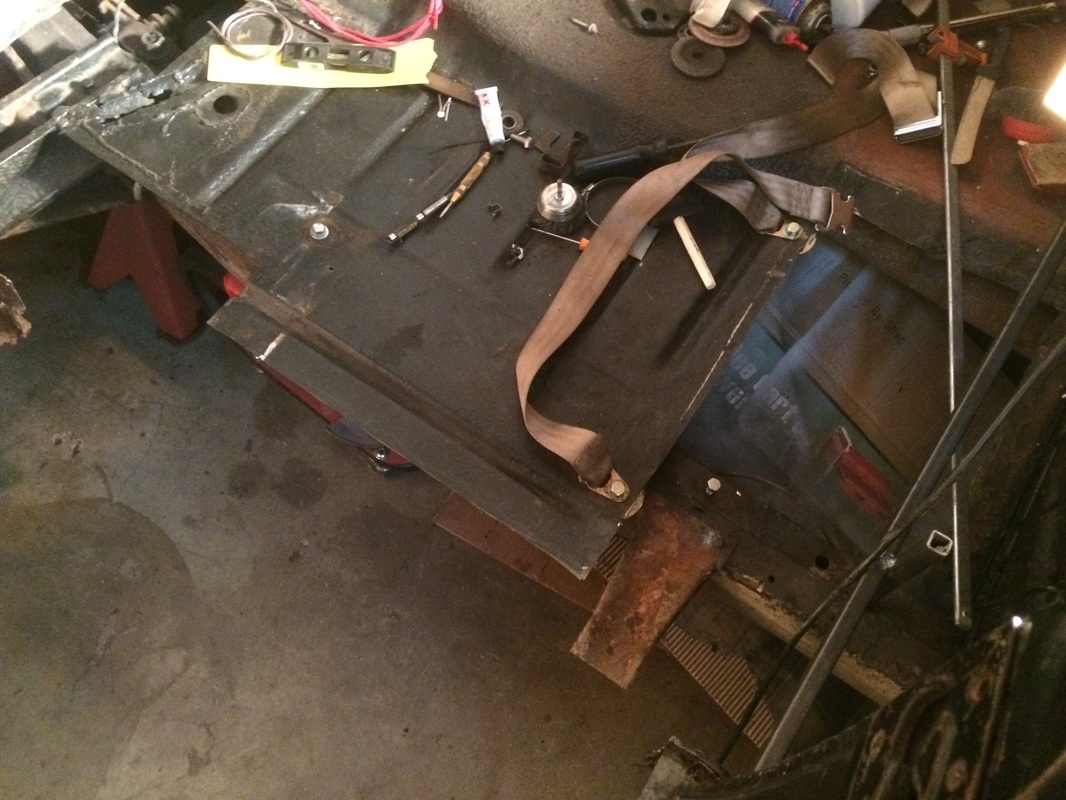
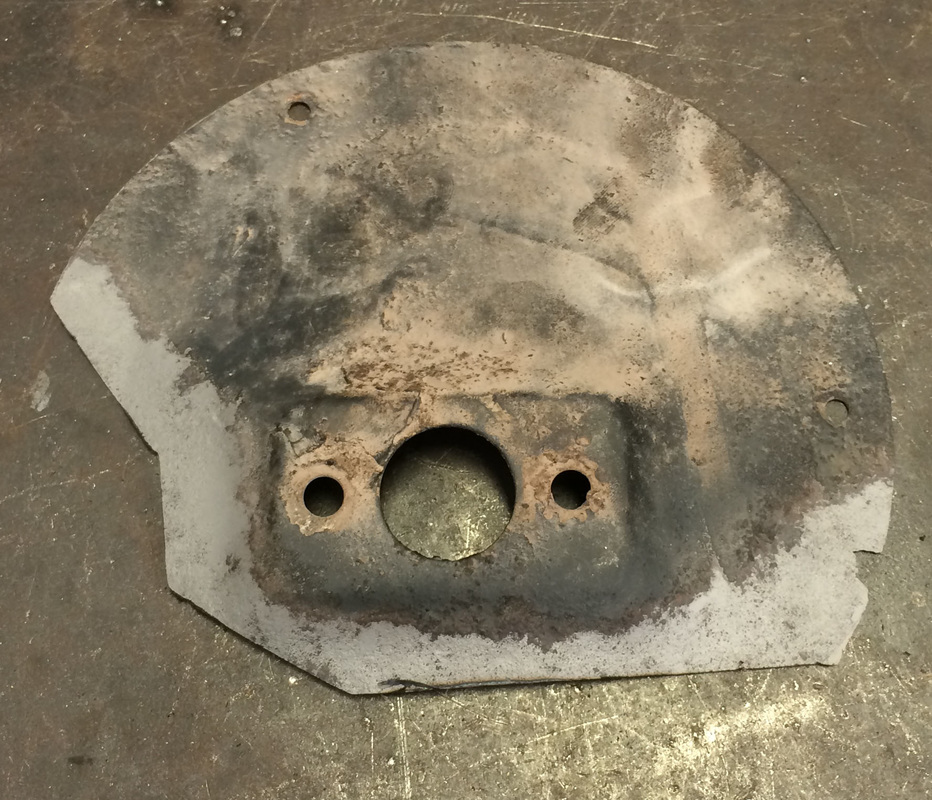
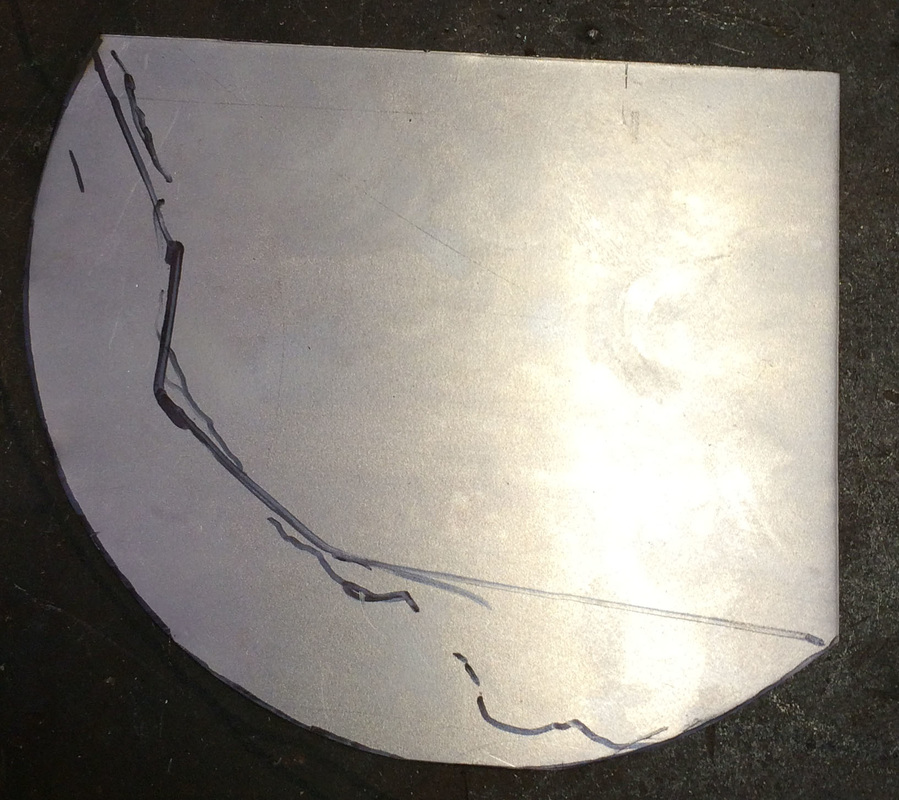
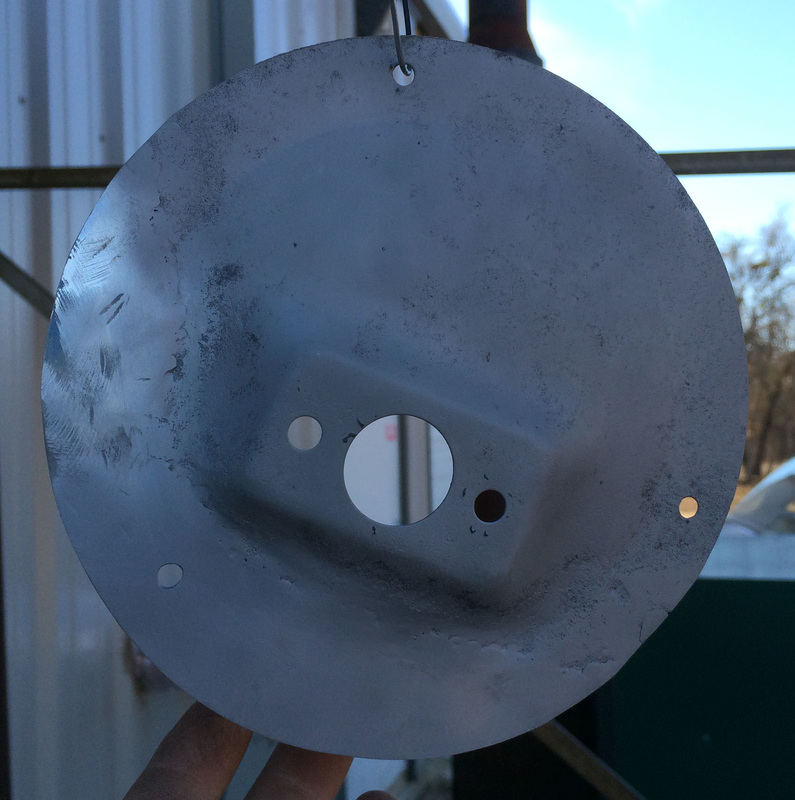
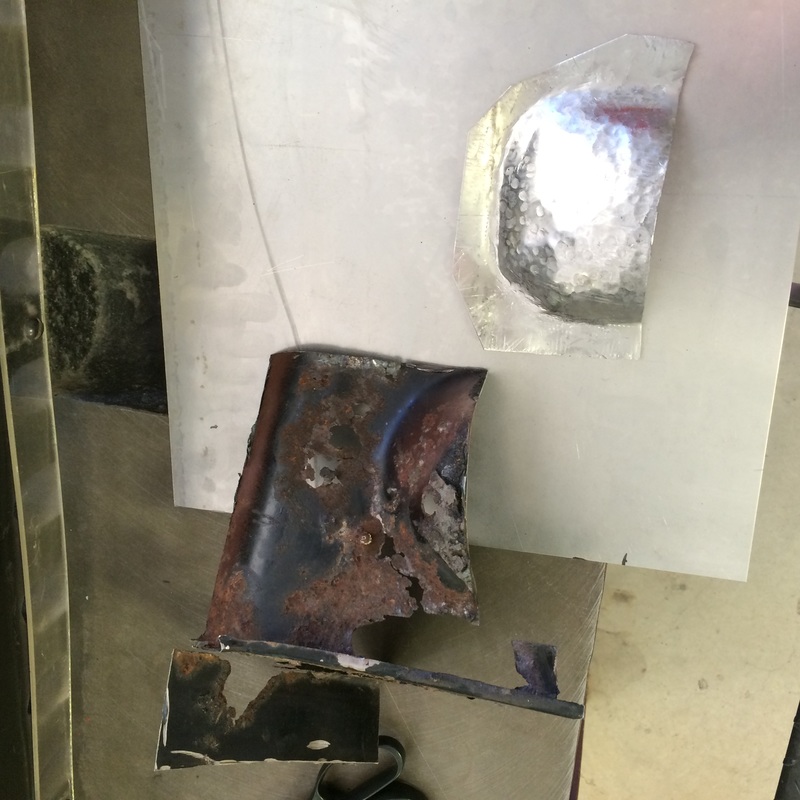
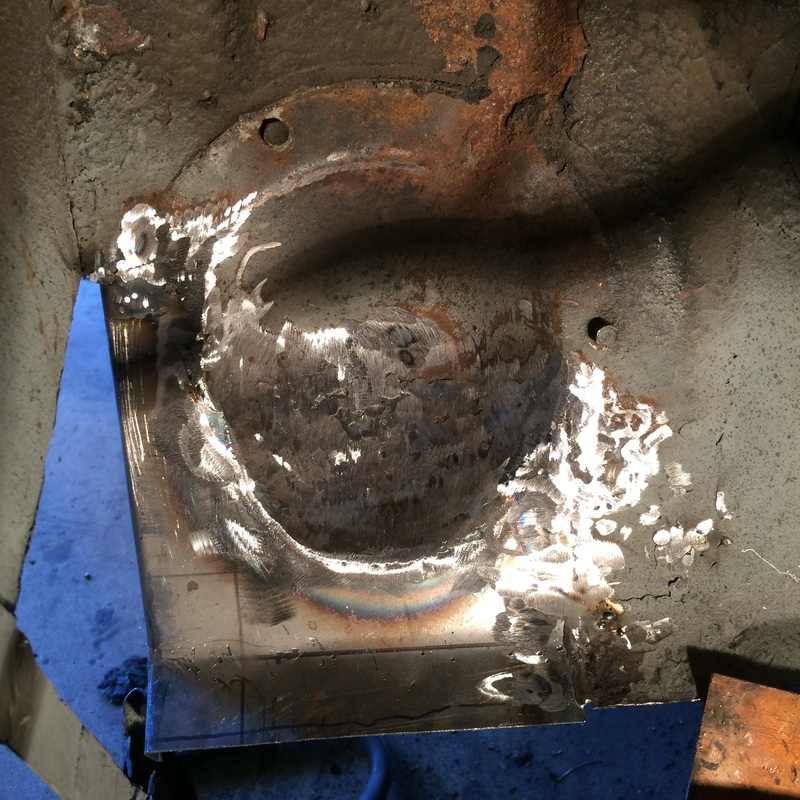
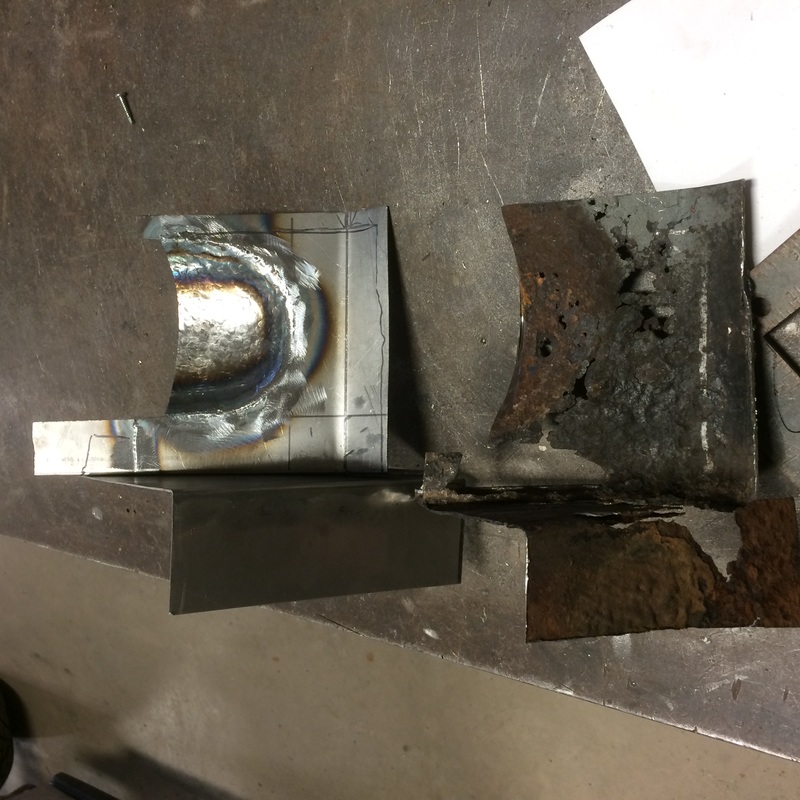
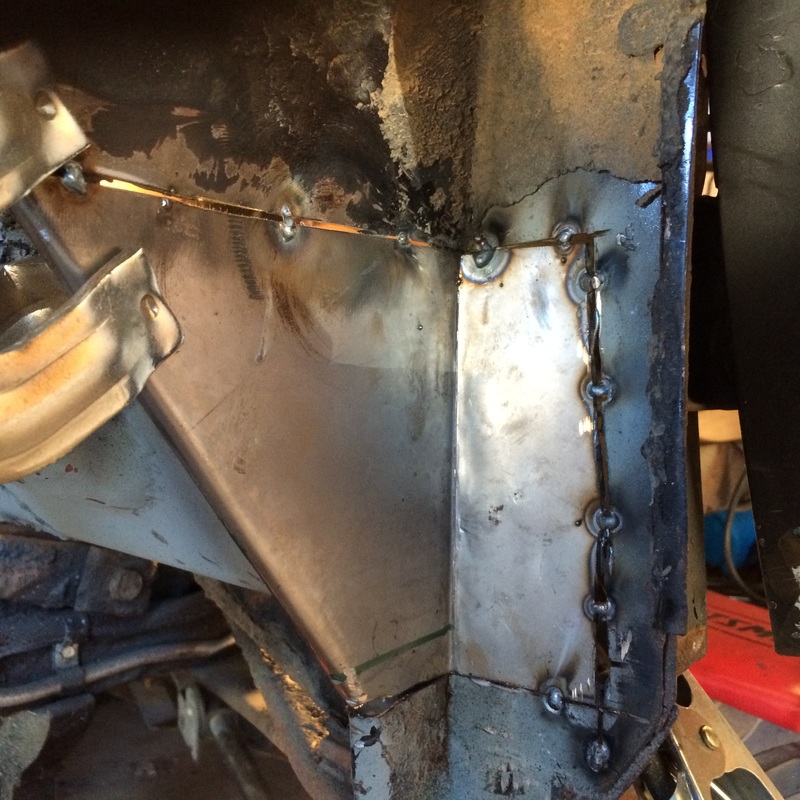
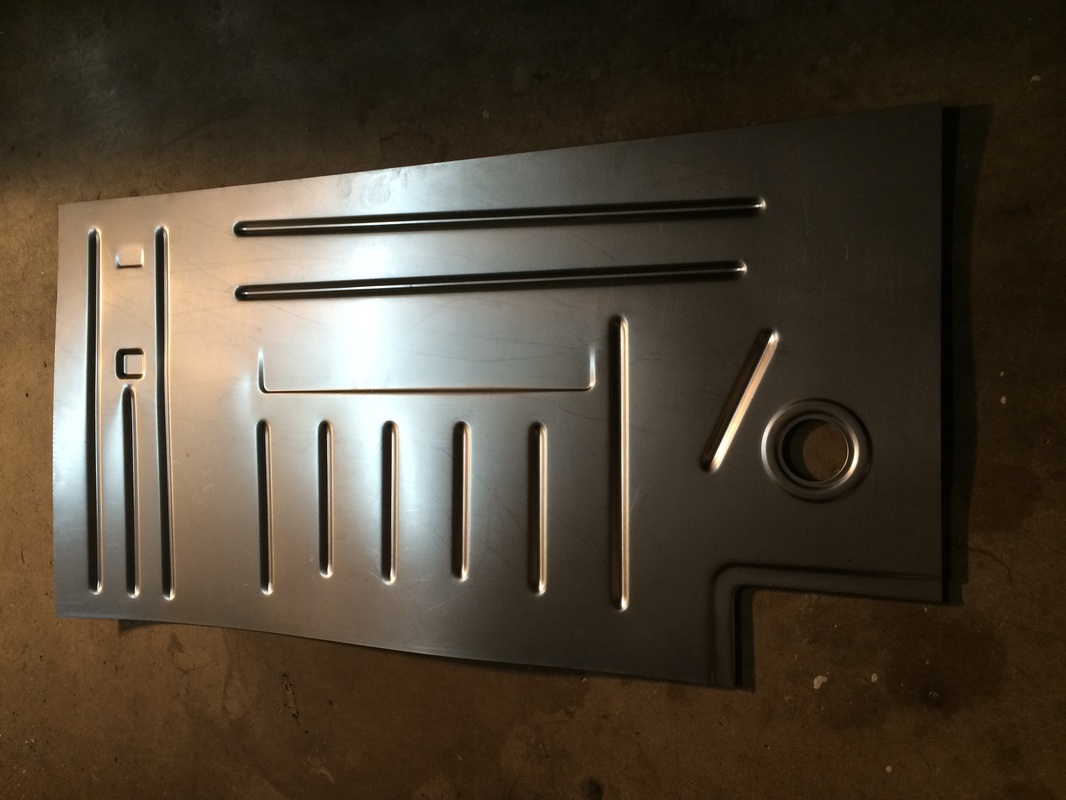
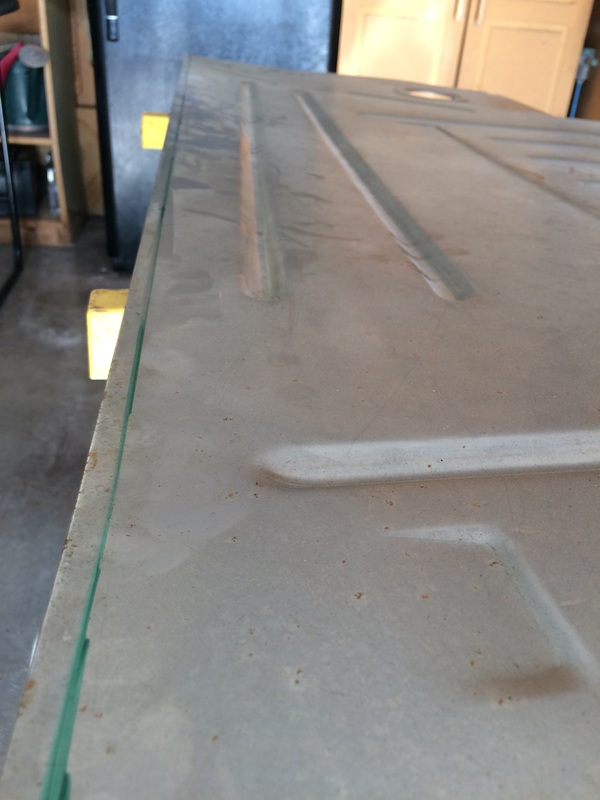
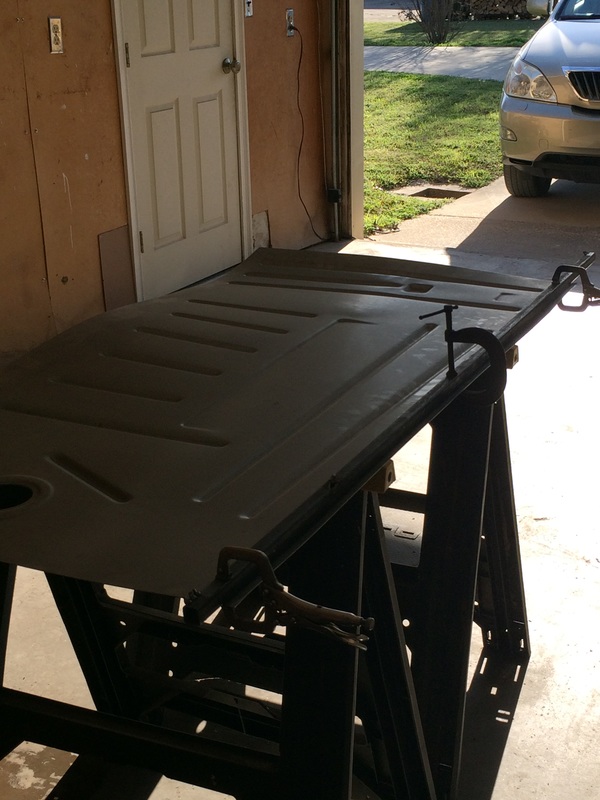
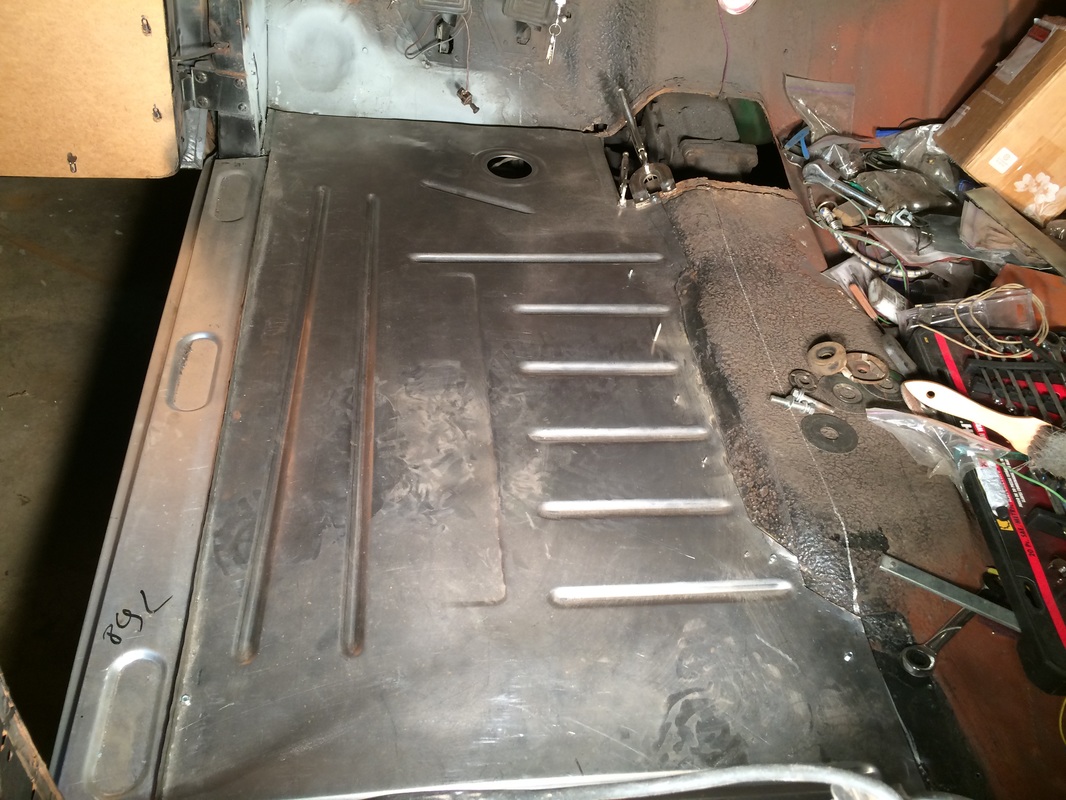
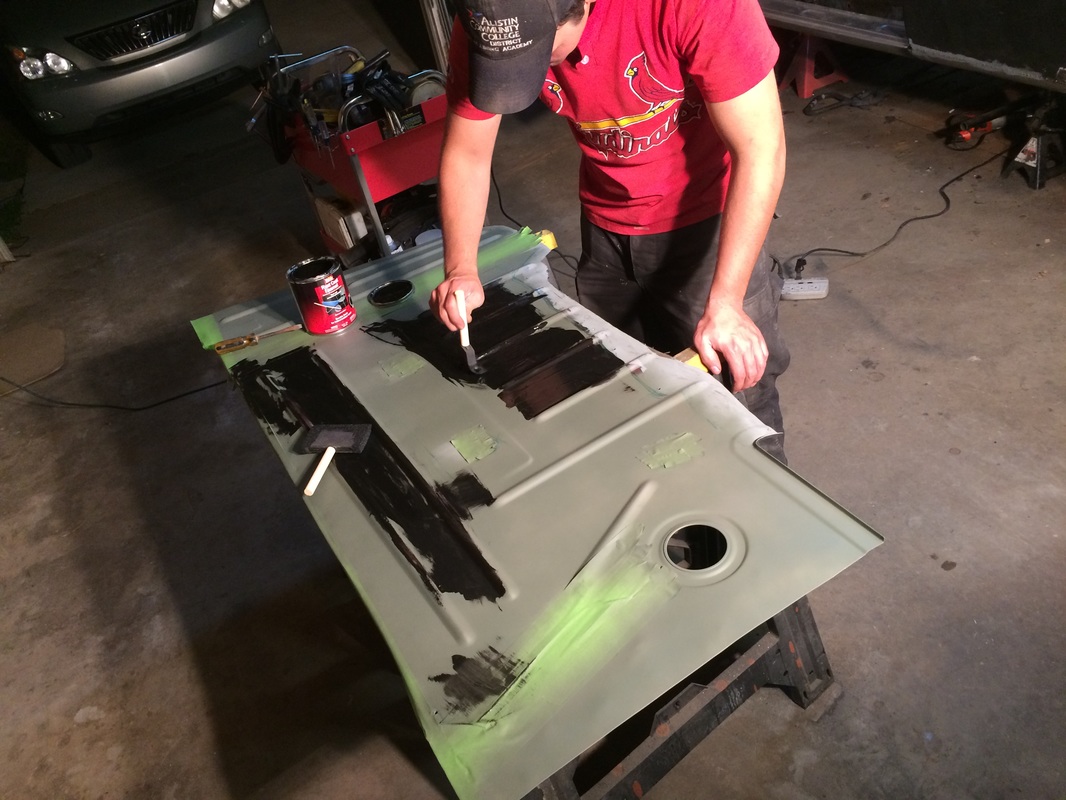
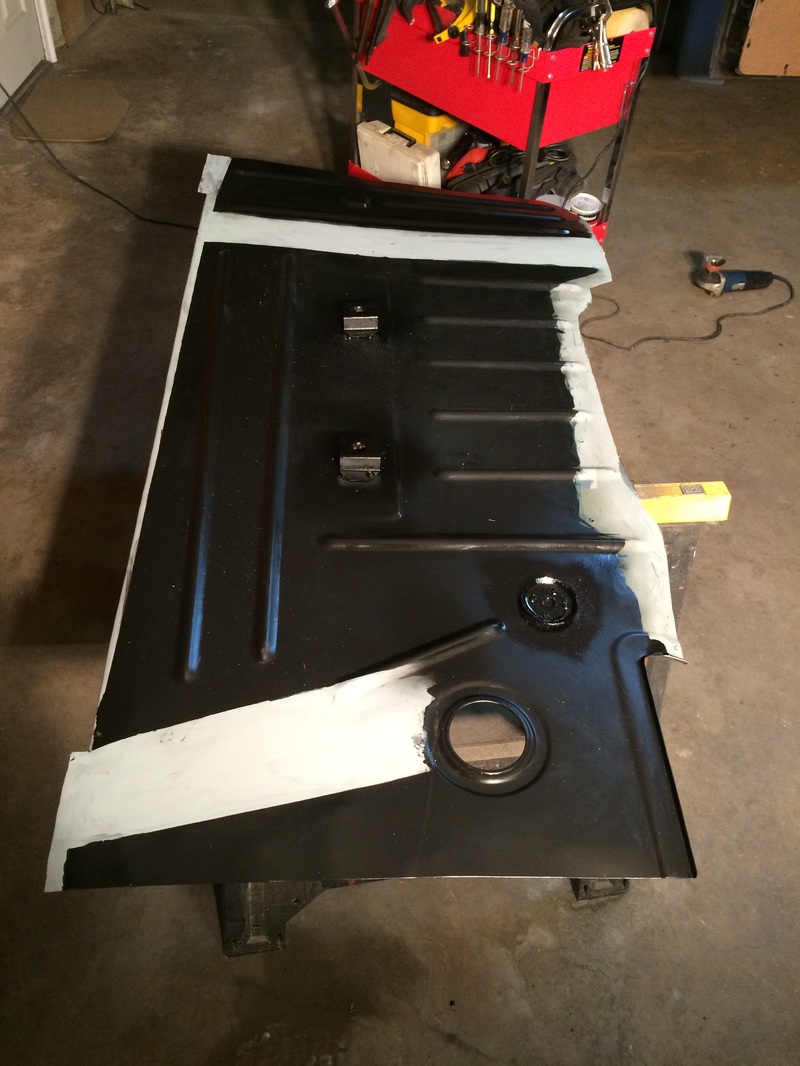
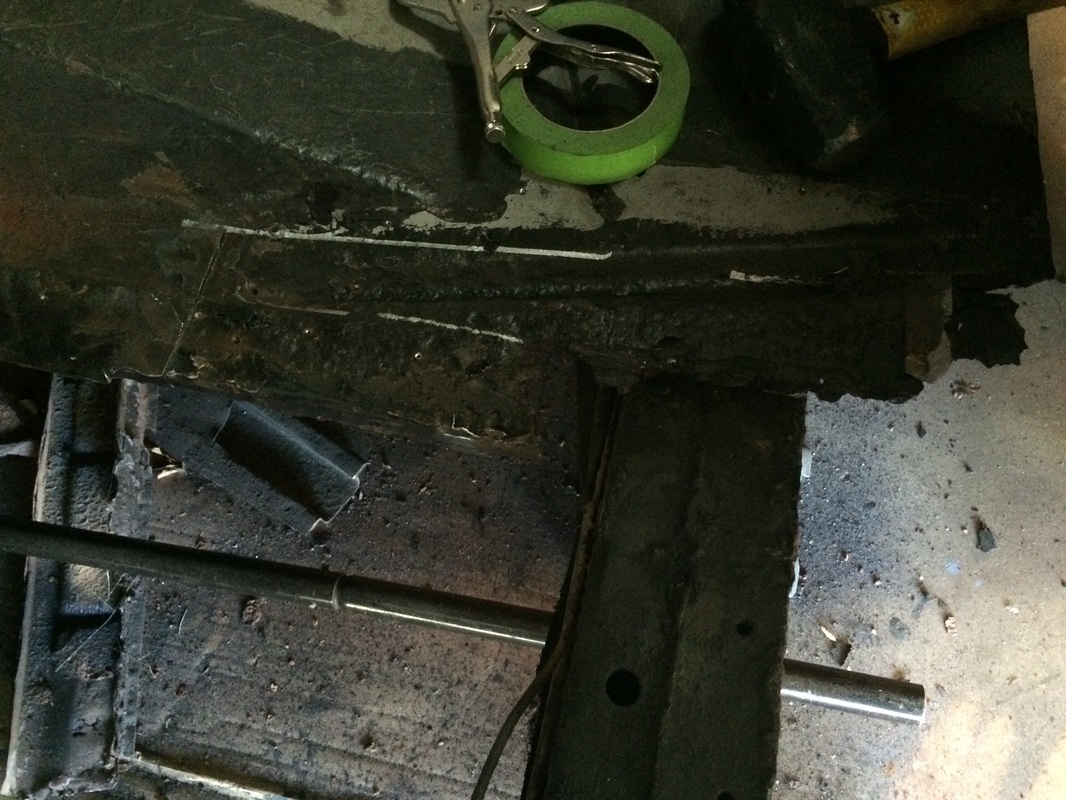
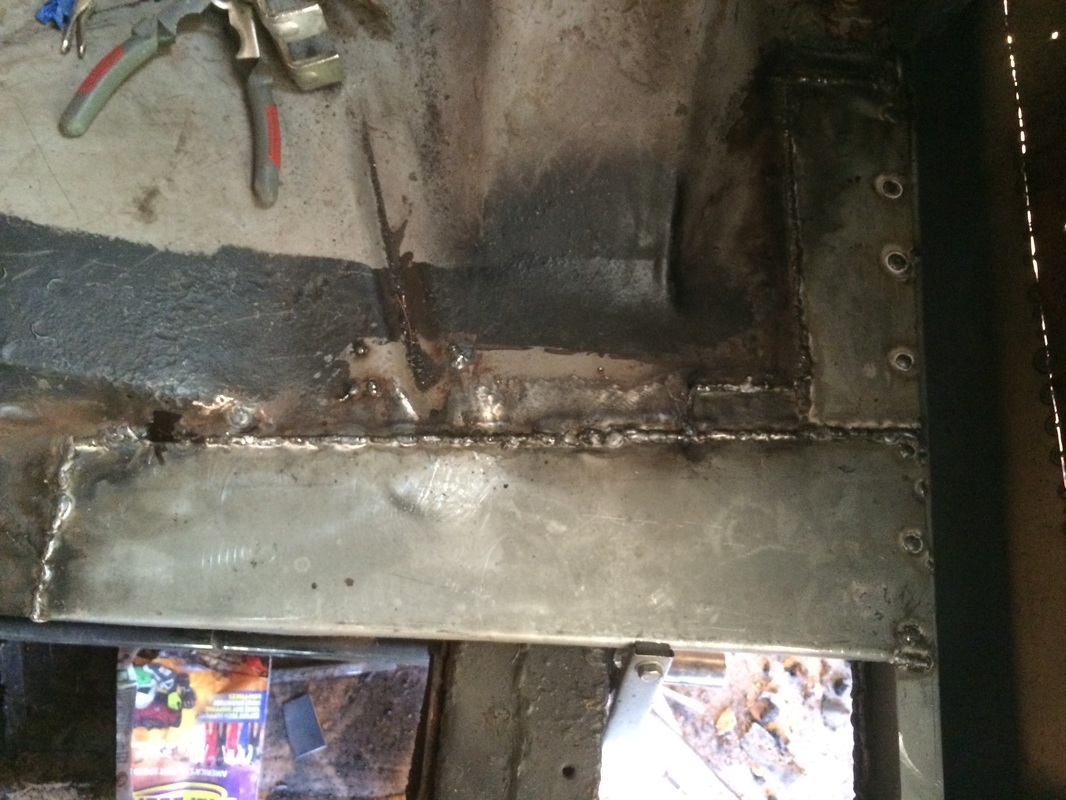
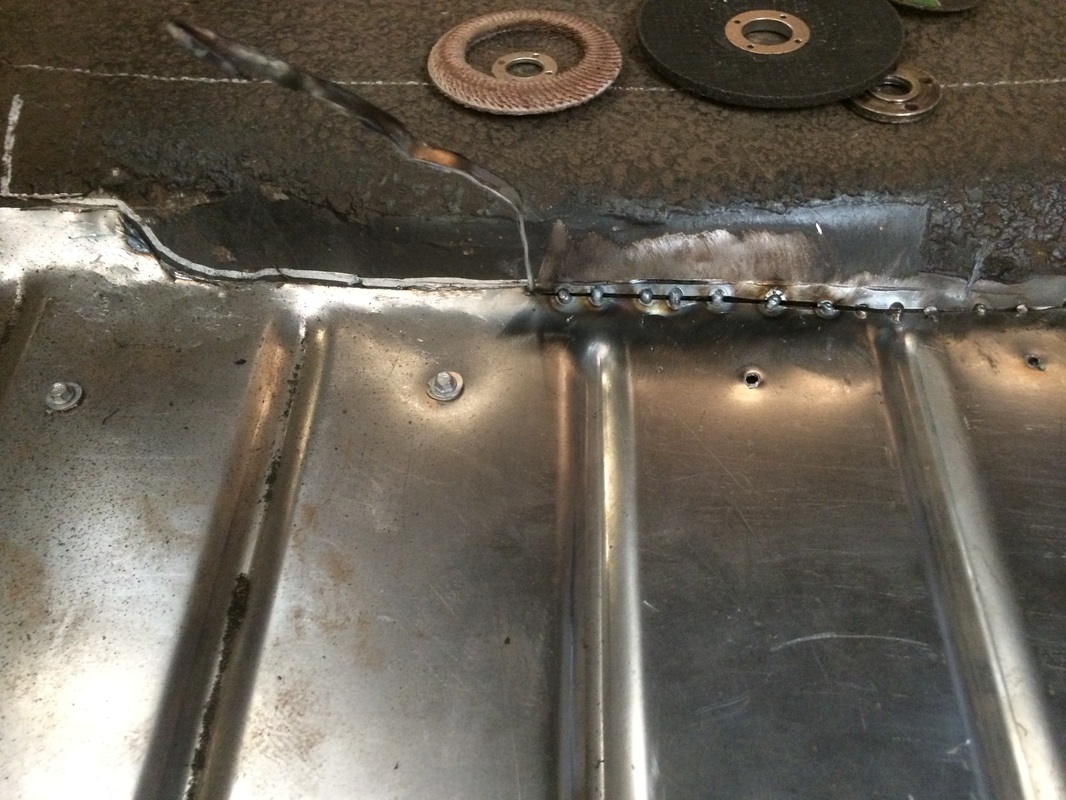
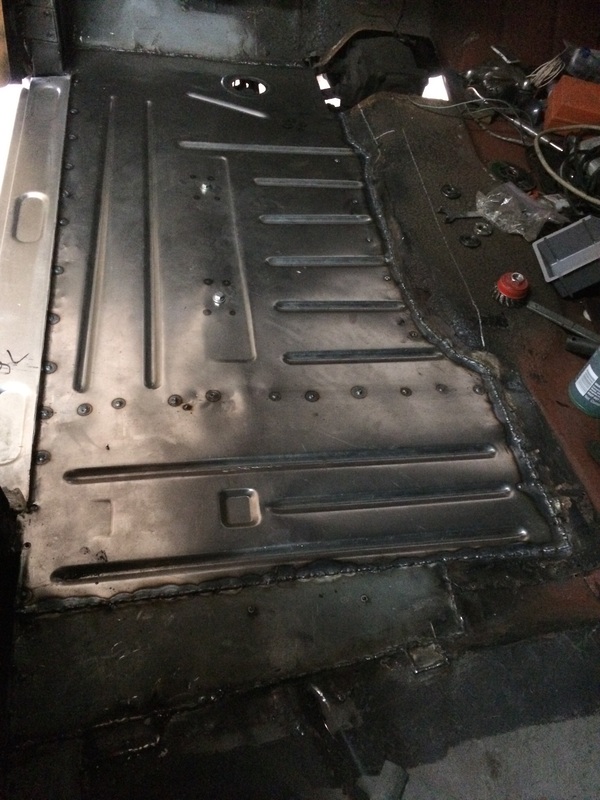
After the lower firewall was repaired I was ready to move on to installing the new floors. On the passenger side I made patches to make the best use of the good steel that was still there. I learned that while this saved a buck, it ate up a lot of time. The driver's side was equally as rotten so instead of making a bunch of patches I started looking around for complete floorpans and found Bradley Floorpans.

I saw their name in a Facebook post and decided to shoot them an email. I'm glad I did. They sent back an email with a phone numer and I ended up talking to the owner, Paul Bradley, on the phone. This kind of service is a rare exception these days. Paul and I chatted for the better part of an hour shooting the bull about cars and family. It feels good to talk to a business owner who tries to make the effort to accommodate potential customers. I'm not a big shot, and I was only ordering one pan, but he took the time to help me out anyway. 

Paul inherited the company in 1983 from his dad who founded it in 1975. Located in the heart of NASCAR country, Bradley Floorpans is run by car guys for car guys. Bradley makes replacement pans for Ford cars 1933 through 1940 and 1949 to 1951 out of high quality, cold-rolled 18 gauge steel.

Paul told me a little about his process. His company uses three sample pieces from unmolested cars to make their prototype pans. This ensures that everything is as close as possible to the way Ford made them back in the day. Then they press the pans onsite in the U.S. If you want to read more about how it all started you can do that here, or you can call Paul at 704-392-3206.


Not too long after our conversation I got a big box in the mail. It was full of shiny new steel. I had to wait about a week before I could get started, but I was super excited to get going.

The high quality of this pan surprised me. None of the edges were razor sharp and all the beads were crisp and clean.

I had plans to do a custom trap door over my master cylinder but after seeing the nice way Bradley finishes their access port I will probably just order a factory replacement. 
Picture
The pans do not come bent along the outside edge, and because the panel was too long to fit in the metal break at work, I had to bend them at home.

I measured in from the outside edge 5/8" and bent it by clamping it to some square tubing. I clamped all that down to some saw horses and carefully hammered the edge over.
Picture
Picture
After I put edge in the panel the first thing I did was a "dry fit."  I marked the old floor where I would need to make my initial cuts.
Picture
I made a rough cut on the old floor and cut the new floor to approximately fit the tunnel. I screwed the new floor down using self tapping sheet metal screws so the new floor was overlapping the old one about 4 inches. 

With the new pan screwed down I made marks on the underside in each place I had to weld or drill a hole.

The new pans overlap the old floor all the way around. This comes in handy later.
Picture
I cleaned the bottom of the pans with thinner and coated all the places to be welded with a weld-through primer. 


If you look closely you'll see that the seat supports from the old pans were removed and welded onto the new pans. 


Picture
Picture
After taping off the weld-through primer I sprayed the whole pan with some self etching primer. When that was good and dry I coated the entire pan with two coats of oil based paint. 

I went to all this trouble before the install because I figured I could do a better paint job while I had it out of the car rather than squirming around on floor with a frame rail in my way and grit falling into my eyes.  
Picture
Before I could weld the floorpan in for good there was one last rusty spot just in front of the back seat.  I happened to have some scrap sheet metal that was almost a perfect fit, so it was cut to shape and welded in. 

This was one of those patches that just fall into place. Which almost makes up for all the other patches that can be such a pain.  
Picture
Before
Picture
After

With that patch welded in I screwed the new panel back in place. Notice the eight weld marks on the floor. Those are my seat mounts. Bradley floorpans don't come with the holes drilled for these but it was no problem.

After removing the seat mounts from the old floor I taped them in place on the car's frame and marked their position on the bottom of the pan. Then I welded them in place.

It seems like a lot of taking apart and putting back together, but when you finally get it all in and it fits it's worth the trouble. 
Picture
To ensure a nice tight fit and to avoid using a lot of butt-weld clamps which can be a pain, I used a cutoff wheel on my grinder to cut through the new pans and the old at the same time along the edge where they overlapped.

This left me with a gap the width of a cutoff wheel between the old floor and new pan. This gap is just about right for MIG welding.

I cut the pans about 6 or so inches at a time and I'd tack weld all along that space removing the screws as I went. It seems like a hassle, but in my opinion it's a better way to get a panel installed without wrestling with a whole lot of clamps. The old steel just falls off the back side when you're done. Then just weld up your screw holes.
Picture
Cut, tack, unscrew, repeat.

Here is the whole shebang almost all welded up (I ran out of shielding gas). Notice the plug welds along the rocker panel and over the body mounts. This picture was taken before I had all the welds to the body mounts done.

The seat mount bolts are also in place. I installed them before I started welding to make sure they would stay lined up over the holes in the frame. 

Using this method as opposed to piecing in rust patches is much better. It seemed like a little more work at first but now that it is done I think it was worth every bit to avoid the headache of trimming and fitting a handful of smaller patches. Then trying to weld those patches to flimsy, sometimes rusty steel. I can't say enough good things about my new Bradley Pans. You can check them out here.

After everything was welded up I painted the seams on the under side with oil base pain and sprayed everything down with some undercoat. 
Picture


Next came painting the interior side. For this I bribed some buddies to come over with the promise of pizza and beer.
Picture

We cleaned out the entire car. Then we scuffed the floors with a wire brushes and cleaned the floors again. 

After that we scrubbed the whole surface down with red scotchbrite pads. This roughs up the surface to ensure the primer will adhere well. Then we wiped the whole thing out with some wax and grease remover.

I then sprayed in some high-zinc primer and after it dried we applied seam sealer over all the welded joints. 

Seam sealer will fill any pin holes in the weldes and prevent water and dust from getting in. It was put on using a regular caulking gun and then flattened with a body filler spreader.
Picture
Picture
Once the primer had a chance to dry I got ready to apply a spray in bed liner as a top coat. I used this Duplicolor kit. The one I got came with a brand new spray gun. I was pretty excited to shoot it in and finish up this project. 

Then I had the bright idea of mixing in some ceramic micro spheres. I bought a 32 oz. bag of these things and welded up a little mixer that could be chucked up in a drill. I poured all the bed liner into a bucket then mixed in the spheres.

The spheres are a paint additive that is supposed to prevent heat transfer and maybe they do, maybe they don't. If you want to read more about them you can do that here.

What they did was make my bedliner too thick to spray through the gun. This was a disappointing. If I had some thinner on hand I probably could have thinned it to a viscosity that would have sprayed, but I didn't have any in the shop. 

Plan B was to roll the mixture on. This sort of worked but the bedliner was eating into the primer and making it soft again. The Duplicolor is pretty toxic smelling stuff. 

What I wanted was a nice, evenly applied coat of bedliner, what I had was a mess. I wasn't even sure I would have enough to coat the entire floor. 

Plan C was just grabbing a handful and spreading it on. This sucked. The Duplicolor gives off terrible fumes and eats nitrile gloves. I had a respirator and a fan going the whole time and it was still overwhelming. I did manage to get the biggest part of it done though. 

It looked like I was going to run out with a very small space to go. I was just about ready to throw in the towel when my girlfriend saved the day. It seems her tiny wrists and hands were made to fit down in the jug to dredge up the last remnants of bedliner. 

Big thanks to her, my friends, Paul Bradley and all the other folks that helped me out on this one. The bedlinder dried nice and hard and it looks OK. It doesn't matter that much because I'm putting down some sound deadener and carpet over it. 

Stay tuned for the next article, Budget Sound Deadener Install.
Picture
Picture
Picture
Picture

Back to Blog


Folks have seen this
5 Comments
Jon Shortt
6/2/2015 06:24:22 am

Aaron you did a fabulous job!! Looks way better than mine did. Getting close to the Blacktop.

Reply
Mike Sharum
6/4/2015 12:44:18 pm

Great article Aaron! I learned a ton of info, thanks for taking the time to post this!

Reply
Aaron
7/17/2015 01:07:05 am

Mike, thanks for the kind words! Stay tuned there's much more to come.

Reply
Fredric
8/9/2015 05:02:22 am

Reply
Kennewick Gay Asians link
10/20/2024 08:07:47 pm

Thanks ffor posting this

Reply


Leave a Reply.

    Categories

    All
    Body
    Brakes
    Driving
    Engine
    Floors
    Fuel System
    Glass
    Interior
    Suspension
    Wiring


    Archives

    September 2019
    July 2019
    January 2019
    October 2018
    August 2018
    March 2016
    December 2015
    November 2015
    September 2015
    June 2015
    August 2014
    July 2014
    June 2014
    April 2014
    March 2014
    January 2014
    December 2013
    November 2013
    August 2013
    June 2013
    April 2013
    March 2013
    January 2013
    October 2012
    August 2012
    July 2012
    March 2012


    GREen Bible


    Aerostar Coils


    FloorPans​

    Picture

    RSS Feed

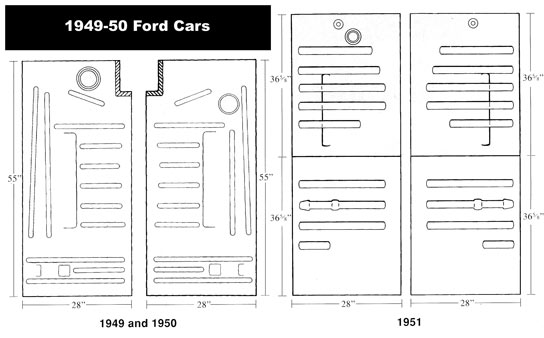
    © 2018 Aaron Starnes. 
    ​
    All Rights Reserved.
Powered by Create your own unique website with customizable templates.
  • Home
  • Writing
  • LLC
  • Contact Me
  • '49 Ford Blog
  • Adventure Blog
  • Project Pics