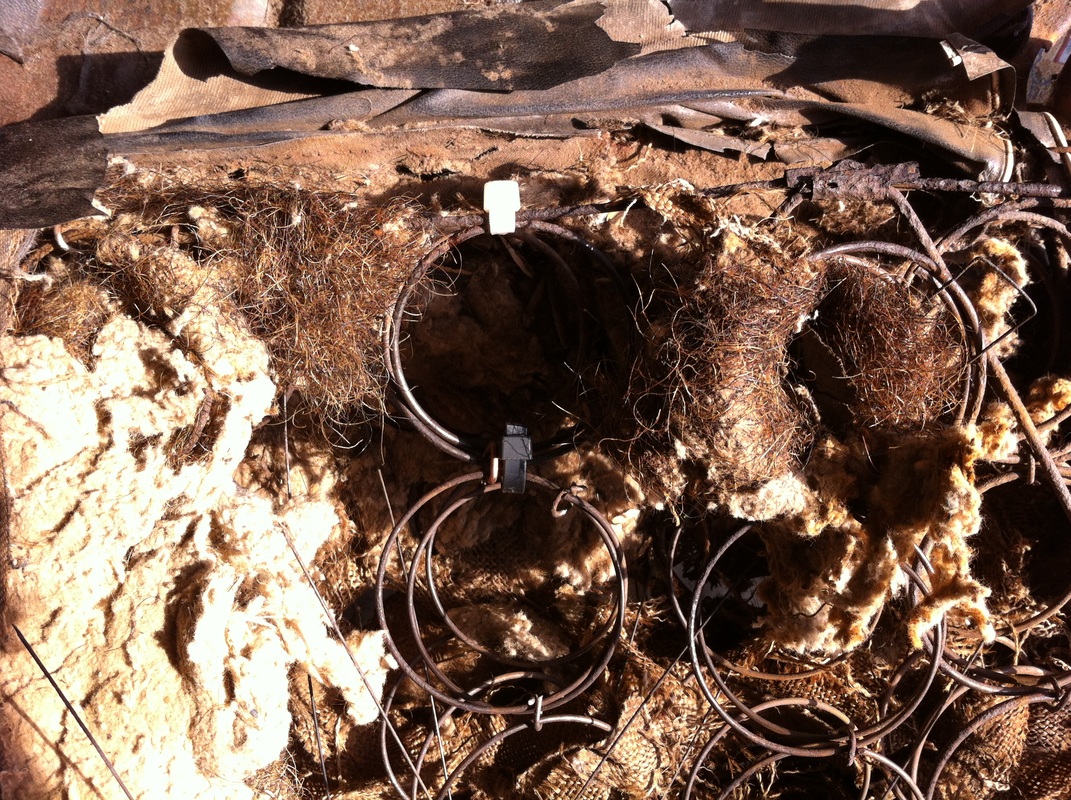
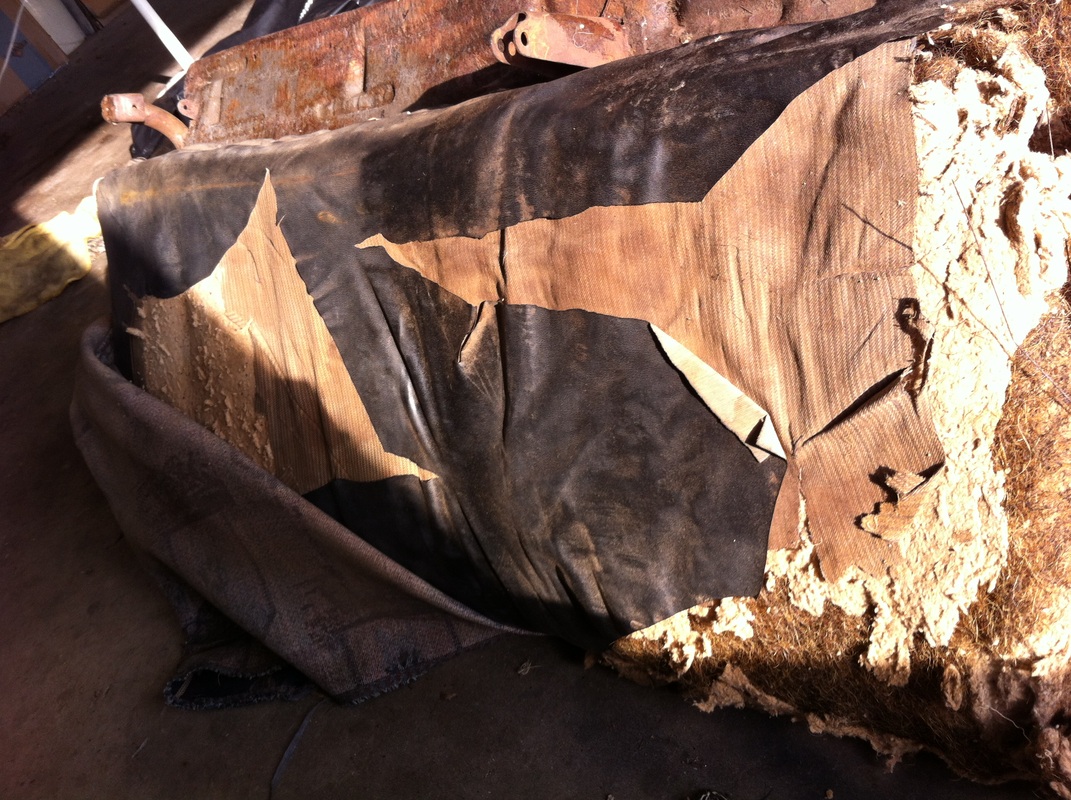
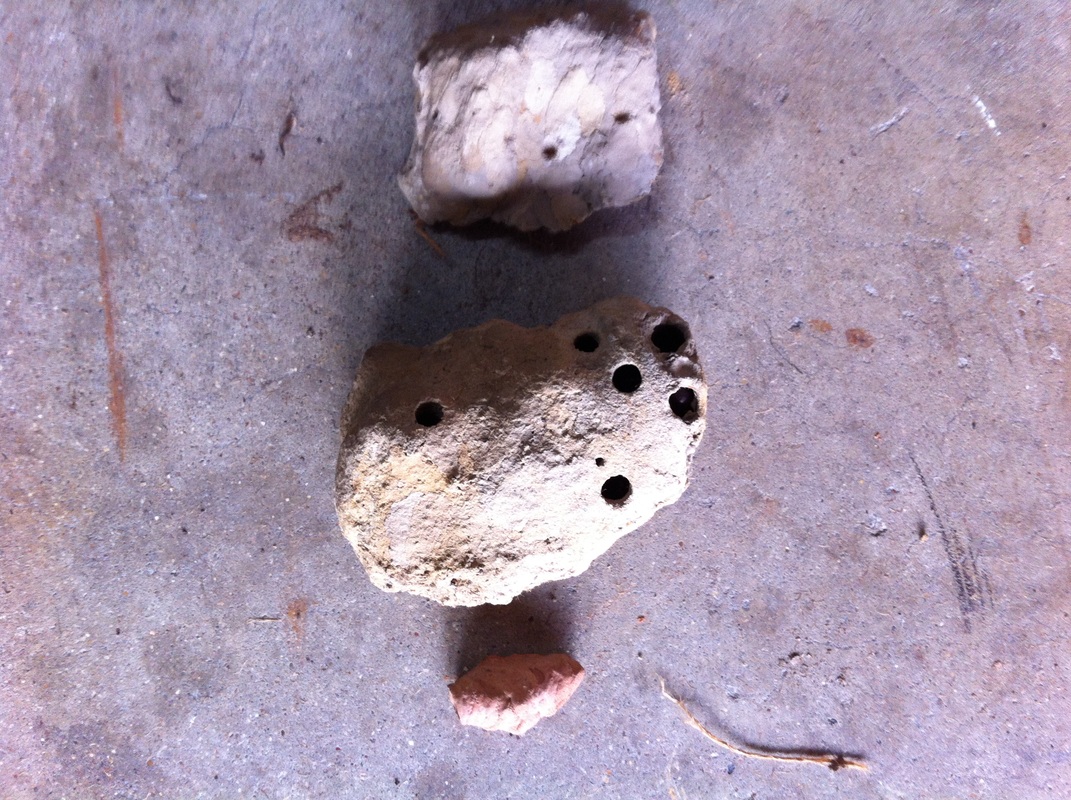
 Aside from re-covering a go kart seat when I was a kid this is my first foray into the art of upholstery. The seats in my Ford were terrible to put it nicely. The front split bench had been covered again and again with one cover over the other until as some point a previous owner covered with weird horsey print itch blankets. When they weren't gouging my flesh with rusty hog rings they were dropping bits of ancient rancid horse hair all over the inside of my car. Which would then fill the air and my eyes when I drove around with the windows down. The dropped springs under the driver's site felt like you were sitting in a hole. They were apallingly uncomfortable, filthy and stinky.  That and I didn't even have a back seat. It had been lost or misplaced long before I got my hands on the car. Finally, I decided to do something about it and began the tear down of my seats. I had help skinning the lean backs and I peelind the seat bottom. There was tons of old horse hair and decaying burlap that got EVERYWHERE. There was at least one mouse's nest that reaked of urine. I also found three potato shaped dirt dobber nests that were built within the seat springs.
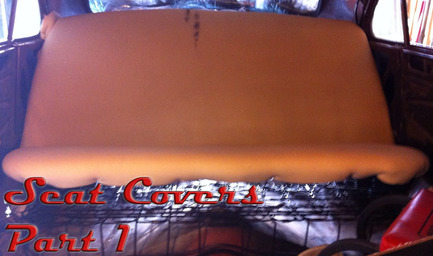
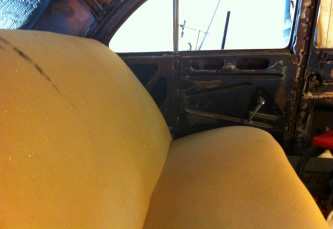
Pretty disgusting and I still had to locate a rear seat. I debated making one from foam and plywood but nixxed the idea when I got on Craigslist and found a guy selling parts for old Fords like mine. I asked and he said he had one he'd sell me. I drove out of town and picked it up for only 35 bucks. It was also disgusting, but after lots of clean up and pulling off all the old hog rings I had something I could work with. The first thing I did after getting everything was stripped off the springs was to wire brush it all down and shoot it with some black Rustolium. This makes the seats nicer to work with and prevents further rusting.  After everything was painted fresh burlap was stretched over it and hogringed in place. I also replaced some of the damaged springs and hog ringed in some rod from side to side on the front seats for added support. 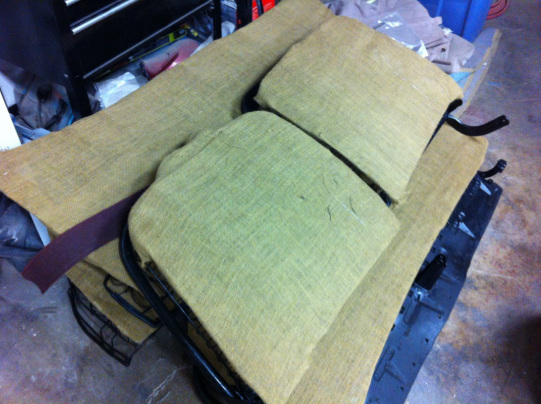 After the burlap I covered the seat bottoms with jute padding so passenger's can't feel the springs while riding in the car. Then came foam. I opted for a slightly firmer foam on the seat bottoms for added support. The lean backs got a mushy feeling foam that when covered I hope with be nice and comfortable. Here's are some pictures of my back seat all foamed out and installed in the back of the car.
Next it was time to decide what I wanted to do to cover them. I chose to try my hand at sewing up some covers out of materials I chose. I looked online and I couldn't find any covers I liked and the ones I did find were way too expensive. To begin I started by laying out what the cover design would look like on my seat foam. Here is a picture of the markings I made while trying to get the layout right on the rear seats. 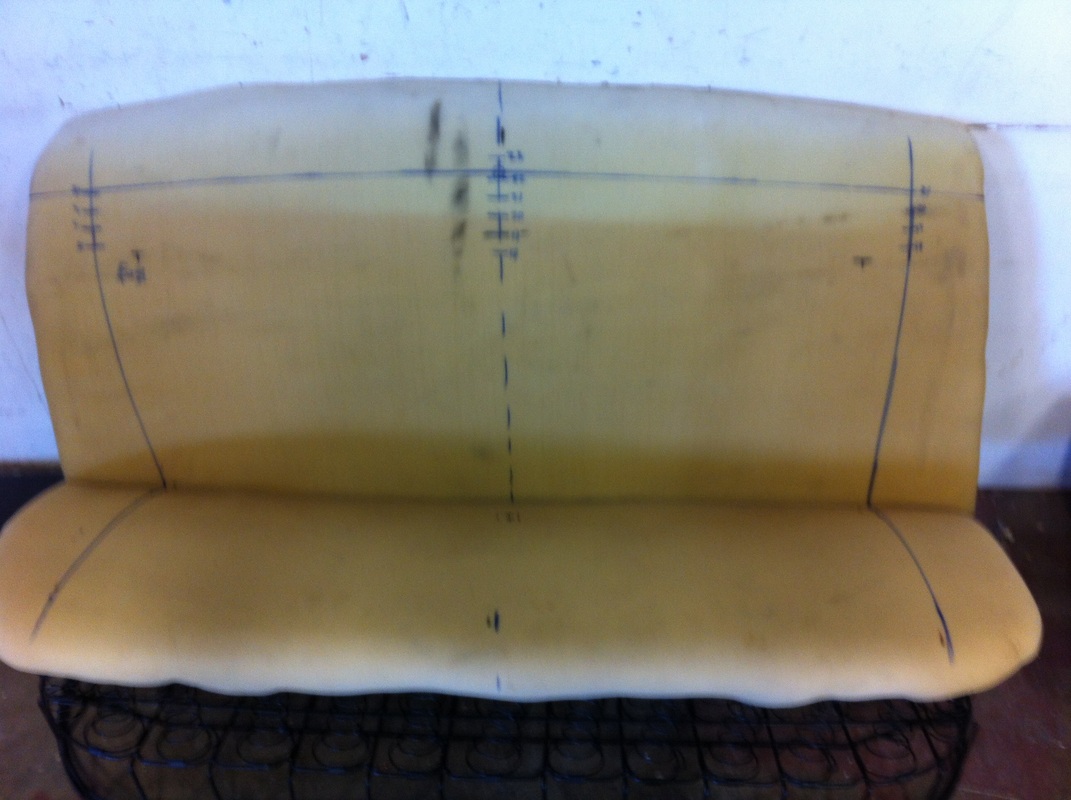
2 Comments
Graham
1/13/2014 10:13:45 pm
Hi,
Aaron V Starnes
1/14/2014 03:08:13 am
Yes! As soon as I get off my duff and sew up some covers. Leave a Reply. |
Categories
All
Archives
September 2019
GREen Bible Aerostar Coils FloorPans
© 2018 Aaron Starnes.
All Rights Reserved. |


 RSS Feed
