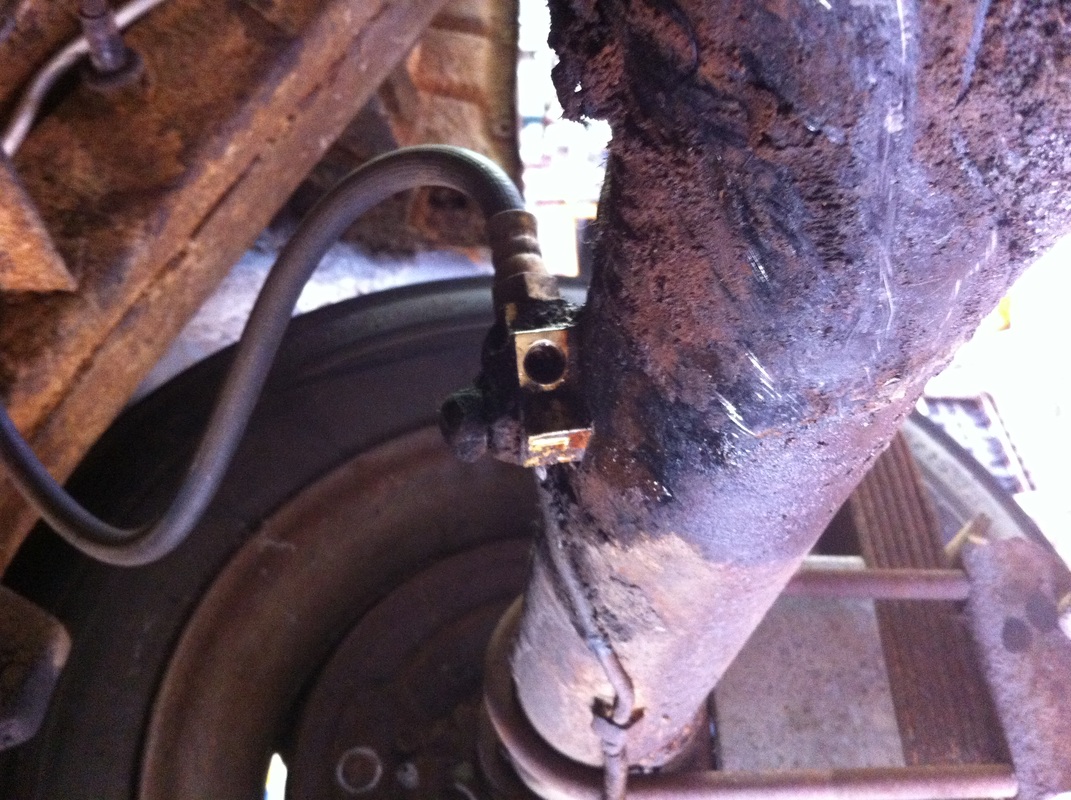
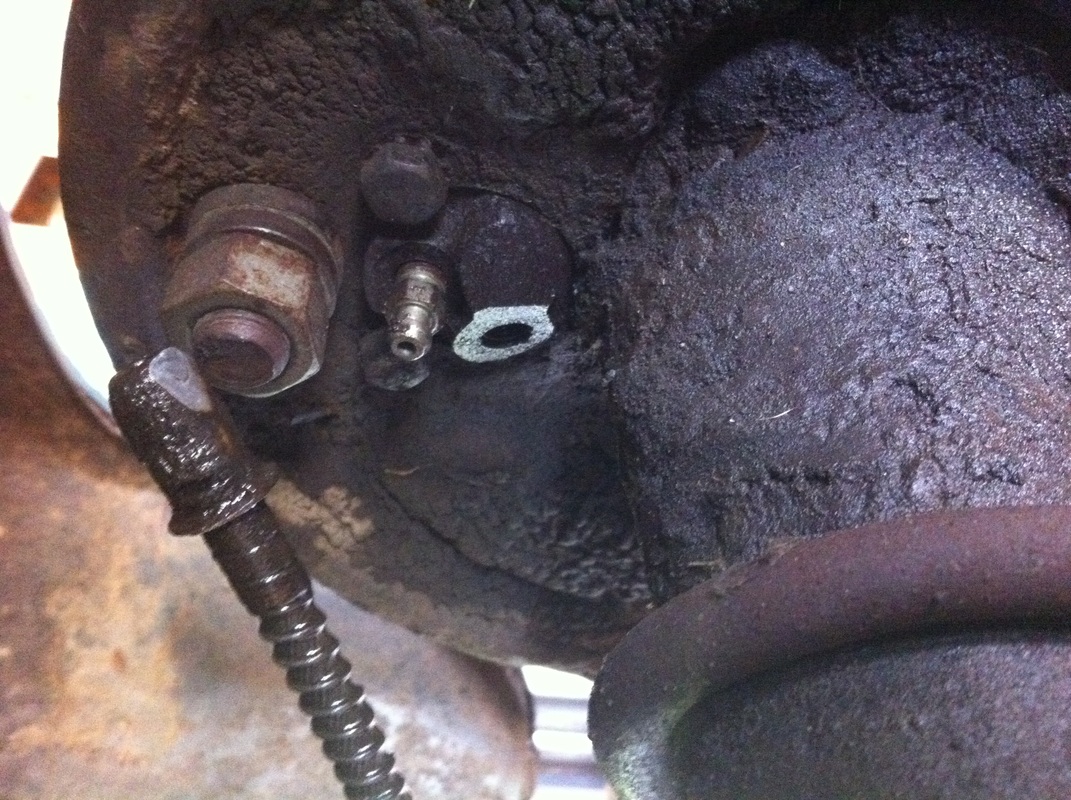
 I tried to do the Aerostar front spring conversion but I failed. I did get my new shocks installed and a new brake line for the rear axle. Here's how I did it. 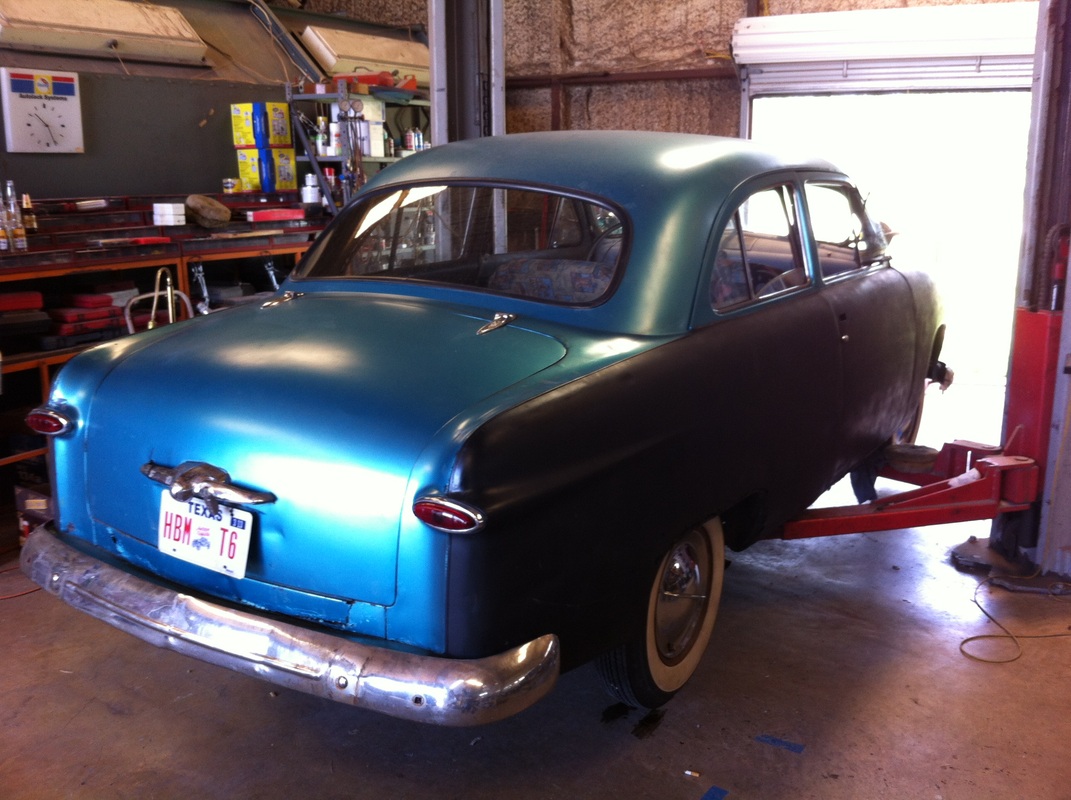 A popular upgrade for the 49-51 Fords is to pull out the old factory front springs and throw some Ford Aerostar van springs under the front. The Aerostar springs are progressive rate springs which means they have more resistance the further they are compressed. This leads to less bottoming out and a smoother ride overall. All that technology and a 2.5 inch drop to boot can be purchased for around $60 brand new from the parts store.  Brake fluid covered the inside of the wheel. Brake fluid covered the inside of the wheel. As the adage goes the best laid plans of mice and men often go astray, so also go astray the best laid plans of amateur Ford mechanics. As I was pulling into my bud's shop I pushed in on the brake pedal. It had been a tad spongy that morning, but this time it went straight to the floor. Thankfully I was moving at a safe speed and just rolled slowly to a stop without event. Once we got it up on the lift we found the culprit. A brake line that ties to the back of the wheel split and was spilling precious stopping juice all over the inside of wheel and making a puddle on the shop floor. I was grateful it was not a wheel cylinder and that it did not squirt fluid all over my brake shoes.
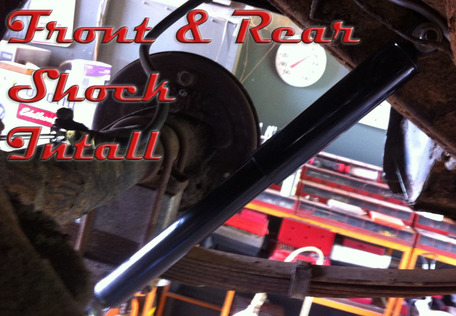
The issue with the brakes took up the greater portion of the time we had to work on the car that morning so the front coil swap out would have to be put off for a bit. I actually ended up returning them to free up some cash to finish another project (more on that in another entry). 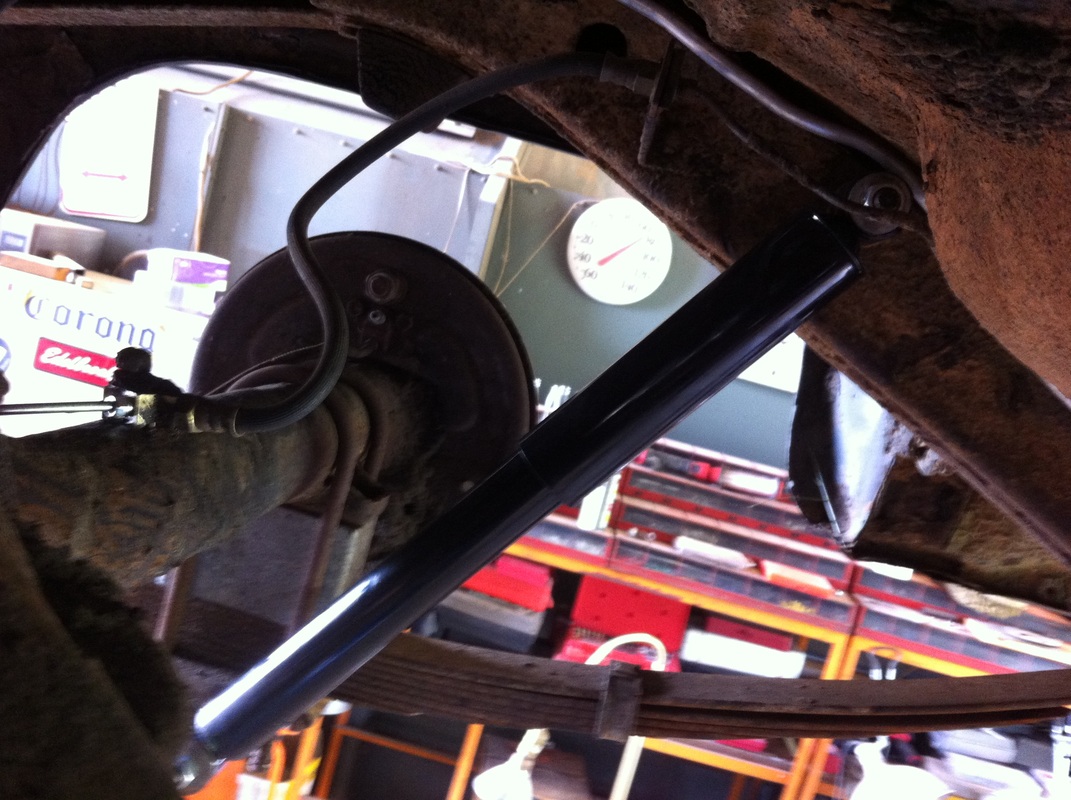 Shiny new rear shock Shiny new rear shock We did manage however to get the new shocks mounted on all four corners. Which was no simple tasks as the old front ones were rusted in pretty good and the old back ones were not there. That's right, I was running no shocks at all on the back. In fact the threads on the lower rear shock mounts were in such terrible shape, probably from being buried for years in mud, we had to run a thread die and cleaner over them to get the nuts to thread on. With the new shocks up front and the shocks actually existing under the back the ride has smoothed significantly. Cornering is much better and bottoming out is way less frequent. This wasn't really an upgrade so much as maintenance but it really did improve the driving experience a great deal.
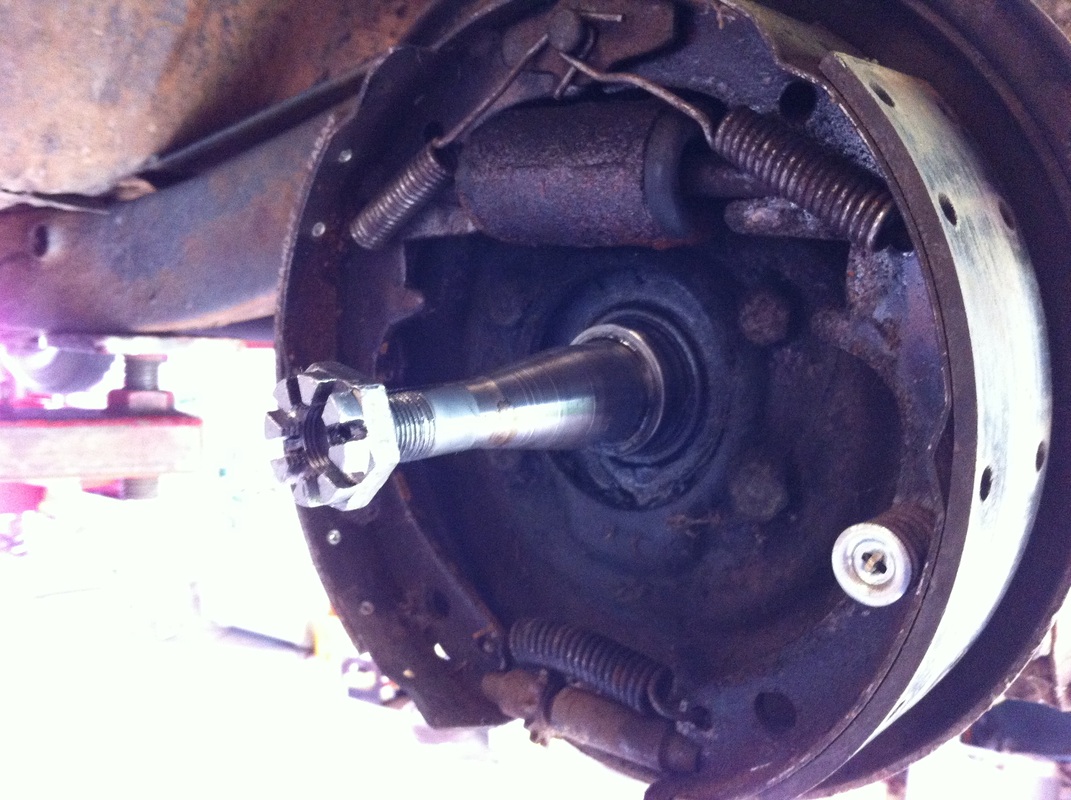
But after trip to the parts washer and a grease repack I re installed everything nice tight and tidy, except I elected to use real cotter keys. Lo and behold the wheel wobble was gone. Looks like there must be some wear elsewhere though but that's for another time. 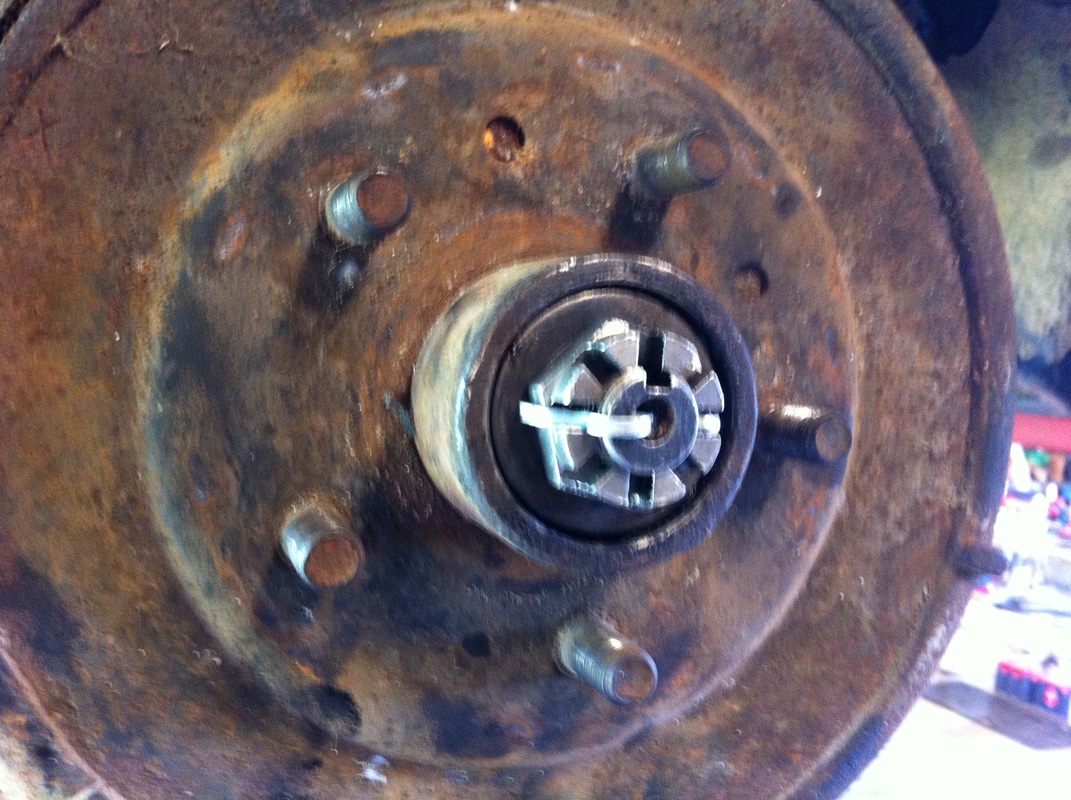 Cleaned, keyed, and ready to roll So I didn't get the Aerostar coils in this time around. Oh well. The car is much safer now with that brake line installed and I got the front hubs set up correctly, not to mention a new shock on all four corners. So, all in all a pretty worth while little project.
Back to Blog
1 Comment
Kyle
3/9/2014 05:07:05 am
Hey Aaron - still using your website weekly and finding it very useful. I'm about to install the Aerostar springs - would you do anything differently on yours? I'm dropping the rear with 2" blocks and considering lopping off a 1/2 coil on the Aerostar springs. Yours looks great I'm just afraid mine will be a bit too high - would love to hear your thoughts. Thanks again! Leave a Reply. |
Categories
All
Archives
September 2019
GREen Bible Aerostar Coils FloorPans
© 2018 Aaron Starnes.
All Rights Reserved. |
 RSS Feed
