|
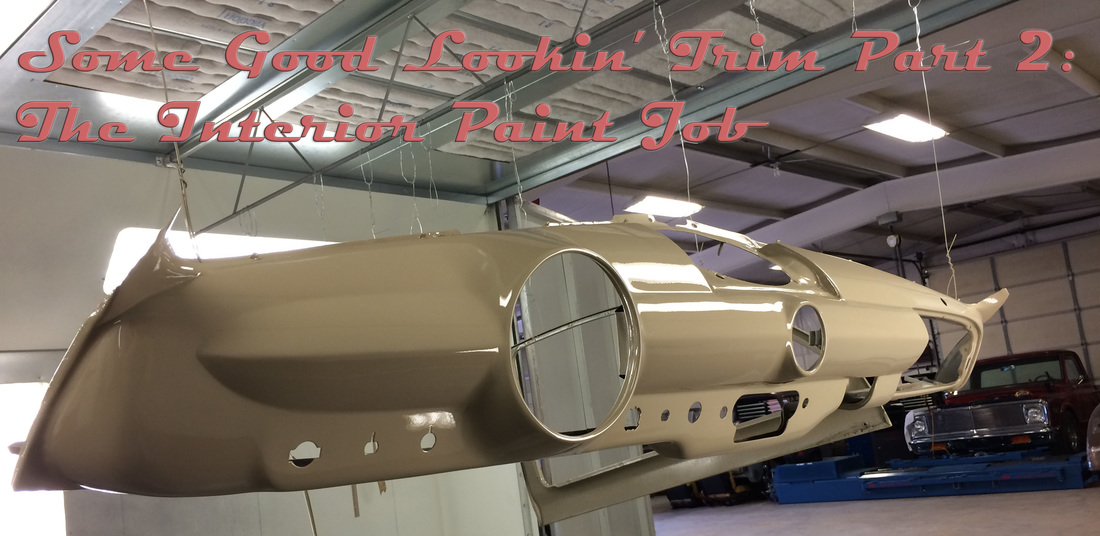
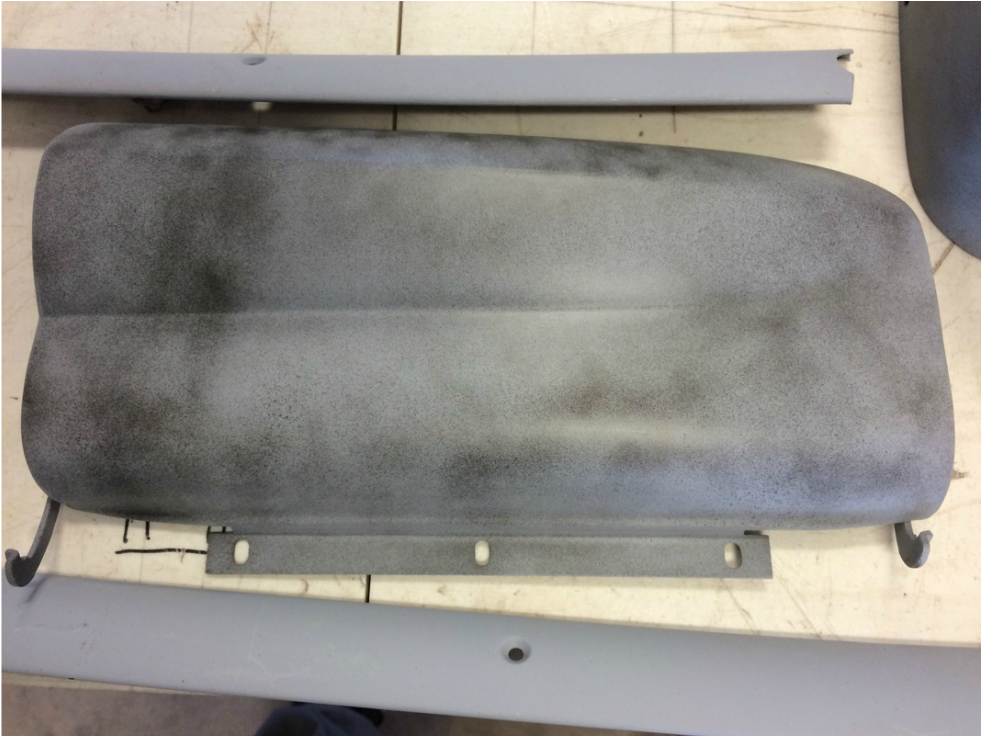
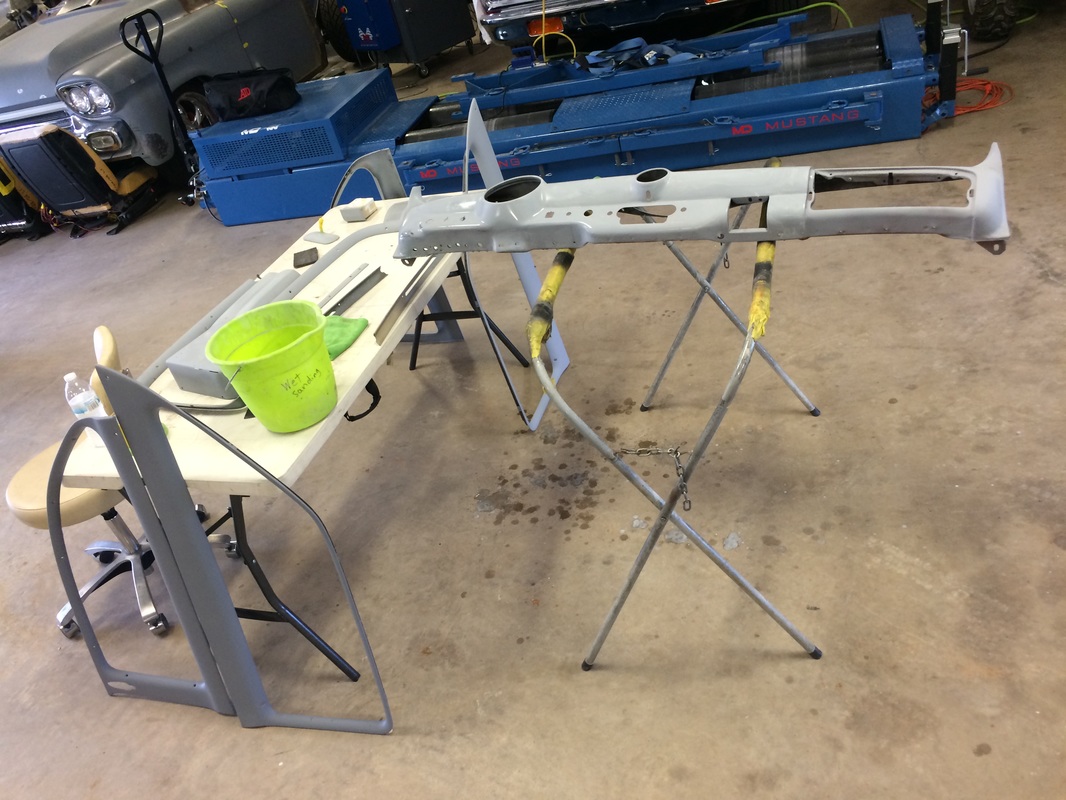
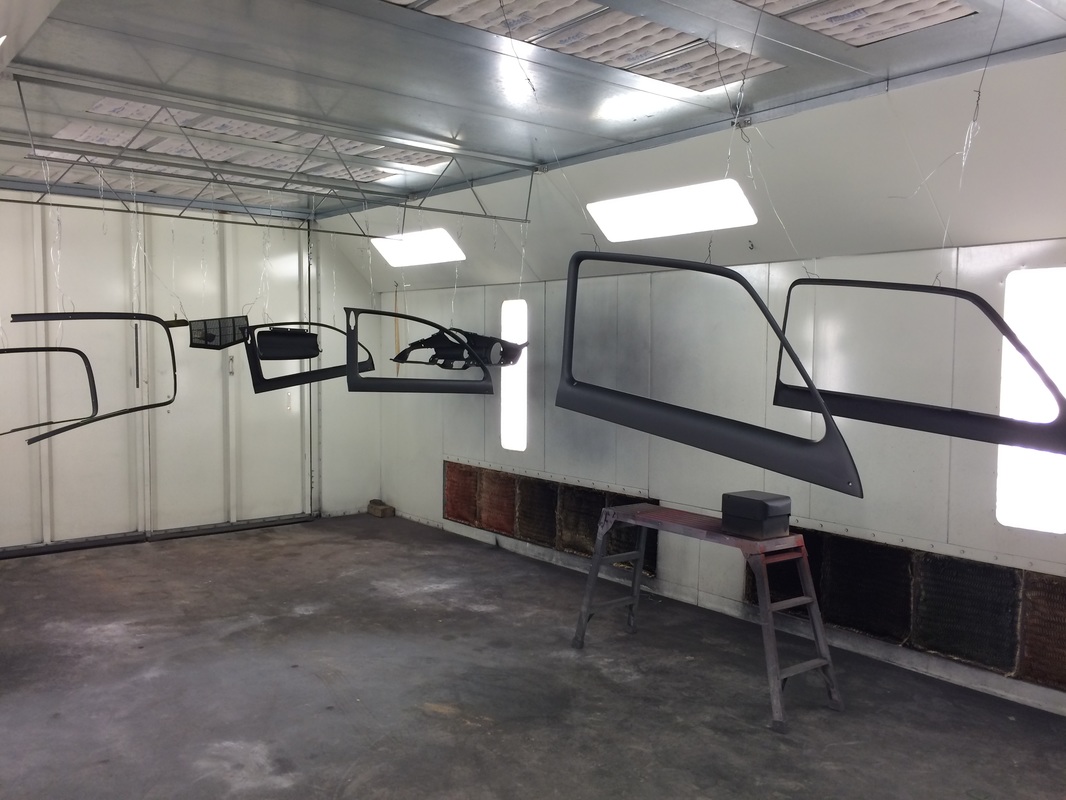
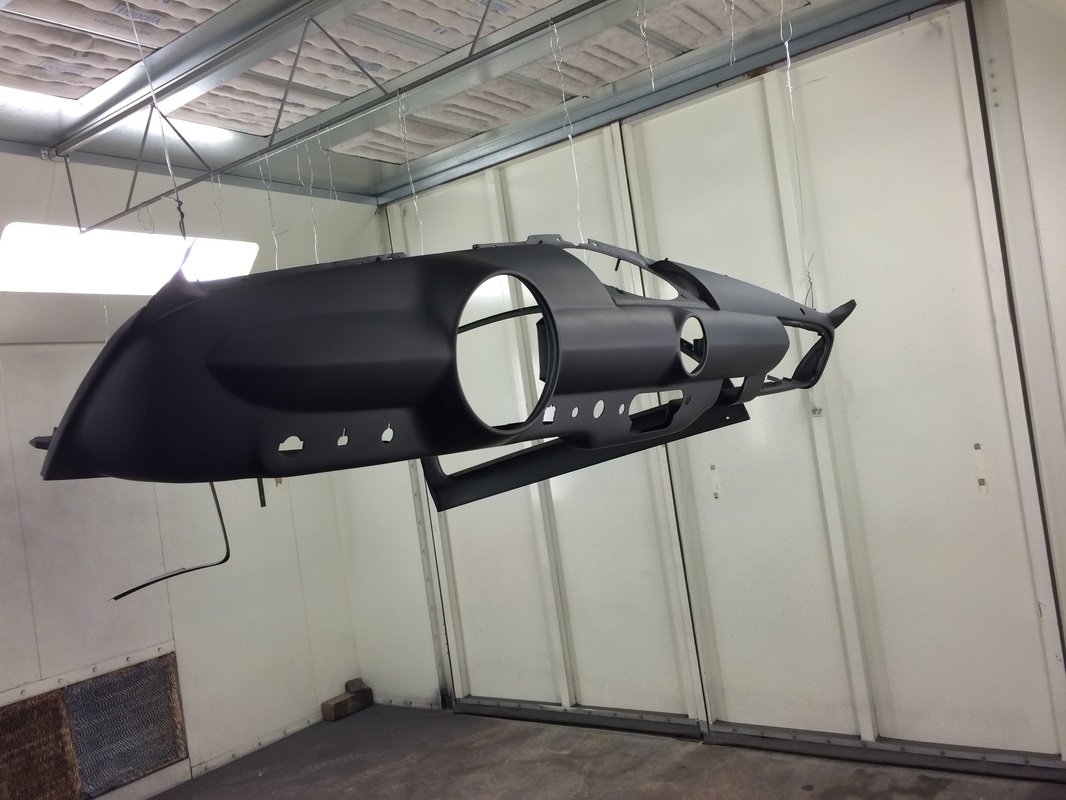
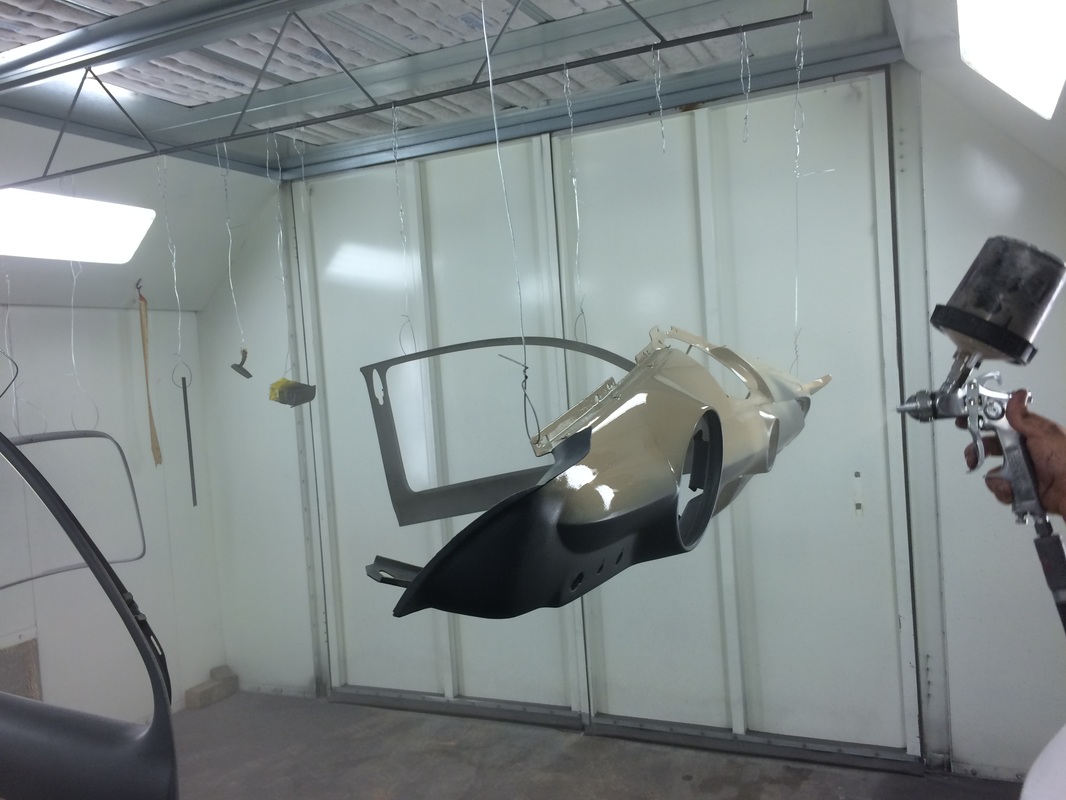
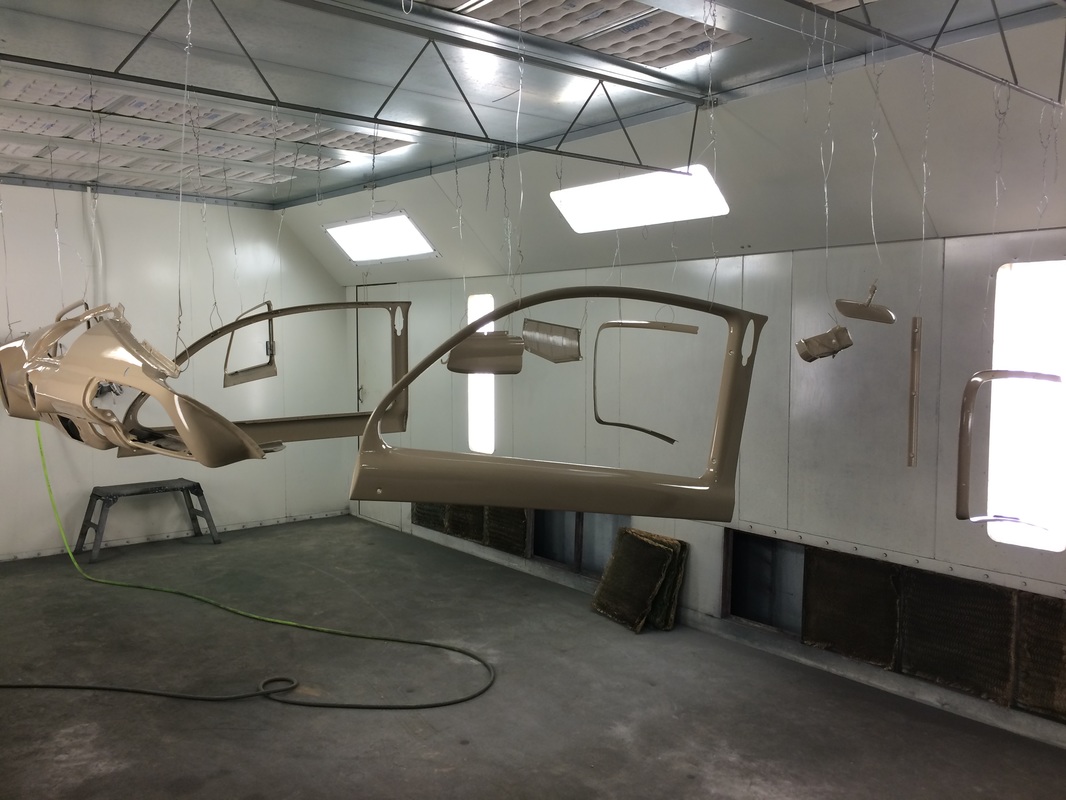
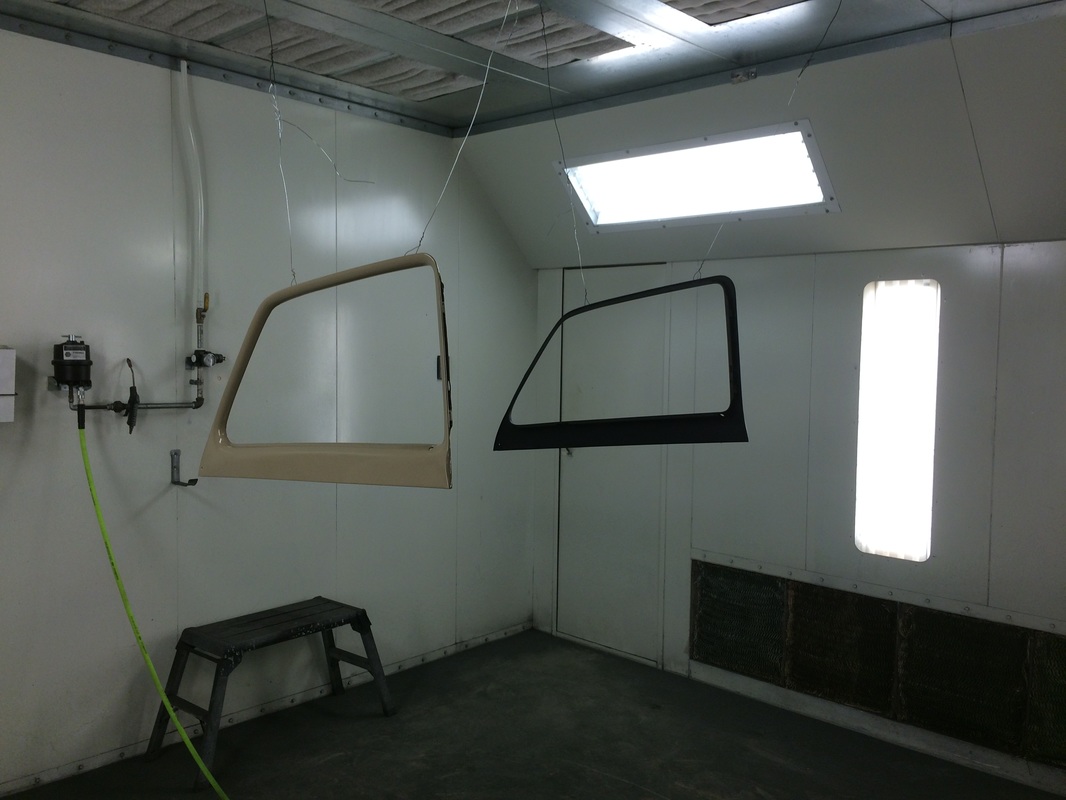
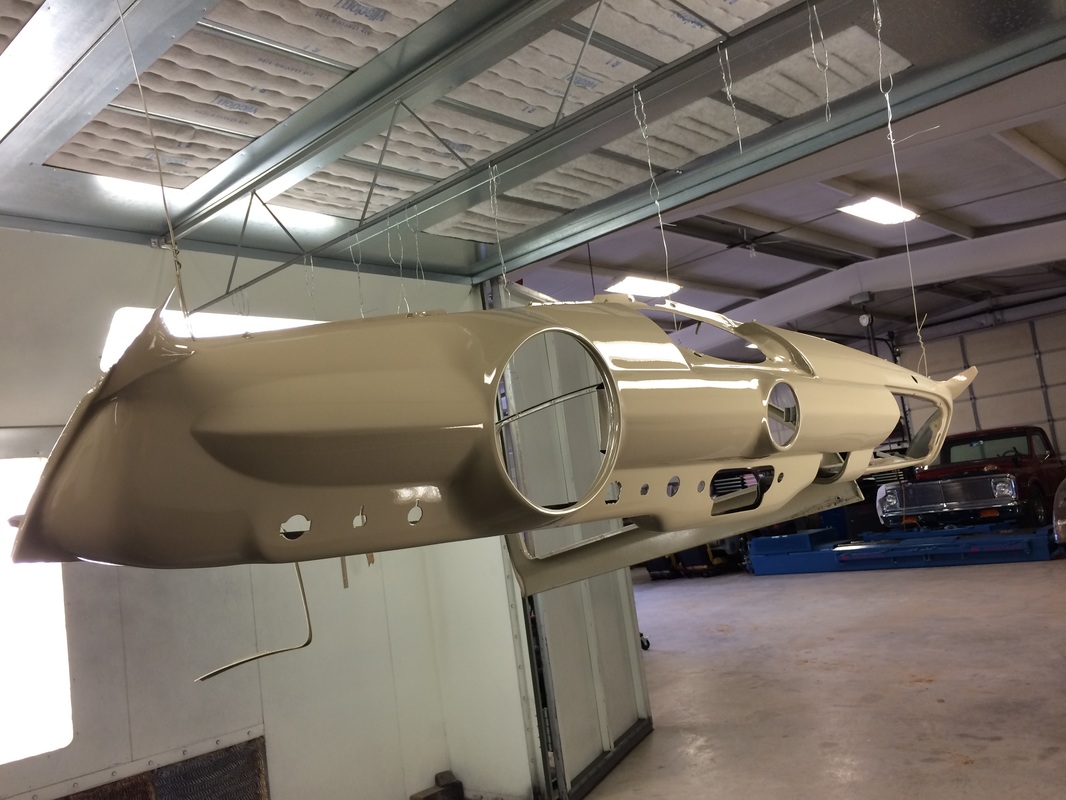
In my first write up I went over how I removed, blasted and began the body work on my trim pieces. In this installment I want to show how I made them nice and shiny again before re-installing it. I started by using an etch primer on the sand blasted parts. Over that I used body filler to smooth out he dents. Once the filler was was all sanded down I shot a high build primer over everything and dusted that with black spray paint. The black paint acts as a guide coat to that falls into all the little dips and sanding scratches. When you start wet sanding the filler primer the guide coat gives you visual evidence of how smooth you're getting everything. When it's all sanded off you're piece should be super smooth and ready for sealer and paint. I use 600 grit before painting, if you're using single stage you can get away with 400. Here's my glovebox door with the guide coat. And here's the heap of parts that needed to be painted. Once all the wet sanding was done (I actually had to do it twice) I hung everything up in the paint booth at my job. My boss is veteran painter and he insisted I lay down a sealer over everything. This is a good idea especially if you have any bare metal showing. In this case I used some thinned down epoxy primer. It lays out nice and smooth and I put about three coats on everything. I had some single stage paint color-matched to the material I am using to make my seat covers. It's a tan color that's nice and light. I think it works to show off the clean and simple lines of the dash. Oooo sooo shiny. In the next post I plan to cover how I build and install my dash. Stay tuned and thanks for reading! BACK TO BLOG
1 Comment
8/18/2021 02:26:40 am
Whenever you want to install a new windshield in your car, always prefer local and trusted auto glass experts because they have qualified staff, who do their job properly.
Reply
Leave a Reply. |
Categories
All
Archives
September 2019
GREen BibleAerostar CoilsFloorPans© 2018 Aaron Starnes.
All Rights Reserved. |



 RSS Feed
