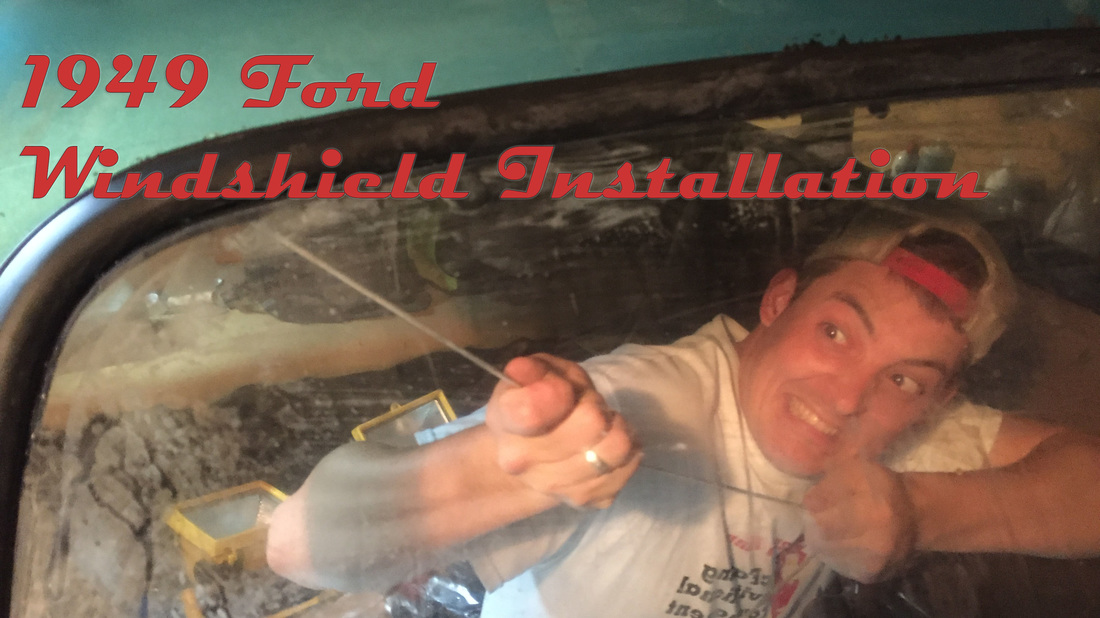
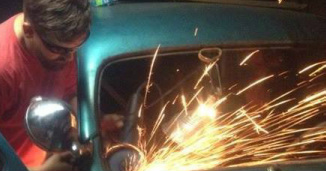
 ALL of the glass in my Ford was terrible. What wasn't broken was de-lamininating badly. Some of it, like the vent windows, I can deal with. Heck, I think the delaminating looks cool. But the broken and dangerous stuff had to go. Since my door glass is done I decided to move on to the windshield. 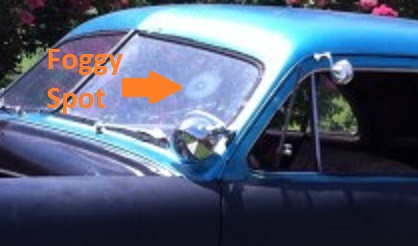 There was a spot directly in front of the driver's seat in my windshield that was de-laminating and made a big foggy spot right in my line of sight. This combined with the awful hole in the seat bottom made for a less-than-luxurious driving position. I was craning my neck to see around the foggy spot and and constantly trying to climb out of the hole in my seat! Away we went chipping out the dried up old windshield seal and grinding off the rusted heads of the dash mounting screws then yanking out that old nasty windshield.
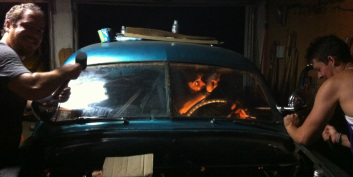
I took the old wind shield into the glass store and had them cut two new pieces to the exact size of the old ones. Then fast forward about six months whiled I put in my floors and rockers. My windshield panes sat wrapped in brown paper collecting dust on the shelf. Finally, by buddy Nick, a professional glass man, made it over so we could install my new windshield. Here's Nick being a pro. He can do this stuff with his eyes closed. 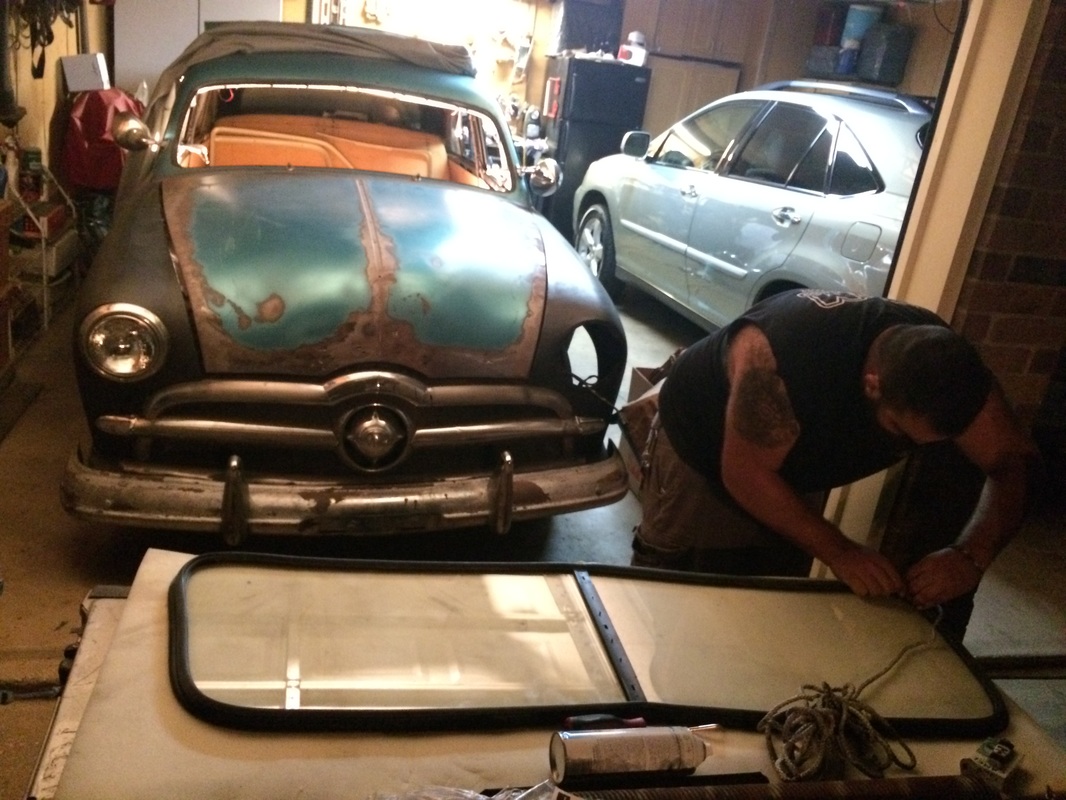 After we got the pull cord all tucked it it was time to set the glass in the car. With a little finagling we got it all line up and began pulling out the cord. This causes the rubber seal to open and lap over the pinch weld. Nick instructed me to apply pressure with a flat hand directly over where he was pulling the cord, not my not with my palm or fist. Everything was going nice and smooth. 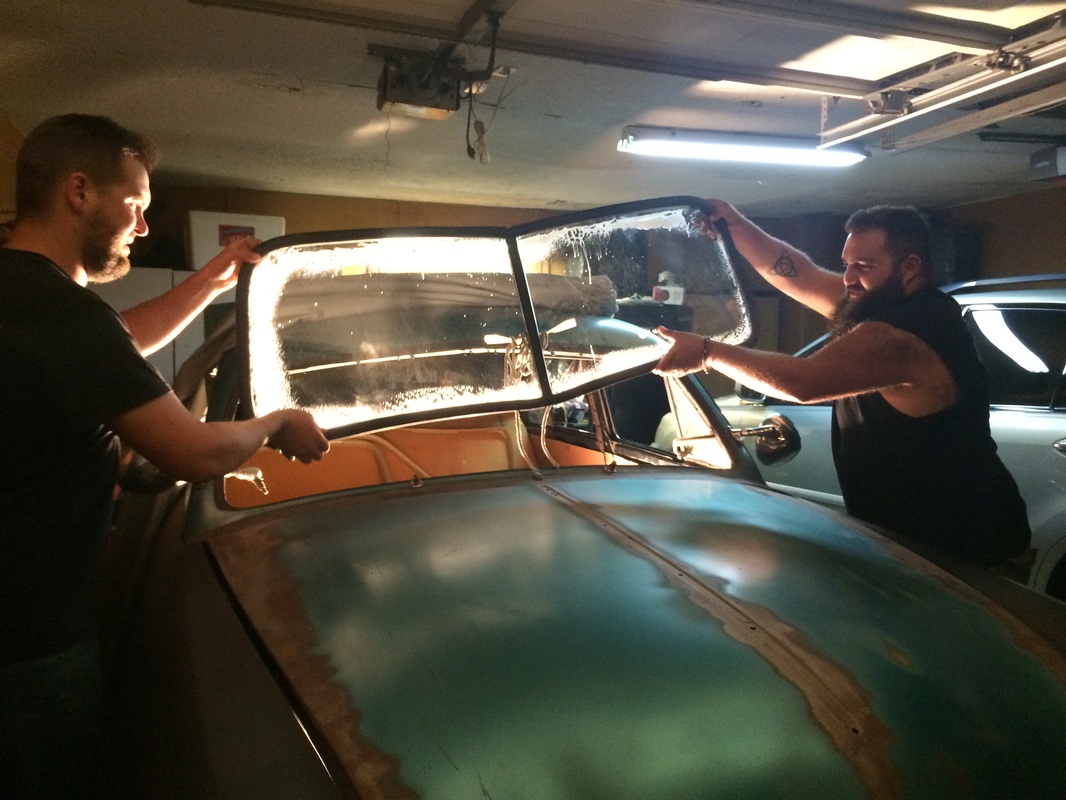 I was thinking to myself, "man, I might actually have a new windshield in tonight." This thought was immediately followed by CRAAACK. 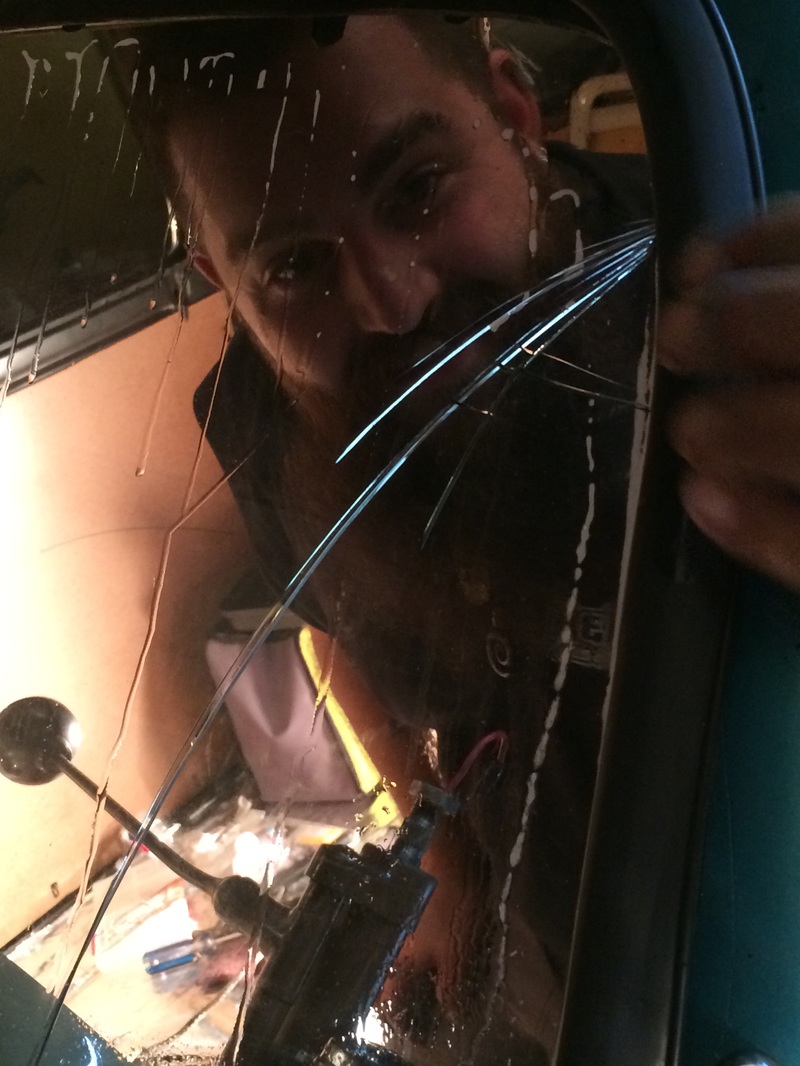 Damn, I broke it. I applied pressure too far ahead of where Nick was pulling the cord out. This put the glass in and bind, and glass just doesn't like that apparently. Nick was really cool about it, partly because it wasn't his fault, and partly because that's just part of the game when it comes to glass work. This photo just about sums up the mood after I broke the glass. 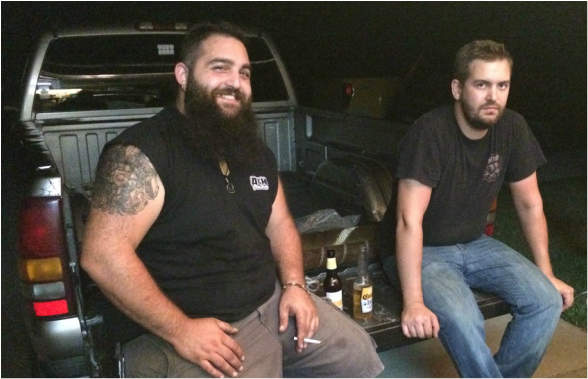 Oh well, at least I didn't break BOTH sides. The following morning I ran up to my local glass place. It always seems dead in there but they never fail to tell me how busy and backed up they are. It took them a week to cut one pane! In the meantime I tidied up a couple loose ends. I got the new glass and called Nick back over. This time we went nice and slow. 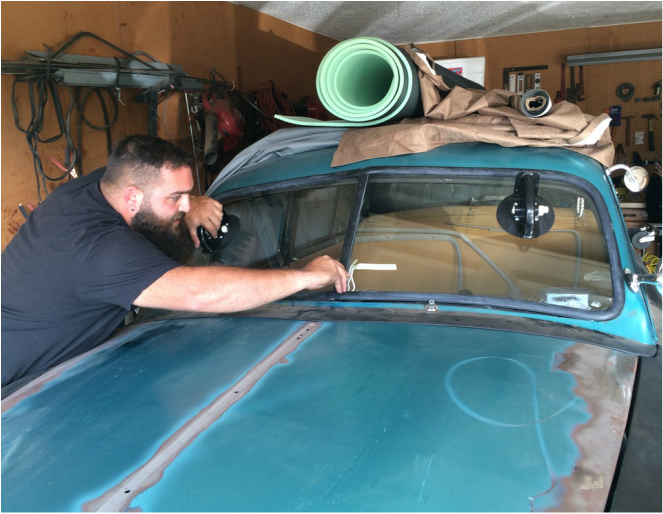 This time it was Nick's turn to break one. Something is not right. UGH. Now it was time fore a reappraisal of my install method. I called up Chris at Shoebox Central and asked his advice. He said use loads of soap and water and a 1/8" cord. I also dug out my original glass template again and started calling around to see who else in my area cuts laminate glass. I found a place and took my original in. They cut it that day and it was ready for pick up the next morning. I got to talk directly to the guy who was cutting the glass and he actually listened to me. I compared the newest piece with one I got from the other store and the difference was night and day. No one could have installed the pieces we broke. The shape was just too far off the original. So, armed with the new driver's side glass I set out for a third time to install the windshield. This time I made a soap-water solution in a squirt bottle and made sure I had 1/8" cord. Nick couldn't make it so I invited another buddy named Stephen. I got him to pull the cord from the inside while I applied pressure with my hand flat on the outside.  Despite the ridiculous picture it went in pretty easy. I was nervous though, and expected to break it at any minute. We just started at the bottom in the middle and worked our way around a little at a time. Before you know it I had a windshield! Only took three tries and entirely too much time and money. 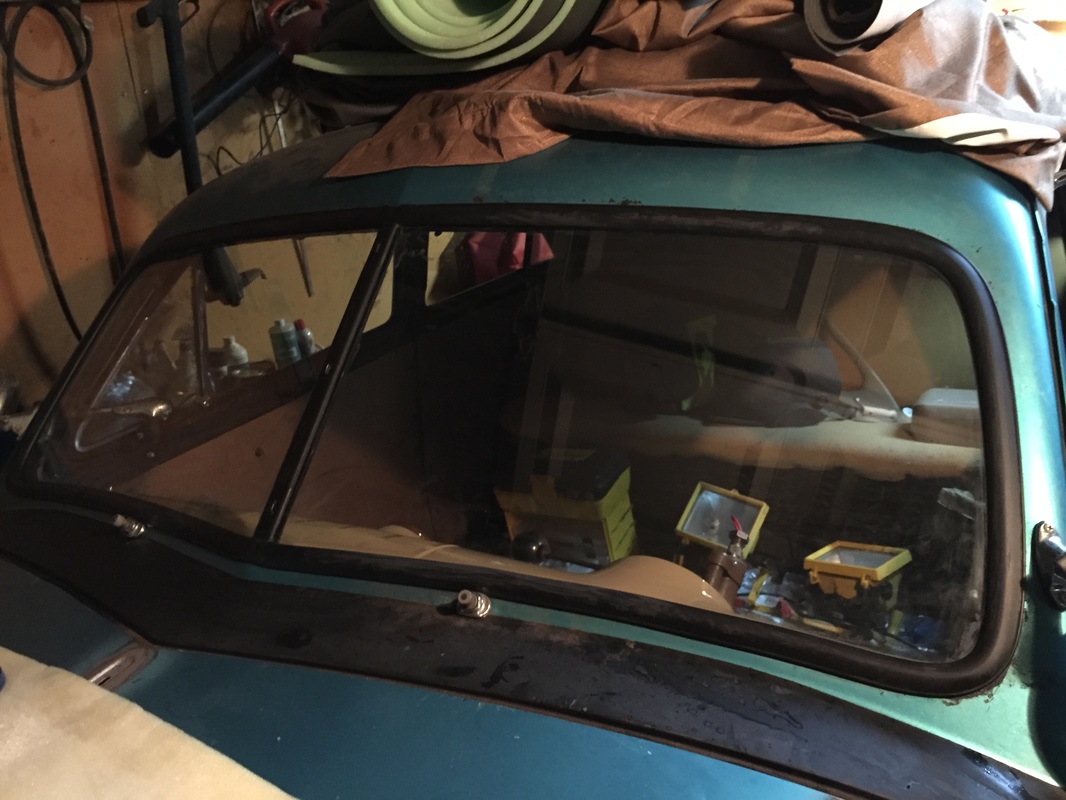 To finish up the install I bought some new wiper blades and cleaned up the old wiper arms. I finally have my windshield in. Stay tuned for my write up on my dashboard build and install. Thanks for reading!
14 Comments
Kyle Critchnau
5/9/2016 06:36:39 pm
Aaron, I'm running back through your posts (I finally got my own shoebox, a '50 four-door) and I'm wondering why you didn't order the replacement glass from Chris at Shoebox Central? Was it that much cheaper to get it done locally? Just curious.
Aaron Starnes
5/9/2016 06:56:13 pm
robert powers
9/15/2016 01:39:31 pm
Arron, just purchased a 49 tudor and I believe condition wise same as yours was. I almost gave up until I found your blog. I'm totally jacked up on my project now.Just want say thanks. Bob
Aaron Starnes
9/15/2016 02:32:47 pm
Thanks for reading me! Keep at it. 4/22/2019 08:56:16 am
Thank you so much for sharing a great article. Keep up the great work! 9/7/2019 07:52:16 am
After replacement the condition's pretty good, it really looks like new again. Thanks for sharing your experience !!
Juan castillo
7/17/2021 12:06:55 pm
I am from Abilene Texas I wish I had somebody That could put windows on a 1950 Fort sadam I can't find a body put him one Where are your 3/3/2022 04:16:26 pm
Got a 49 Shoebox , got back window and seal in but can't get the trim on it , got both windshield s , been two days trying to get them in , tried with trim tried without , just not a windshield man , HELP !
Mark Lindstrom
6/23/2022 02:51:43 pm
I just spen 6 hours trying to install my 51 glass. By myself and Rachel straps and wood blocked. Got it In and the driver side cracked. Soooo, now looking for another tinted glass, and the pull string method didn't work for me. What a nightmare 11/6/2022 10:31:35 pm
Removing the old, dry, and cracked windshield seal is a difficult and time-consuming task. First, you must chisel out the old sealant, being careful not to damage the windshield. Next, you must clean the area thoroughly to remove all traces of the old sealant. Finally, you must apply new sealant and allow it to dry completely before driving. 4/25/2023 02:37:33 pm
Top Rated Auto Glass Repair and Replacement In Fort Worth, TX.Need for an Windshield repair and replacement you can depend on. Whether you’ve noticed minor windshield damage and want to stop it from spreading or need a full windshield replacement, our friendly staff will be happy to help. We provide an efficient service using the latest techniques and materials, and our repairs are covered by a national warranty.Glass Genie offers high-quality and top-rated auto glass services 4/27/2023 03:49:36 pm
My windshield panes sat wrapped in brown paper collecting dust on the shelf. Finally, by buddy Nick, a professional glass man, made it over so we could install my new windshield. Thank you for sharing your great post! 7/14/2023 12:36:36 pm
We went chipping out the evaporated old windshield close and crushing the rusted tops of the scramble mounting screws then, at that point, yanking out that old awful windshield. 8/4/2023 12:21:24 pm
Away we went chipping out the evaporated old windshield close and crushing the rusted tops of the scramble mounting screws then, at that point, yanking out that old terrible windshield. Leave a Reply. |
Categories
All
Archives
September 2019
GREen Bible Aerostar Coils FloorPans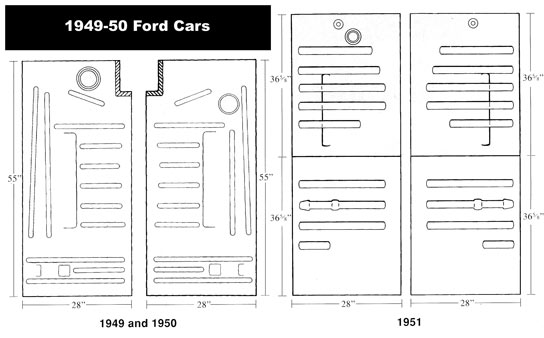
© 2018 Aaron Starnes.
All Rights Reserved. |
 RSS Feed
