|
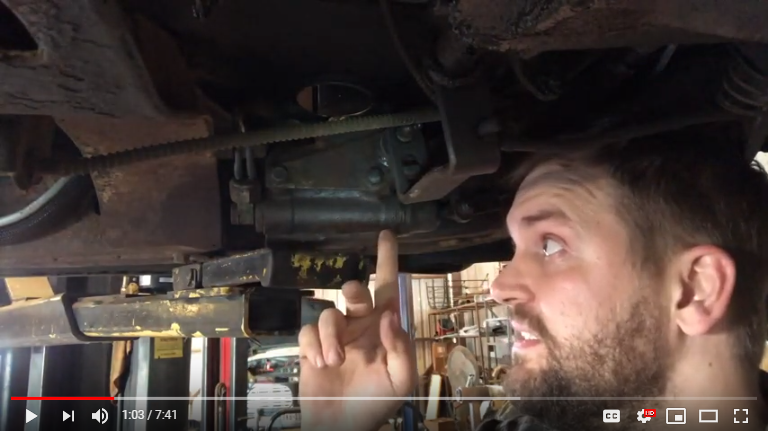
A few months back, I was backing the Ford out of my driveway. When I went to mash the middle pedal it went to the floor. No Brakes. Thankfully, I hadn't built up enough steam to continue rolling into my neighbor's yard. And thankfully I have insurance on the old Ford that provides towing when it breaks down. A quick phone call and a short tow ride later, and the Ford was
1 Comment
After wrapping up the brake system tuneup on the 1949 Ford I started looking for the next challenge. Maybe for the first time since I bought the car, I didn't see a good reason I couldn't just drive it. For a 70-year-old car, it starts and runs with shocking reliability. Now that the brakes are all sorted out, it stops too. I wondered if I could manage to use this old car as my daily driver for a week. How would it fare on roads after seven decades of innovation?
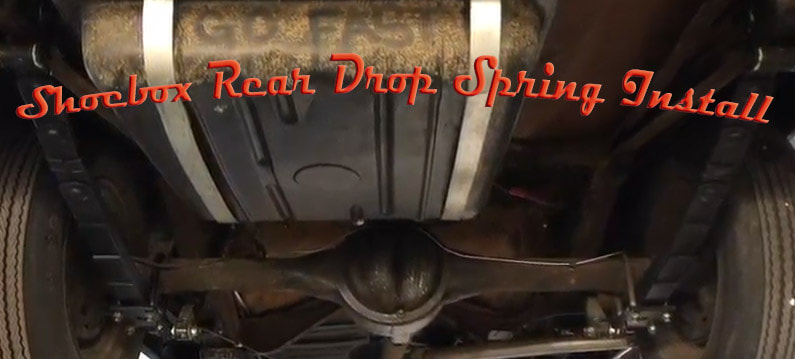
The rear springs on my old Ford were shot. They were soft and the ends had rusted to a razor thin edge. The packs were coming apart too. A previous owner dropped the back end with some 4" blocks. This combined with the sorry old springs lead to a lot of bottoming out, axle wrap, and a bouncy ride.
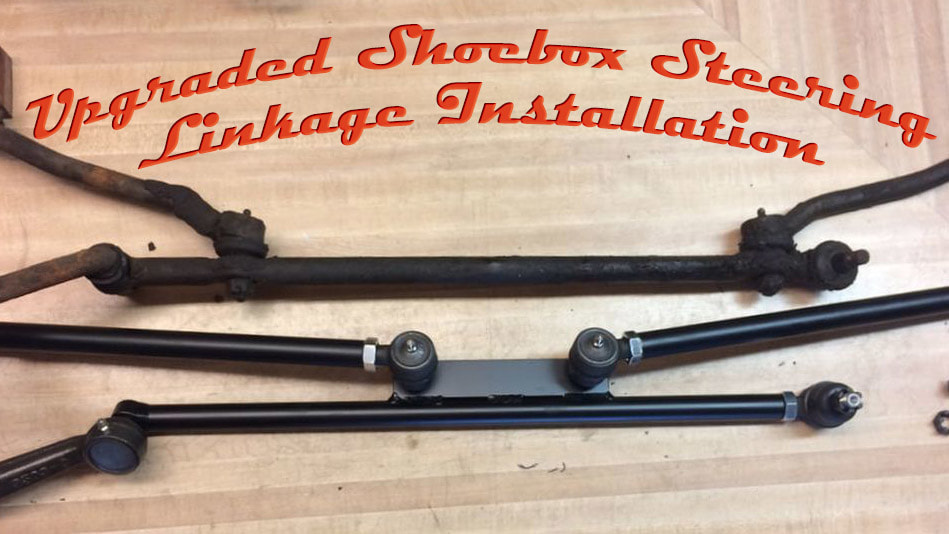
The updated steering linkage kit for '49 - '51 shoeboxes is designed to address the issues built into the original setup. Ford's original coupled a bad inner tie rod position with a weak idler arm assembly. Replacing all the stock components was barely more affordable than this kit. Because this tired old Ford needs all the help it can get, the upgrade kit was ordered.
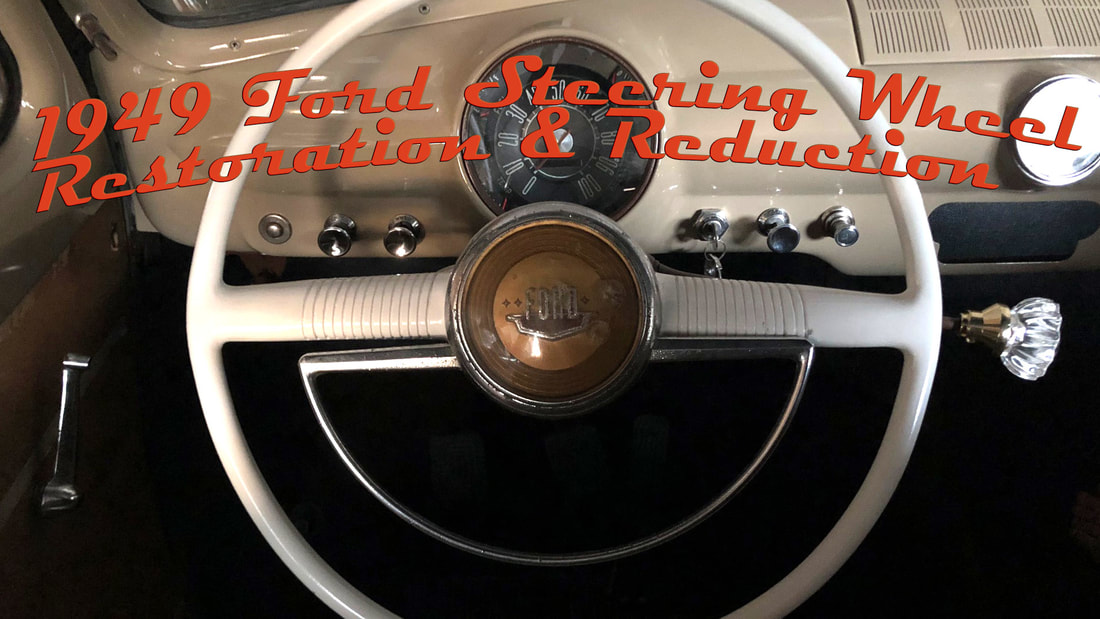
I like the skinny look of a vintage steering wheel but the one in my old Ford was in pretty pitiful shape. The outer ring was cracked with chunks missing, and the spokes weren't much better. The options were to either buy a retro-looking wheel or find an NOS piece. I didn't like what those options would do to my bank account. So I puicked the third option. Hack up what I had and make it better!
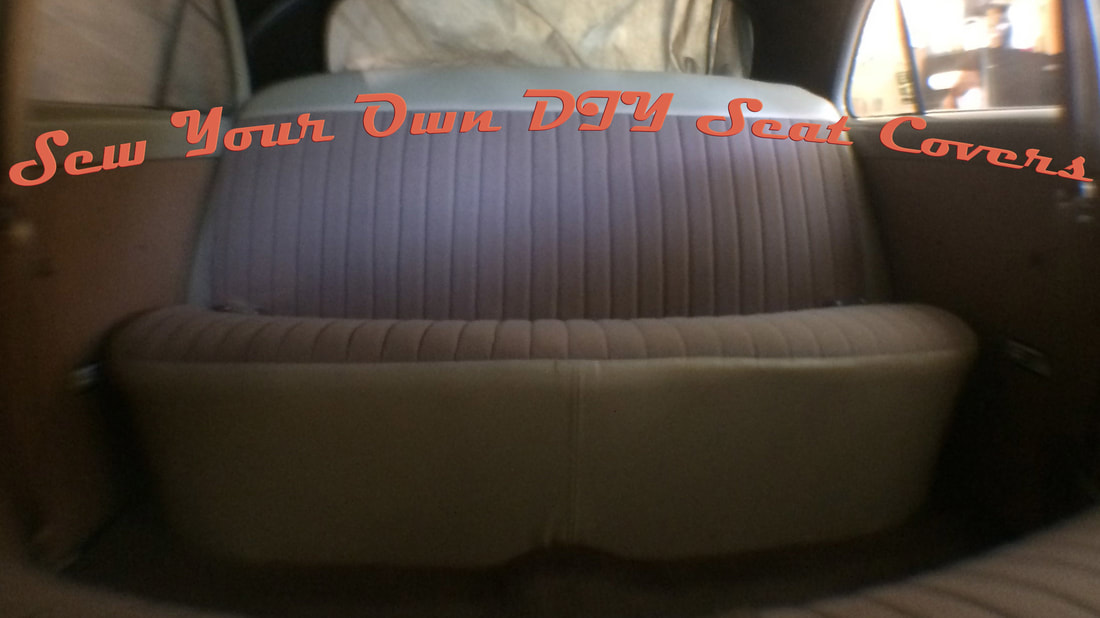
My experience in upholstery is limited to covering a go-kart seat when I was a kid and a short stint in an upholstery shop where they let me touch the sewing machine exactly one time. I did however learn by watching and asking questions. I also scored some upholstery materials. This is how I put together a little bit of knowledge, some patience, and some time, to create some pretty passable seat covers for my old Ford.
Part 1 of Good in the Hood covered most of the metal repair I did to my old Ford's old hood. It was a rusty mess that needed some cleaning up. After I got it all welded up and tended to some of the rougher spots in the body work it was time to blast it again. After everything was back to beautiful bare steel it was time to prime
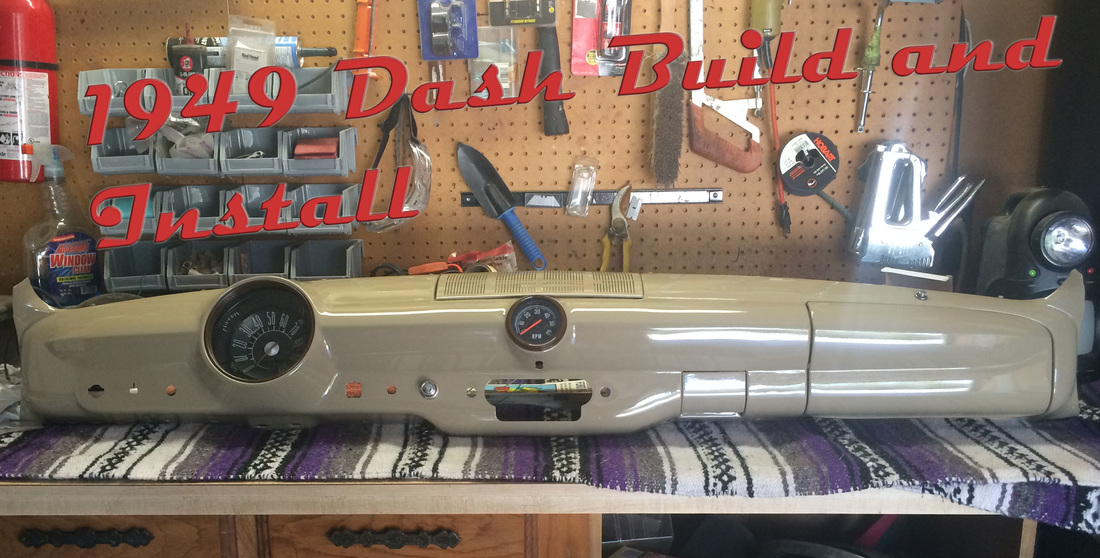
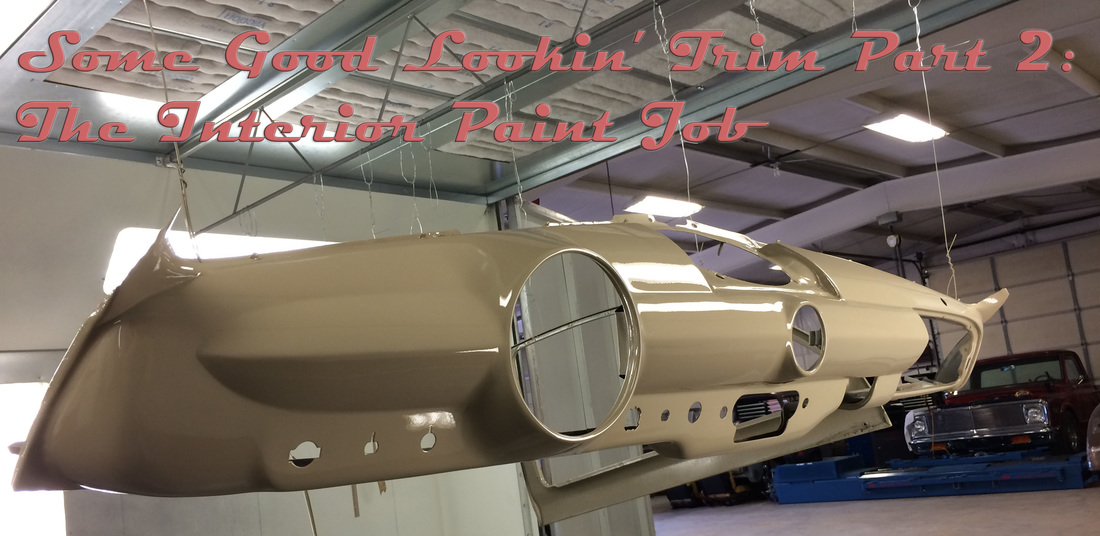
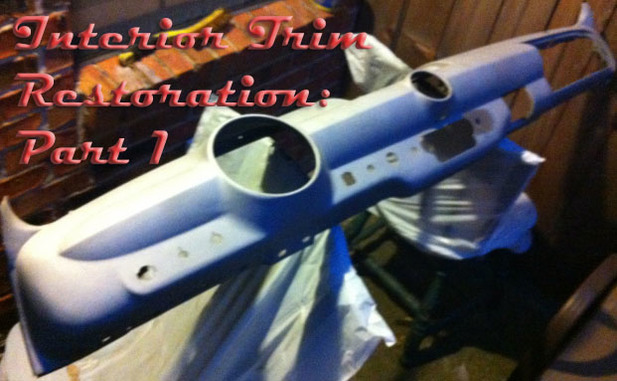
Before I could move forward with the windshield installation on my car I had to get the dash back in. Along with my dash, I painted all my interior trim and got it ready to go back into the car. In this article I'll show you how I built my dash and installed it.
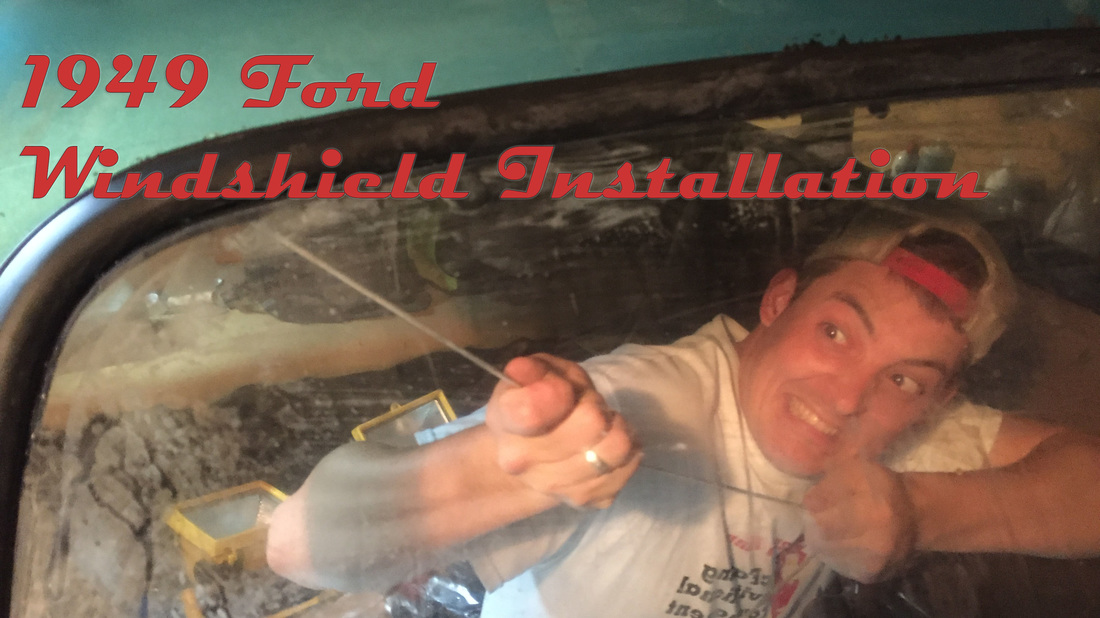
ALL of the glass in my Ford was terrible. What wasn't broken was de-lamininating badly. Some of it, like the vent windows, I can deal with. Heck, I think the delaminating looks cool. But the broken and dangerous stuff had to go. Since my door glass is done I decided to move on to the windshield.
In my first write up I went over how I removed, blasted and began the body work on my trim pieces. In this installment I want to show how I made them nice and shiny again before re-installing it.
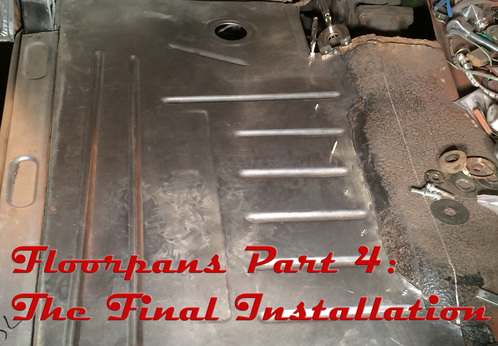
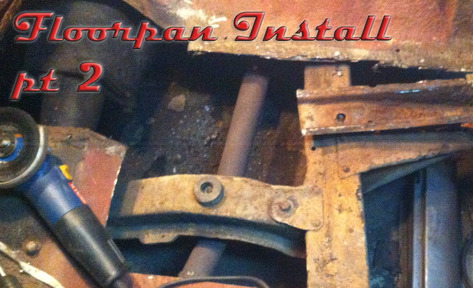
This article covers the final step in replacing the rusted out floors of my old Ford. This completes the most drawn out project I've done with the car so far and is a big step toward getting this thing off the jack stands and back on the road.
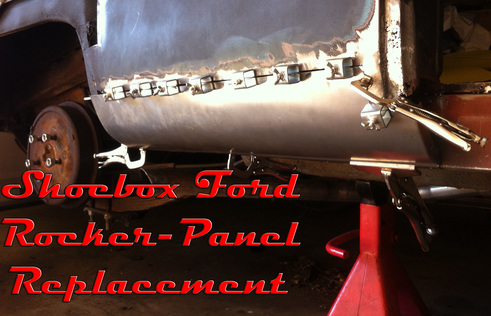
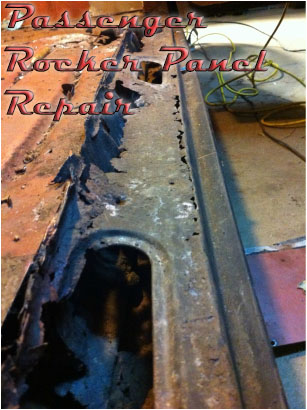
The rockers on my old Ford were rotten and disgusting. People couldn't exit the car without gnarly rust taking a bite out of their calf. So, for the sake of my friend's legs, I cut out the rust and welded in fresh cold steel. Here's how I did it.
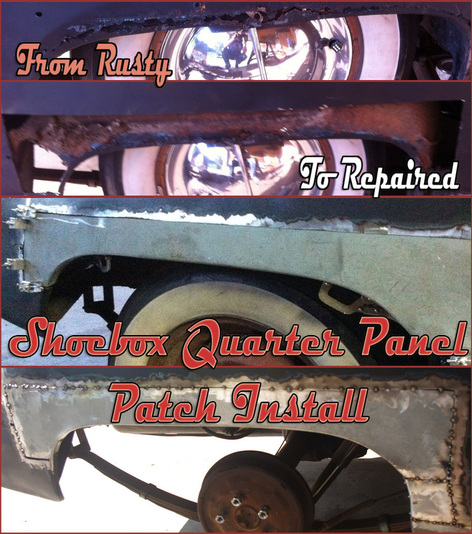
When I bought my Ford it came with a lot of rust. Thankfully it came with a few patch panels too. This entry shows how I put these panels to good use combating the rust on my '49 Ford.
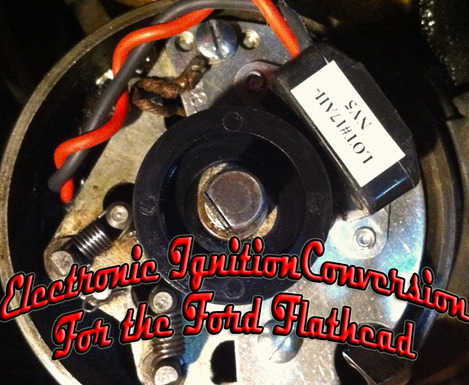
This entry is dedicated the installation of the PerTronix Ignitor electronic ignition conversion for a Ford flathead. I ordered this product based on the reviews describing it's simplicity and reliability. The reviews didn't lie.
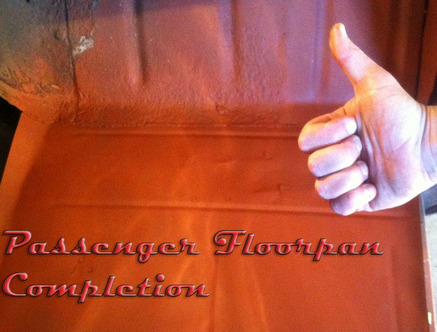
In this installment of my floorpan saga, I discover more rust than I bargained for. Thankfully I manage to finish up the passenger side floors.
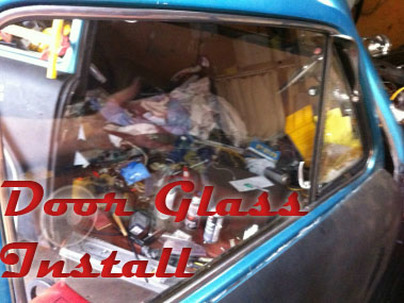
The original door glass in my Ford was broken and nasty on the passenger side and the driver's glass was missing entirely. So I started pulling the doors apart.
The old glass run channels were present but all the soft material had rotted away. This allowed the windows to rattle and bang around and led to all the glass busting and being noisy as all hell while driving. The window garnish and dash in my old Ford looked pretty ratty. When I got the car none of it was attached. It was all just sliding around inside the scraping against things and adding to the general clattery, clangy din of racket that lost its appeal pretty soon after the first-drive-excitement wore off.
The rocker panels on both sides of my old Ford were rotted waaay beyond repair. They looked more like Swiss cheese than American steel. So what did I do? I Cut 'em off!
|
Categories
All
Archives
September 2019
GREen BibleAerostar CoilsFloorPans© 2018 Aaron Starnes.
All Rights Reserved. |




 RSS Feed
